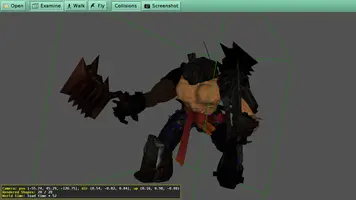
FBX2glTF model.fbxExporting from 3ds Max
Exporting 3ds Max models to Castle Game Engine can be done in various ways.
1. Export to FBX (if necessary) and convert FBX to glTF using FBX2glTF
If you received assets from a graphic designer in both the .max and .fbx formats, it is easiest to convert files from the FBX format using the FBX2glTF tool to glTF. In this case, there is a high probability that you will get a good conversion result without any additional work, as the graphic designer adjusted the model when (s)he created FBX file.
You can also use built-in export from 3ds Max to FBX, and then convert with FBX2glTF.
The export itself is very simple. Just call FBX2glTF tool in the console with one parameter - FBX model file name:
After the export, the modelname_out subfolder will appear with the exported model.
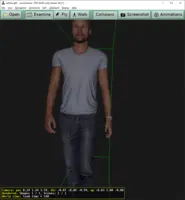
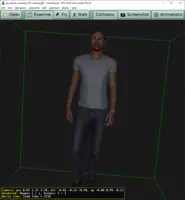
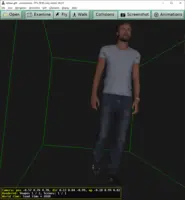
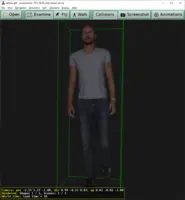
The conversion result can be easily compared using Castle Model Viewer and FBX Review.
2. Export to glTF with Babylon
If the FBX2glTF conversion effect is unsatisfactory or you are a graphic designer and want a direct solution (without intermediate FBX file) at the cost of some additional setup, a good solution is to use the Babylon glTF plugin. In this case, the model will often need to be adjusted before performing the conversion.
The most important changes are:
-
reduction of Bone Affect Limit to 4
-
preparation of textures in Bitmap format
2.1. Plugin installation
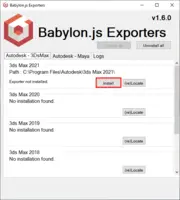
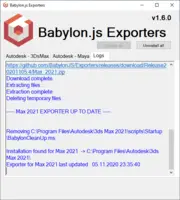
Babylon glTF plugin comes with a handy installer, which you can download from Babylon Exporter Github Releases page. The installation itself consists in clicking the install button.
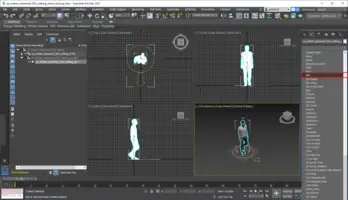
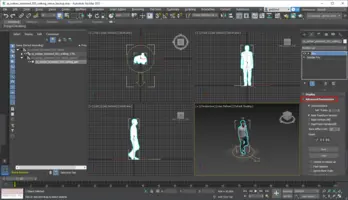
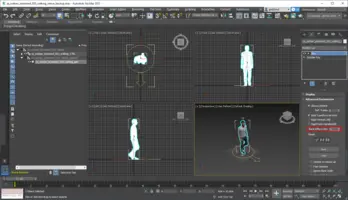
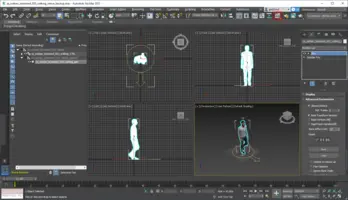
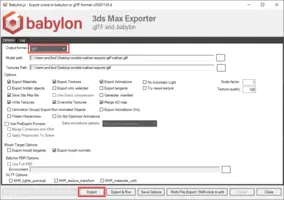
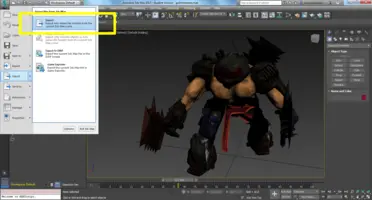
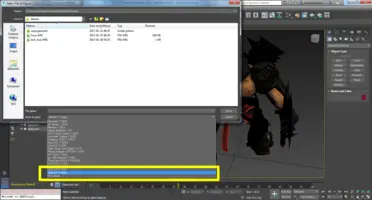
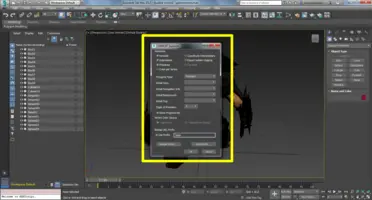
2.2. Export overview with screenshots
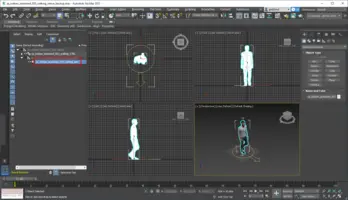
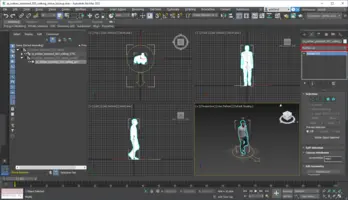
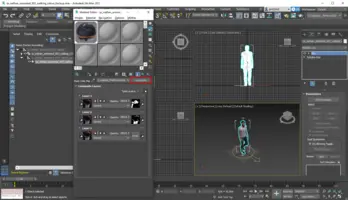
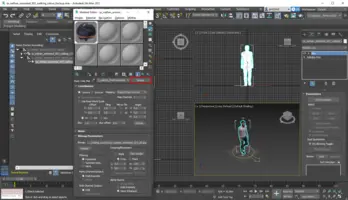
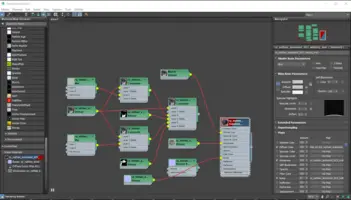
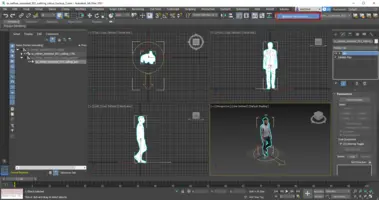
The steps to be followed depend largely on the model. Screenshots below can be used as an overview.
2.3. Export differences
Using different exporters gives slightly different results, it’s always worth experimenting. You can also try to load the FBX file into 3ds MAX and save it with the Babylon glTF plugin.
2.4. Plugin updating
The Babylon glTF exporter is being actively developed. It is worth checking the possibility of updating the plugin from time to time by running the installer. When new plugin version is available the Update button will be showed.
2.5. More info
See 3DSMax to glTF and Babylon 3DSMax resources pages for more info.
3. Old approach: VRML
To export from older 3ds Max, it’s easiest to export to the VRML 97 format (extension .wrl). VRML is an older version of X3D, it’s basically a subset of X3D, and we support it 100% in the engine.
Choose the Export option from the main menu, then change the file type to VRML97, as seen on the screenshots on this page. A window with VRML97 Exporter settings will appear, at the beginning you can just accept the defaults — they are sensible.
Notes:
-
To have the textures correctly picked up, you have to set the "Bitmap URL Prefix → Use Prefix". It should be the directory, relative to the
.wrlfile location, where the textures lie. -
The exporter by default does not export normals, and it also does not set the
creaseAnglefield in VRML, leaving it at zero. This means that everything will have flat shading. The fix this, it’s easiest to check "Normals" at exporting.You could also edit the VRML file afterwards, or edit the VRML/X3D node graph when loading, to set
creaseAnglefield atIndexedFaceSetto something non-zero, to have auto-generated smooth normals.creaseAngleis in radians, e.g. value 4 (greater than Pi) will make a completely smooth model. But that’s usually more involved.
4. Other formats
Note that we also support some other file formats that you could export from 3ds Max, like OBJ and 3DS. They work fine to export simple mesh with textures, but these format don’t support animations, and many other advanced features. So it’s better to use glTF.
To improve this documentation just edit this page and create a pull request to cge-www repository.
