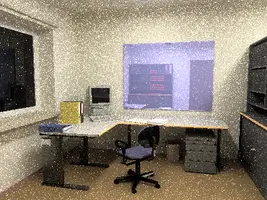
Small gallery of images rendered using rayhunter
Contents:
1. General notes
On this page whenever I write that I used 3d models in mgf
format, this means that I actually converted them to VRML using
kambi_mgf2inv.
Whenever I used 3d models in 3DS format, this
means that I actually converted them to VRML using
castle-model-viewer.
2. Images rendered using classic raytracer
rayhunter with parameter classic was used to render images in this section.
All images below were made by rayhunter with 2x larger width and height, and then they were scaled down
using pfilt program from
Radiance programs.
This way I did trivial anti-aliasing by oversampling.
For classic ray-tracer I added some point/directional/spot lights
to the models. Sometimes I added mirror property to turn some materials into mirrors.
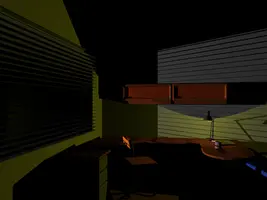
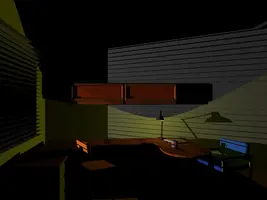
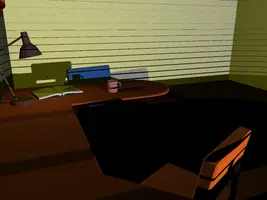
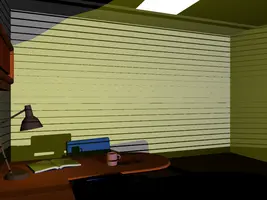
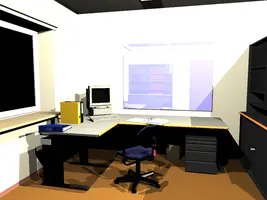
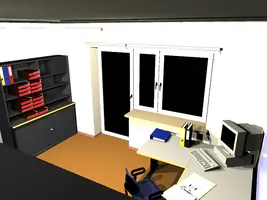
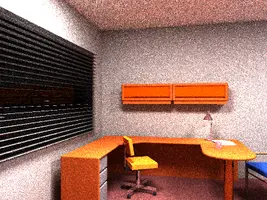
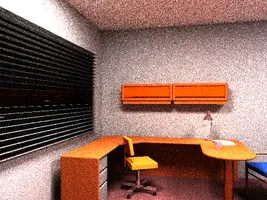
Office. I used office.mgf model
from collection of models of the
RenderPark project.
You can download this collection from
here
(go to HTTP download area there in case ftp doesn't work).
The model is also part of MGF Example Scenes.
One faint light is under the desk light, the other light shines from the outside (and that's how louvers cast shadows on the whole room).
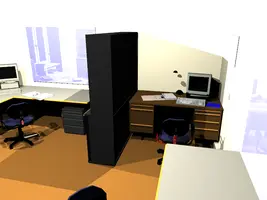
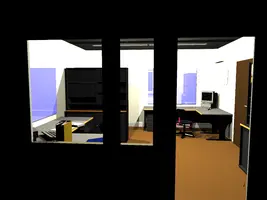
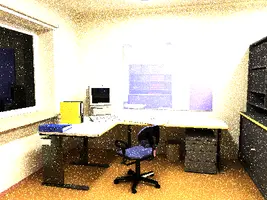
Graz. I used model graz.mgf, also from
RenderPark
scenes collection. Four bright lights are placed right under the ceiling,
note also two blueish mirrors hanging on the walls.
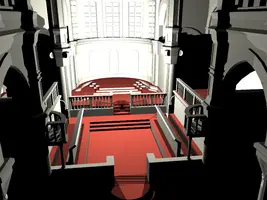
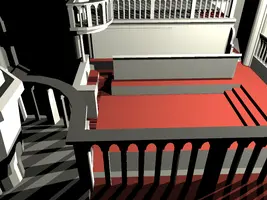
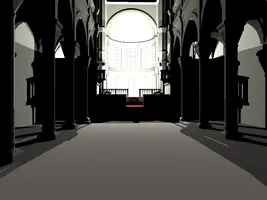
Sibenik. I used sibenik.3ds model from
http://hdri.cgtechniques.com/~sibenik2/.
Unfortunately rayhunter doesn't use textures while rendering yet.
Some artifacts are visible near the stairs
(at the lower side of the 1st image and the left side of the 2nd image)
because two model's walls share the same place on the same plane
(uh, I didn't manage to correct this in the model).
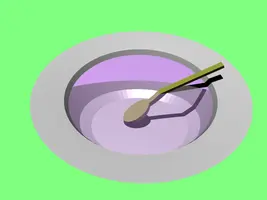
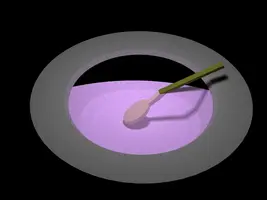
Spoon in a watery soup. A simple 3d model that I made using Blender. On the image below you can see that rayhunter correctly "breaks" rays as they enter the water surface, because the spoon appears to be broken. In the upper part you can see some rays are transmitted completely inside underwater.
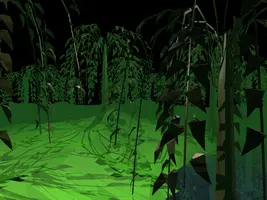
Forest. Model that I made using
Blender,
using also tree.3ds from
www.3dcafe.com.
Lights and fog added by hand.
You can download this model from our demo-models (subdirectory lights_materials/vrml_1/forest-fog).
Main feature of this rendering is to demonstrate that
rayhunter handles X3D Fog node.
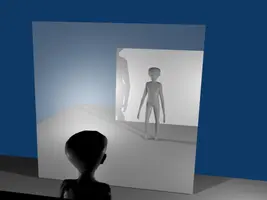
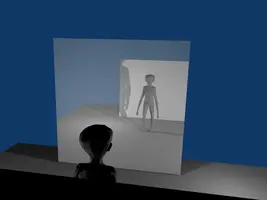
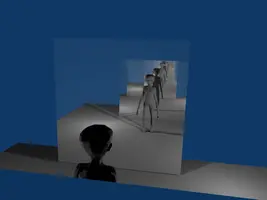
Mirror fun. Using Blender I placed an alien (you may have seen this guy elsewhere) between two walls. Initially one wall was a mirror (0.5), and alien was looking at himself. First image below is the Blender rendering. Second image is the rendering of my rayhunter (I exported Blender model to VRML 2.0 and added mirror properties to material by hand). Third image is another rendering from rayhunter, but this time both walls act as mirrors (stronger mirrors, 0.9) and so the reflection is "recursive" (raytracer with depth 10 was used).
You can download corresponding blender and VRML data files from our VRML/X3D demo models (look for lights_materials/raytracer/alien_mirror.wrl, there's also .blend).
By the way, this is one of the first rayhunter renderings of VRML 2.0 models !
3. Images rendered using path tracer
rayhunter with parameter path was used to render images in this section.
If you will compare images below with the images above (rendered using classic ray-tracer), bear in mind that path tracer has a completely different (much more realistic) idea of what is light. For path tracer light is emitted by some objects (with a surface). For classic ray-tracer, light is emitted by some invisible infinitely small point in space. Also, the concept of materials, and how the lights affect them, is different, uses different properties etc. You can say that path tracer actually always works with a different scene than classic ray-tracer. And no, I usually didn't try to arrange the lights and materials properties so that classic and path tracer results are similar.
Spoon in a watery soup this time by path tracer.
Rayhunter parameters: minimal depth 2,
non primary samples count : 4,
--r-roul-continue 0.5,
--primary-samples-count 10.
Office and graz. Same models and camera settings as the renderings
in the classic section before.
The lower images were processed using pcond -h to improve the look.
For graz:
Rayhunter parameters: minimal depth 1,
non primary samples count : 2000,
--r-roul-continue 0.5,
--primary-samples-count 1. It took a dozen or so hours for each image
(2000 paths for each pixel !), even though the generated images
are small, only 400 x 300... And still the images don't look
particularly pretty, the noise is very high.
For office: settings like above, but rendered to 800 x 600, and scaled to 400 x 300.
Cornell Box. Here you can find detailed description of original model.
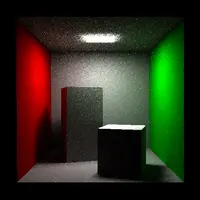
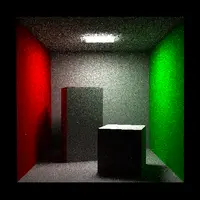
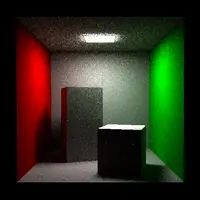
Controlling the depth of paths using minimal path depth setting and Russian-roulette parameter: In three renderings below I was changing minimal path depth and Russian-roulette parameter. All other parameters were the same. Samples count = 1 primary x 10 non-primary. Parameters for minimal path depth and Russian-roulette parameter were each time set so that the rendering time was approx the same. I wanted to see which image will look best, i.e. how you should balance between minimal path depth and Russian-roulette parameter. Well, at least I managed to demonstrate that (surprise, surprise) Russian-roulette is a good idea and minimal path depth setting is also a good idea :)
- (left image) Minimal depth = 3,
--r-roul-continue 0(so the paths were always cut at depth 3, so our calculations are inherently incorrect (the method is biased), and you can clearly see that left image is darker than the right one. - (middle image) Minimal depth = 0,
--r-roul-continue 0.8(so path depth depends only on Russian-roulette). You can see a lot of noise on the image, that's the noise produced by the roulette. - (right image) Minimal depth = 2,
--r-roul-continue 0.5. This looks best, small noise and not biased.
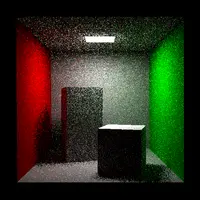
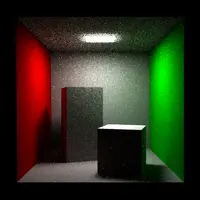
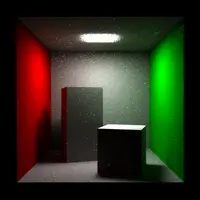
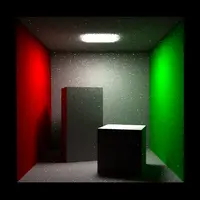
Various number of samples per pixel : From left to right images below were rendered with 1, 10 (= 10 primary x 1 non-primary), 50 (= 10 primary x 5 non-primary) and 100 (= 10 primary x 10 non-primary) samples per pixel. For 2nd and following images I used 10 primary samples per pixel to have anti-aliasing. See rayhunter docs for the explanation what are the "primary" and "non-primary" samples.
