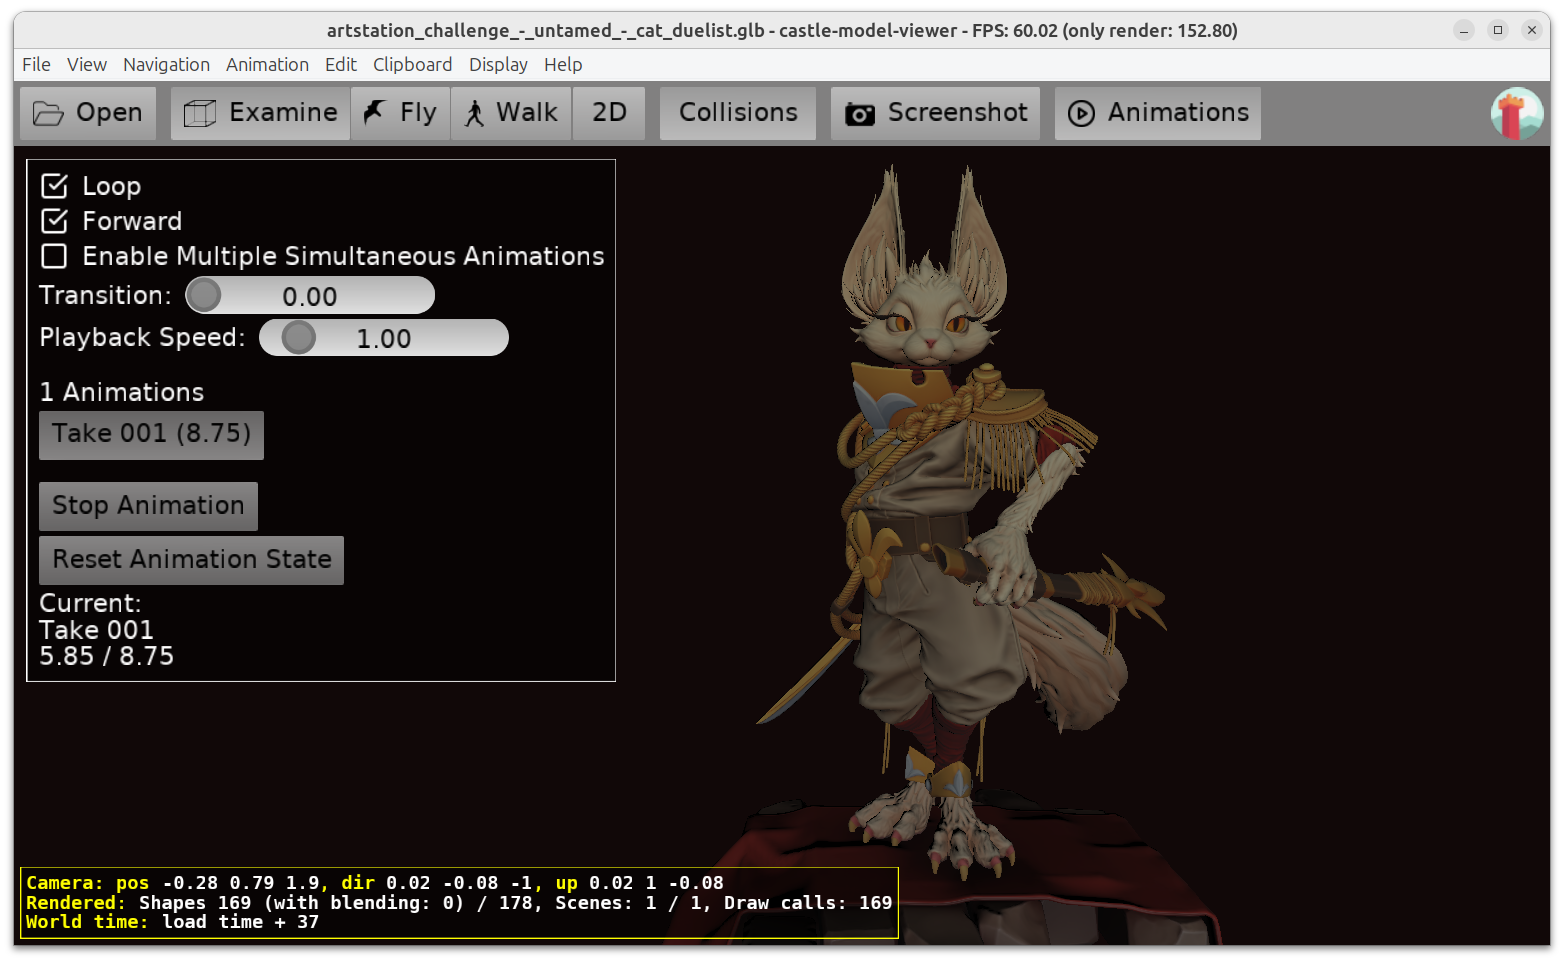
castle-model-viewer my_model.gltf --screenshot 0 output.pngCastle Model Viewer (formerly view3dscene)
Table of Contents
1. Introduction
Viewer for 3D and 2D model formats supported by the Castle Game Engine: glTF, X3D, VRML, IFC, Spine JSON, sprite sheets (in Castle Game Engine, Cocos2D and Starling XML formats), MD3, Wavefront OBJ, 3DS, STL, PLY, Collada, and more.
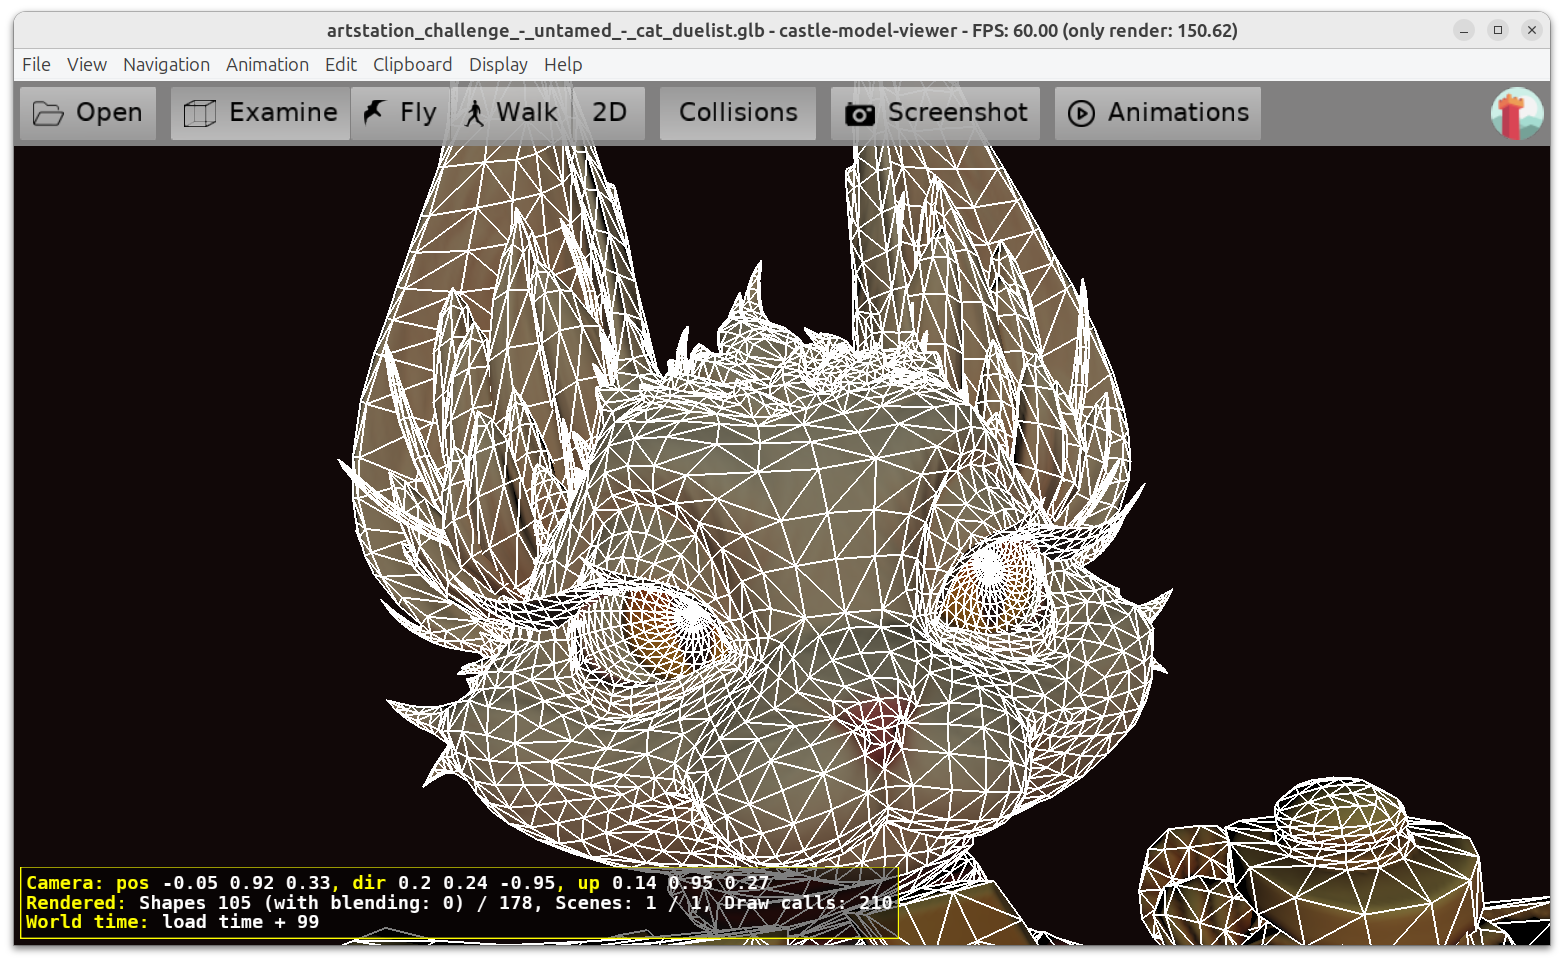
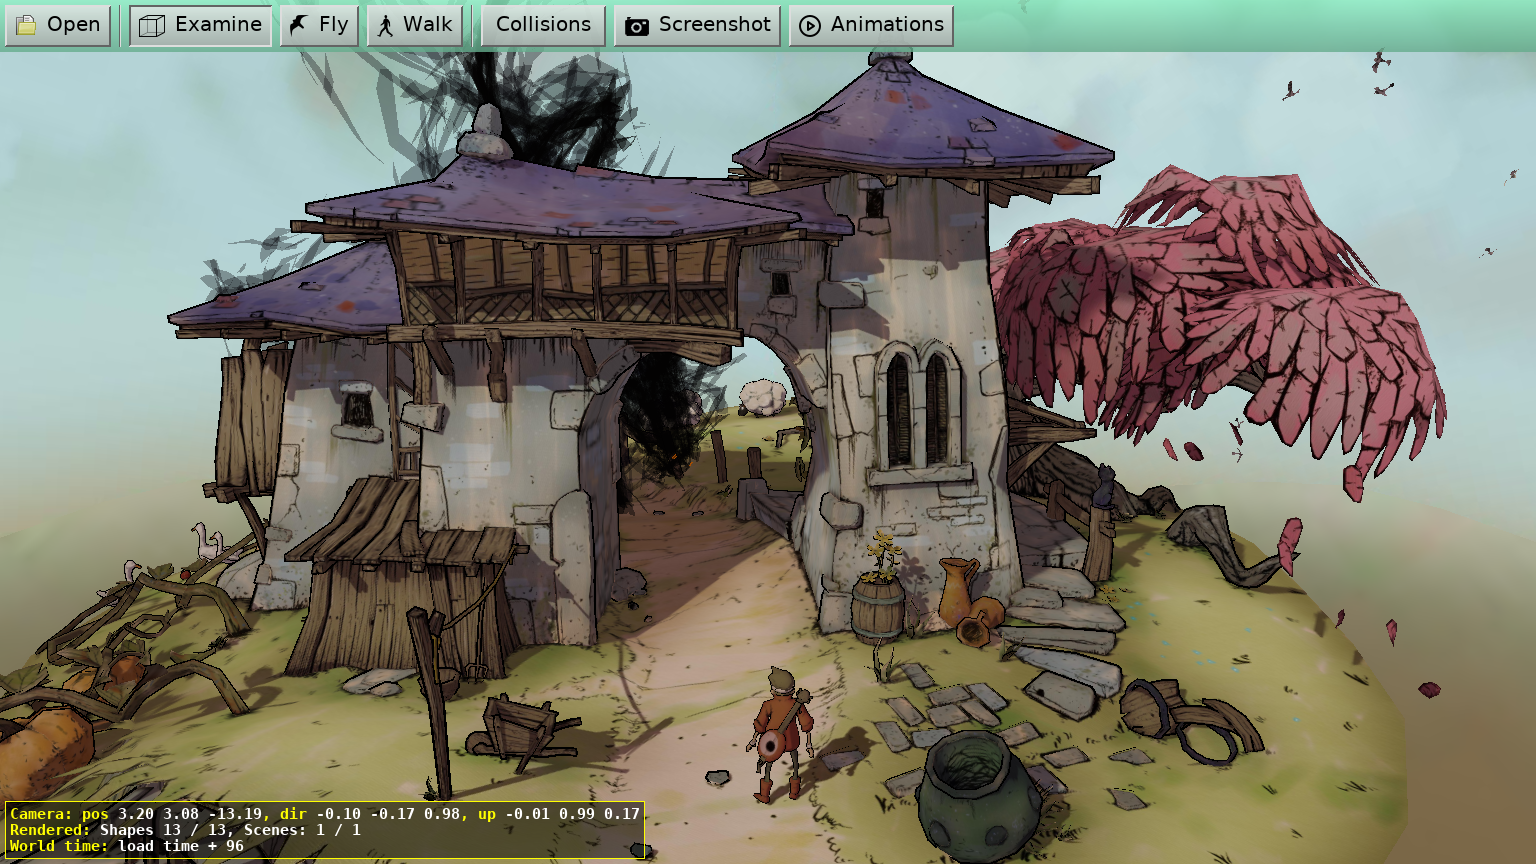
Examine or walk in the virtual world with collisions, gravity, animations, X3D sensors, shadows, mirrors, shaders and more. View it from multiple cameras at once. Take screenshots with various options (transparent background, cube maps).
You can also convert between model formats — right now you can convert any model to X3D or STL, we plan to add output to glTF soon as well. Together with this application, we also distribute castle-model-converter command-line tool and you can also use our online model converter. They all use the same codebase and have the same features.
2. Download
2.1. Stable version (5.2.0)
No installation is necessary. Just download and unpack these archives wherever you want, and run the castle-model-viewer program inside.
Platform-specific notes:
- macOS
-
Our application is not signed and it will be placed in a "quarantine" by default. Execute command like
xattr -cr ~/Downloads/castle-model-viewer.appto remove the quarantine. See macOS support for more information. - Linux, FreeBSD
-
To hear 3D sound in X3D worlds, install also OpenAL and VorbisFile libraries using your package manager.
|
Note
|
If you already have Castle Game Engine, then just run castle-model-viewer executable from the engine bin subdirectory. There’s no need to download this separately.
|
|
Note
|
We also recommend to download our collection of demo models! |
2.2. Snapshot (unstable, preview of the next version) (5.3.0)
|
Note
|
If you find a bug, please report it here. Thank you! |
3. Navigating with keys and mouse
3.1. Inspection (in all navigation modes)
- Left Mouse Button Click
-
Interact with the X3D world, using X3D pointing-device sensors. Open models in demo models (subdirectory sensors_pointing_device) to experience what this means.
- Ctrl + Right Mouse Button Click
-
Pick a point, selecting a triangle and it’s containing shape. Some operations can then act on the selected point / triangle / shape, e.g. "Help → Selected Object Information" or "Edit → Hide Shape".
3.2. Examine Navigation
- Left mouse dragging
-
Rotate the scene.
- Middle mouse dragging (or Left mouse + Shift)
-
Move the scene.
- Right mouse dragging (or Left mouse + Ctrl; or scroll wheel)
-
Zoom the scene.
- Arrow keys
-
Rotate the scene, by changing rotation speed.
- Space
-
Stop rotating.
- Ctrl + Arrows
-
Move the scene.
- + / -
-
Scale the scene.
3.3. Walk and Fly Navigation
- Drag up / down with left mouse button
-
Move forward / backward.
- Drag left / right with left mouse button
-
Turn left / right.
- Drag right mouse button
-
Look around (mouse look).
- Mouse wheel
-
Zoom in / out (just another way to move forward / backward in this case).
- Mouse wheel while right mouse button pressed
-
Change moving speed.
- W S Up Down
-
Move forward / backward.
- A D
-
Strafe left / right.
- Left Right
-
Turn left / right.
- Space C
-
Jump / Crouch (or fly up / down).
- Shift
-
Hold while moving to run (move with 2x speed).
- Insert Delete
-
Increase / decrease avatar height (preferred camera height above the ground)
- Ctrl + Left Right
-
Rotate slower (useful to precisely set the camera).
We also support 3D mouse devices, see the demo video about 3D mouse inside castle-model-viewer.
4. Command-line options
This is a GUI application and you don’t need to use any command-line options.
But you can — to automate some tasks, like capturing screenshots.
Run with command-line option --help to see the full list of options.
In addition to all the options documented below, also all standard options understood by our GUI programs, standard options understood by our programs using audio and standard options understood by all our programs are handled. The options may be given in any order.
You can specify a model filename, or URL to load at the command-line. You can combine this with some other options documented below, e.g. to make a screenshot of given model.
4.1. Capturing screenshots and movies of 3D scenes and animations
You can use command-line options to make a screenshot or record a movie of the loaded scene.
- --screenshot TIME FILE-NAME
-
Capture a screenshot of the loaded scene and exit.
- --screenshot-range TIME-BEGIN TIME-STEP FRAMES-COUNT FILE-NAME
-
Capture a series of screenshots of the loaded scene and exit. The output can be a series of images specified like
output_@counter(4).png(see movies from image sequence for details about@counter(<padding>)macro) or a movie file.To save a movie file,
ffmpegmust be installed. See ffmpeg section for details.Movie recorded this way is guaranteed to be captured with stable number of frames per second. This is different than using independent programs to capture rendering output, which generally relies on the system being "fast enough" to be able to render useful number of frames per second, recording them at the same time.
We take
FRAMES-COUNTscreenshots. The first screenshot is at timeTIME-BEGIN, second screenshot is atTIME-BEGIN + TIME-STEP, next one is atTIME-BEGIN + 2 * TIME-STEPetc. - --screenshot-transparent
-
Make screenshots taken have a transparent background.
Together with one of these 2 options, you definitely want to pass also a model file to load, otherwise we’ll just make a screenshot of the default empty (black) scene.
4.1.1. Examples
Take a simple screenshot of a scene, at it’s default camera:
You can also take multiple screenshots or even multiple movies in a single run. For this, just use the above options multiple times.
Make a movie of 2 seconds of animation, with 25 frames per second:
castle-model-viewer my_model.castle-anim-frames --screenshot-range 0 0.04 50 output_@counter(4).pngCapture 2 movies from the same animation:
castle-model-viewer my_model.castle-anim-frames \
  --screenshot-range 0 0.04 50 output_@counter(4).avi \
  --screenshot-range 10 0.04 50 output_@counter(4).avi
This generates two files: output1.avi with 2 second animation from 0.0 to 2.0 time, and output2.avi with 2 second animation from 10.0 to 12.0 time.
4.1.2. Hints
-
To control the camera of your screenshot, place initial camera information in the model (glTF, X3D, VRML, Collada support this).
You can use
--viewpointcommand-line option (see below) to choose a specific named viewpoint for screenshot.You can generate wanted
Viewpointnode also by usingcastle-model-viewer, just set your camera (in interactive mode) the way you like and use menu item "Clipboard → Print Current Camera…". -
X3D has also the
Backgroundnode to control the color or textures of the skybox. -
To control the size of resulting screenshot, use
--geometrycommand-line parameter (documented in standard options understood by our GUI programs). -
To make your screenshot look best, you may want to use anti-aliasing, see
--anti-aliasoption below.
4.2. Other options
- --hide-menu
-
Hide the top menubar. Useful for full-screen presentations.
- --anti-alias AMOUNT
-
Use full-screen anti-aliasing. You can also configure it from the menu "File → Preferences → Anti aliasing". Using this command-line option is mainly useful together with`--screenshot` option.
Argument
AMOUNTis an integer >= 0. Value0means "no anti-aliasing", this is the default. Larger integer values (maximum is 4) make the result look better.There is no guarantee what specific values of
AMOUNTexactly mean, as this depends on your graphic card capabilities. Just test each method and decide which looks best on your system and is fast enough. - --viewpoint VIEWPOINT-NAME
-
Specify the name or a number of the viewpoint that will be bound (used) when the scene is loaded.
By default, when this option is not used, we follow X3D standard and use the first viewpoint found in the file (but not in the inlined files).
When the given
VIEWPOINT-NAMEis a number, it is treated as the index of viewpoint to be used (0 means the first viewpoint, 1 means the 2nd viewpoint and so on). Otherwise,VIEWPOINT-NAMEis treated as a node name (node name is given by"DEF Xxx"in X3D, and it cannot start with a digit, so this is unambiguous).In interactive mode, remember that you don’t need this option — instead you can use comfortable "Navigation → Jump To Viewpoint" menu.
- --no-x3d-extensions
-
Do not use Castle Game Engine extensions to X3D.
For example we will not use
Tangent,flipVertically,gravityTransformwhen importing glTF to X3D. This affects both rendering and converting to X3D using "File → Save As…" menu item. This makes X3D output valid in all X3D browsers, albeit a little less functional.
5. Converting model formats
In GUI mode, you can use menu items "File → Save As…" to save (converting if needed) model to a new format.
-
Most formats (glTF 2.0, Collada, Spine JSON, 3DS, MD3, Wavefront OBJ, GEO, sprite sheets) are always converted to X3D.
-
Formats Inventor, VRML 1.0, VRML 2.0, X3D can be saved back to their original format.
In this case, castle-model-viewer is simply a "pretty-printer", exactly preserving all the information inside the file, only reformatting your content and removing the comments.
-
VRML 2.0 can be also converted to X3D.
Conversion from VRML 2.0 to X3D is mostly trivial. There are some different keywords between VRML 2 and X3D, but generally X3D is simply a superset of everything that VRML 2 has.
You can also change the X3D encoding (from classic to XML or the other way around). Changing encoding is a lossless operation, as the same nodes graph can be exactly expressed in both encodings.
All these conversions can be also performed in batch mode using castle-model-converter command-line tool.
|
Warning
|
We used to also support --write-xxx options for castle-model-viewer. They are deprecated now. Use castle-model-converter to do command-line conversion. It is more functional, and the command-line is also simpler.
|
6. Recording and playing movies using ffmpeg
To play movies (in X3D MovieTexture nodes) and to record movies (by --screenshot-range option) you have to install ffmpeg
and make sure it’s available on $PATH.
- Linux and FreeBSD
-
Install
ffmpegpackage using your distribution package manager. - Windows
-
-
Find
ffmpegdownloads on ffmpeg site. -
Or use Chocolatey and install ffmpeg by running
choco install ffmpeg.
-
- macOS
-
Install
ffmpegusing various macOS package managers like:
Supported movie formats and extensions:
-
video/x-msvideo (.avi)
-
video/mpeg (.mpeg, .mpg, .mpe)
-
video/ogg (.ogv)
-
video/quicktime (.mov)
-
video/x-flv (.flv)
-
application/x-shockwave-flash (.swf, .swfl)
-
video/mp4 (.mp4)
To improve this documentation just edit this page and create a pull request to cge-www repository.