Pointer lock (mouse look) on the web — plus a big refactor and Windows improvements

Posted on

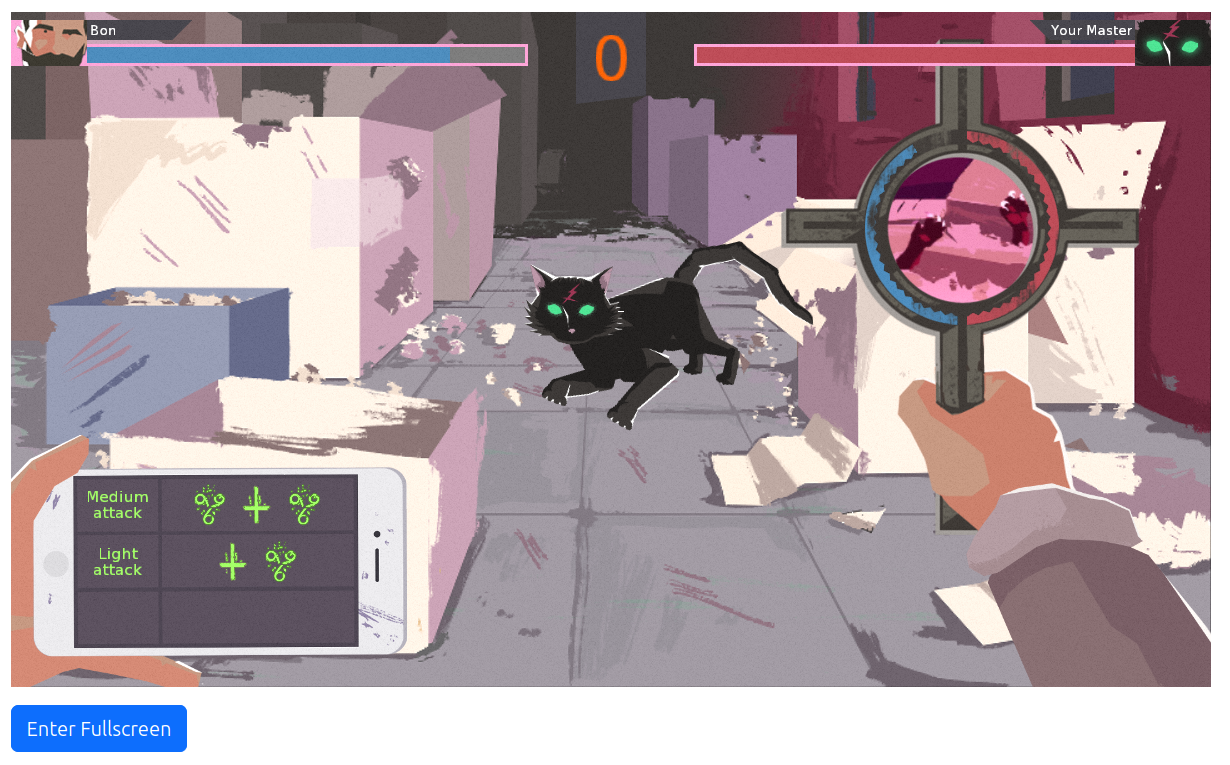
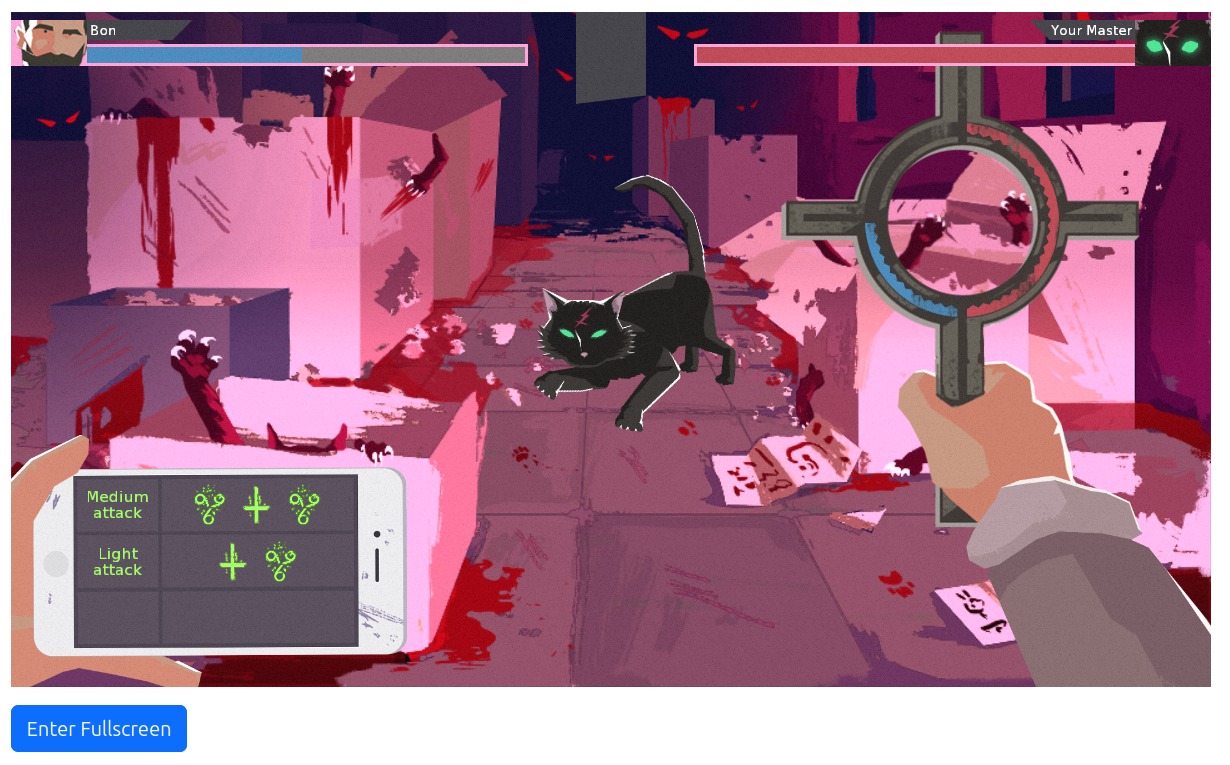
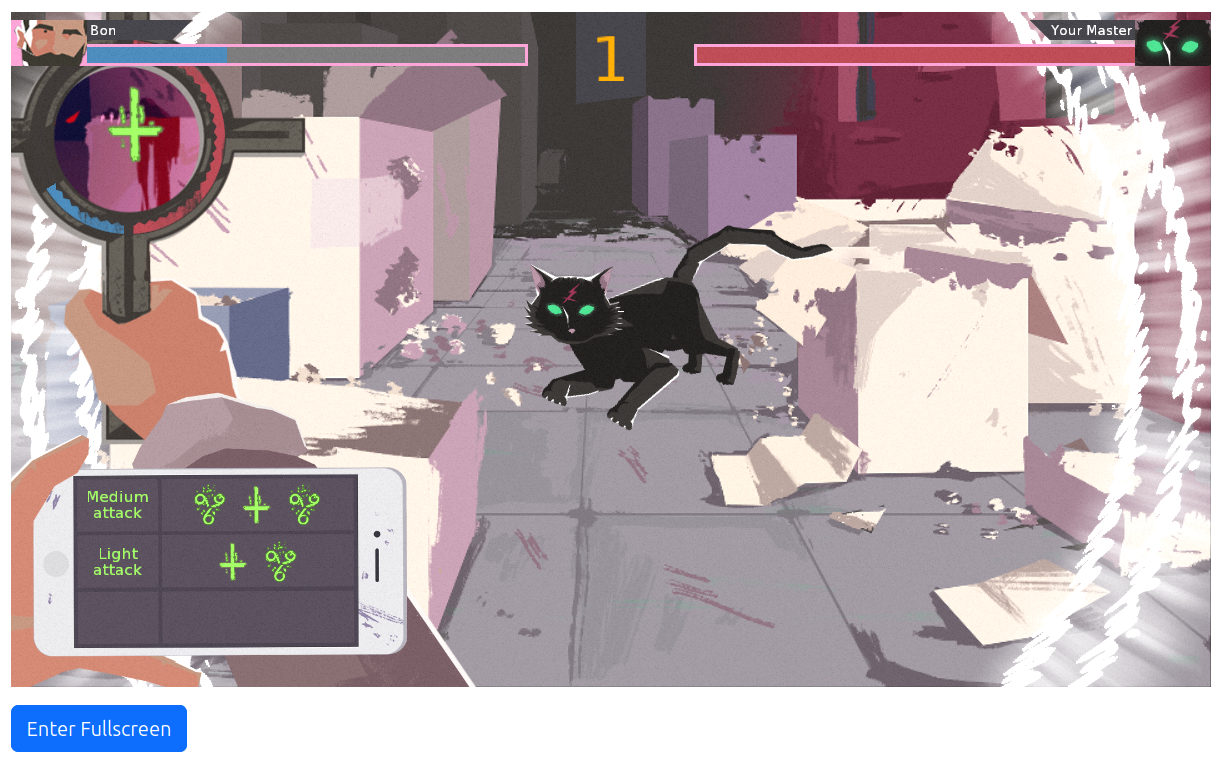
"The Unholy Society" - fight with a demon hell-spawn (aka "the kitty")

Note that I sent a sneak preview of this news using Patreon Quip earlier this week. I plan to experiment with Quips more in the future. The “quips” are visible to everyone, you can install the Patreon mobile app to get notifications about them, or just view the Patreon page with Quips. Of course, I will also continue to send longer posts (on Patreon, WordPress) about all new engine developments, which you get (if subscribed) by regular email.

Introduction

We have made the pointer lock (mouse look) logic work on the web, adding also the necessary API to observe when it was cancelled by the user.

We have also heavily refactored and improved how the pointer lock (mouse look) works on all the other platforms.

And we made a bonus specifically for Windows: we now perform additional operations to keep the mouse “confined” to the window during pointer lock, even if you have low FPS or move the mouse like crazy.

What is pointer lock, mouse look and first demos

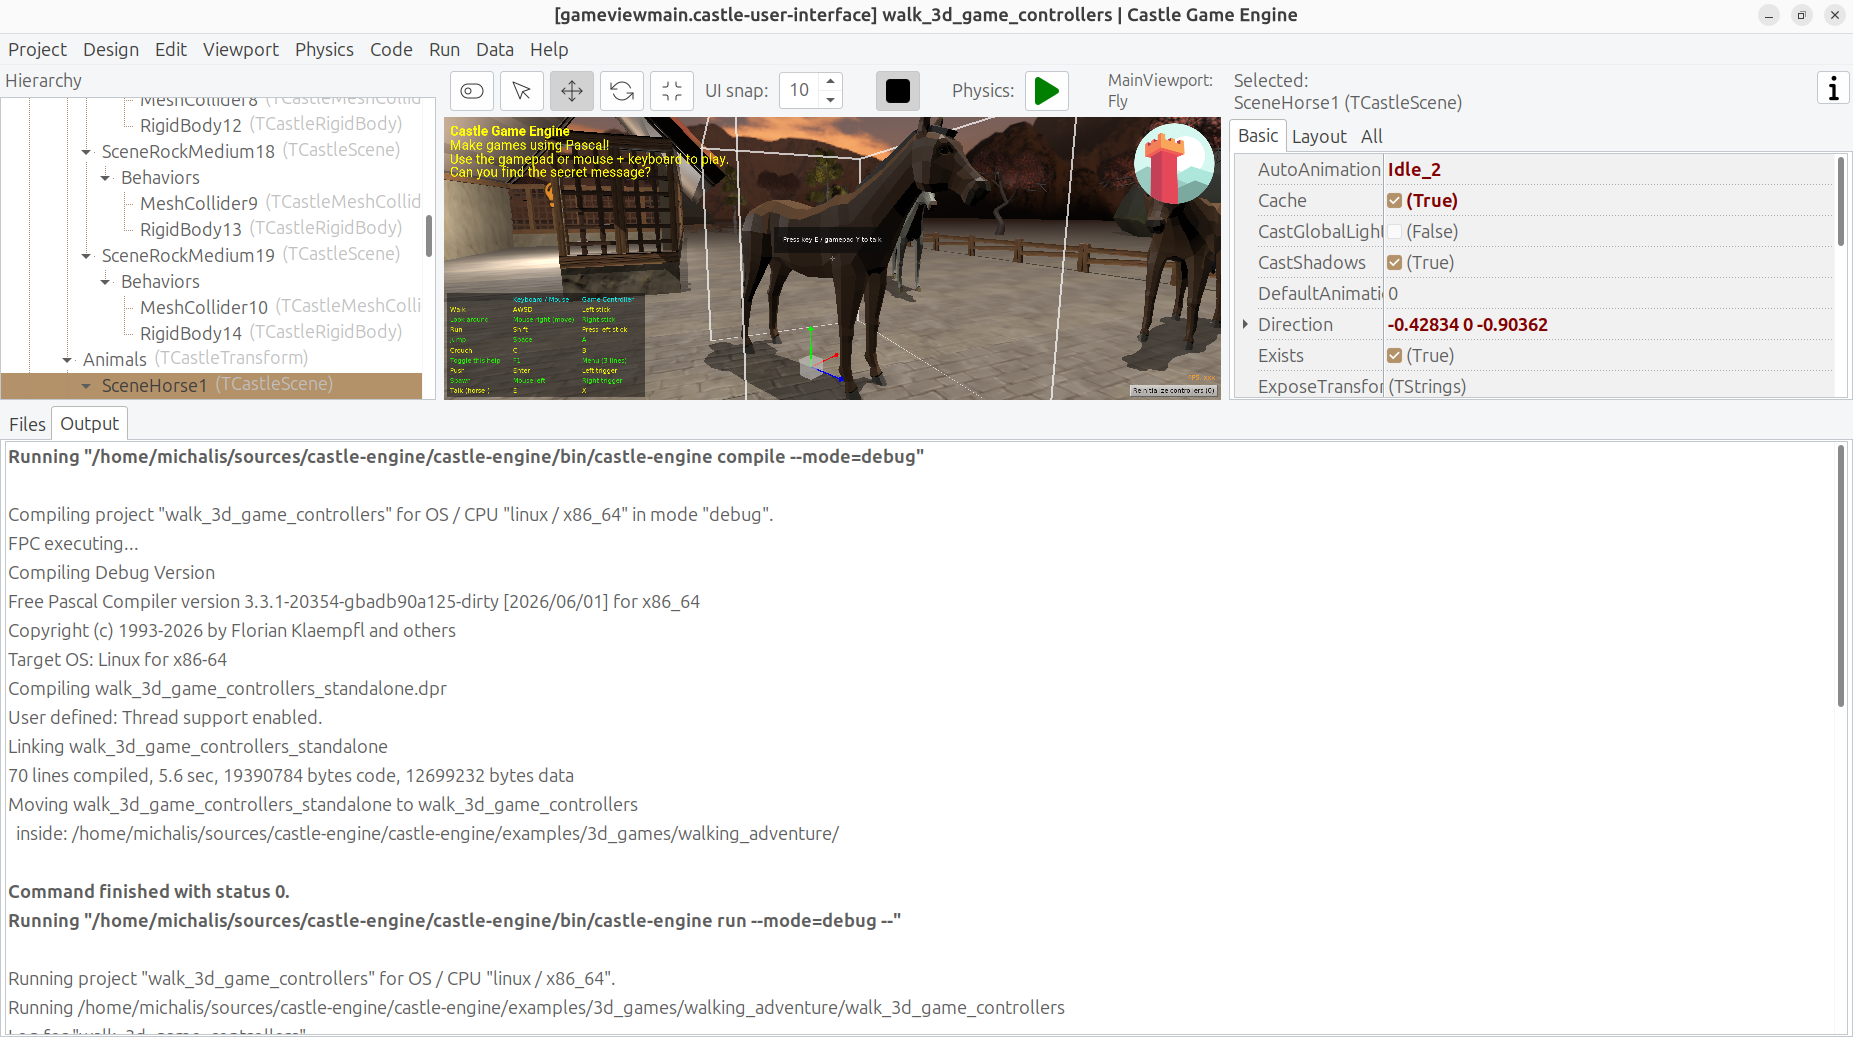
The mouse look mechanism is used by 3D applications to look around. The idea is that you move the mouse to look around. The mouse cursor stays hidden, and the position of the mouse cursor is an internal thing that should not concern the user. For example, test it by right-clicking in:

The more generic name for this idea is “pointer lock” and it can also be used to implement “unbounded dragging”, useful for 2D operations. See examples in:

Special considerations on the web

The web platform has important peculiarities around pointer lock.

We tested our implementation on Firefox, Vivaldi (Chromium-based) and Google Chrome. It really should work in all browsers, and we adjust to some of the browser-specific “quirks”.

All the demos

We have many more demos! Here’s a complete list — every one of them has a web build you can try right now, and a link to its source code:

Refactors

Internally, we have rearranged how “mouse look” works on all the platforms.

First of all, we have introduced a class TCastleAbstractPointerLock (and internal descendants) that you can access by TCastleContainer.PointerLock.

This makes the engine code easier to adjust. A particular descendant can implement pointer lock in a way best for a particular platform. Right now, we have 3 implementations:

  1. For the web (TCastleWebPointerLock), using the web pointer lock API. The web browser does the job of hiding and repositioning the mouse for us, in this case. We are prepared for the user cancelling it at any time.

  2. Cross-platform for desktops (TCastleDesktopPointerLock). It assumes that setting Window.MousePosition and changing cursor shape (potentially to invisible) works on a given platform.

  3. Specialized implementation for Windows (TCastleWindowsPointerLock).

Note that all these classes (TCastleWebPointerLock, TCastleDesktopPointerLock, TCastleWindowsPointerLock) are internal. You don’t use them directly. You only use the abstract TCastleAbstractPointerLock API.

Note that mobile platforms typically do such navigation in a different way. See the “Navigating in 3D on touch devices using TCastleWalkNavigation” section in touch input for an overview of how to make comfortable navigation on mobile. This is not the topic of this news post — we only mention it here for completeness, if anyone wonders “what about phones?”.

We did a lot of changes to how pointer lock works internally, on all the platforms (including desktops):

  • We no longer need to take any ControlRect within which we were repositioning the mouse. We make sure the component controlling the mouse look receives the necessary events, regardless of where it is.

  • We expose new TInputMotion.Delta, simpler to use than old Container.MouseLookDelta.

  • On desktops, hiding the mouse during “mouse look” is now done without touching any public fields like Container.OverrideCursor or TCastleWalkNavigation.Cursor.

While working on this, we also had to improve our input capturing code, which deals with:

  • ForceCaptureInput
  • Something that controls pointer lock, like TCastleWalkNavigation.
  • Captured controls, which receive events because you started dragging on them.

Things are more consistent and reliable in various ways. For example, changing Exists of components is now more consistent: a navigation with Exists = false naturally resigns from controlling the pointer lock.

Windows improvements

Finally, we have used this opportunity to do some Windows-specific improvements. With the new code organization, it’s easy to extend the mechanism to improve the behavior on a specific platform.

On Windows we now keep the cursor more reliably within the window during pointer lock, by WinAPI SetCapture + ReleaseCapture and ClipCursor calls. Our approach is a bit similar to what the Godot Engine is doing, so we’re following a proven solution.

In effect, the mouse will not “escape” from the window when pointer lock is active, even if you’re in a windowed mode, with low FPS, and/or move the mouse with wild speed.

I hope you enjoy all these details 🙂 Please support our work on Patreon and have a ton of fun making games during these summer holidays!
Comments on the forum ➤

Windows downloads now code-signed – no more Smart App Control blocks. Plus smaller downloads (7z, tar.xz)

Posted on

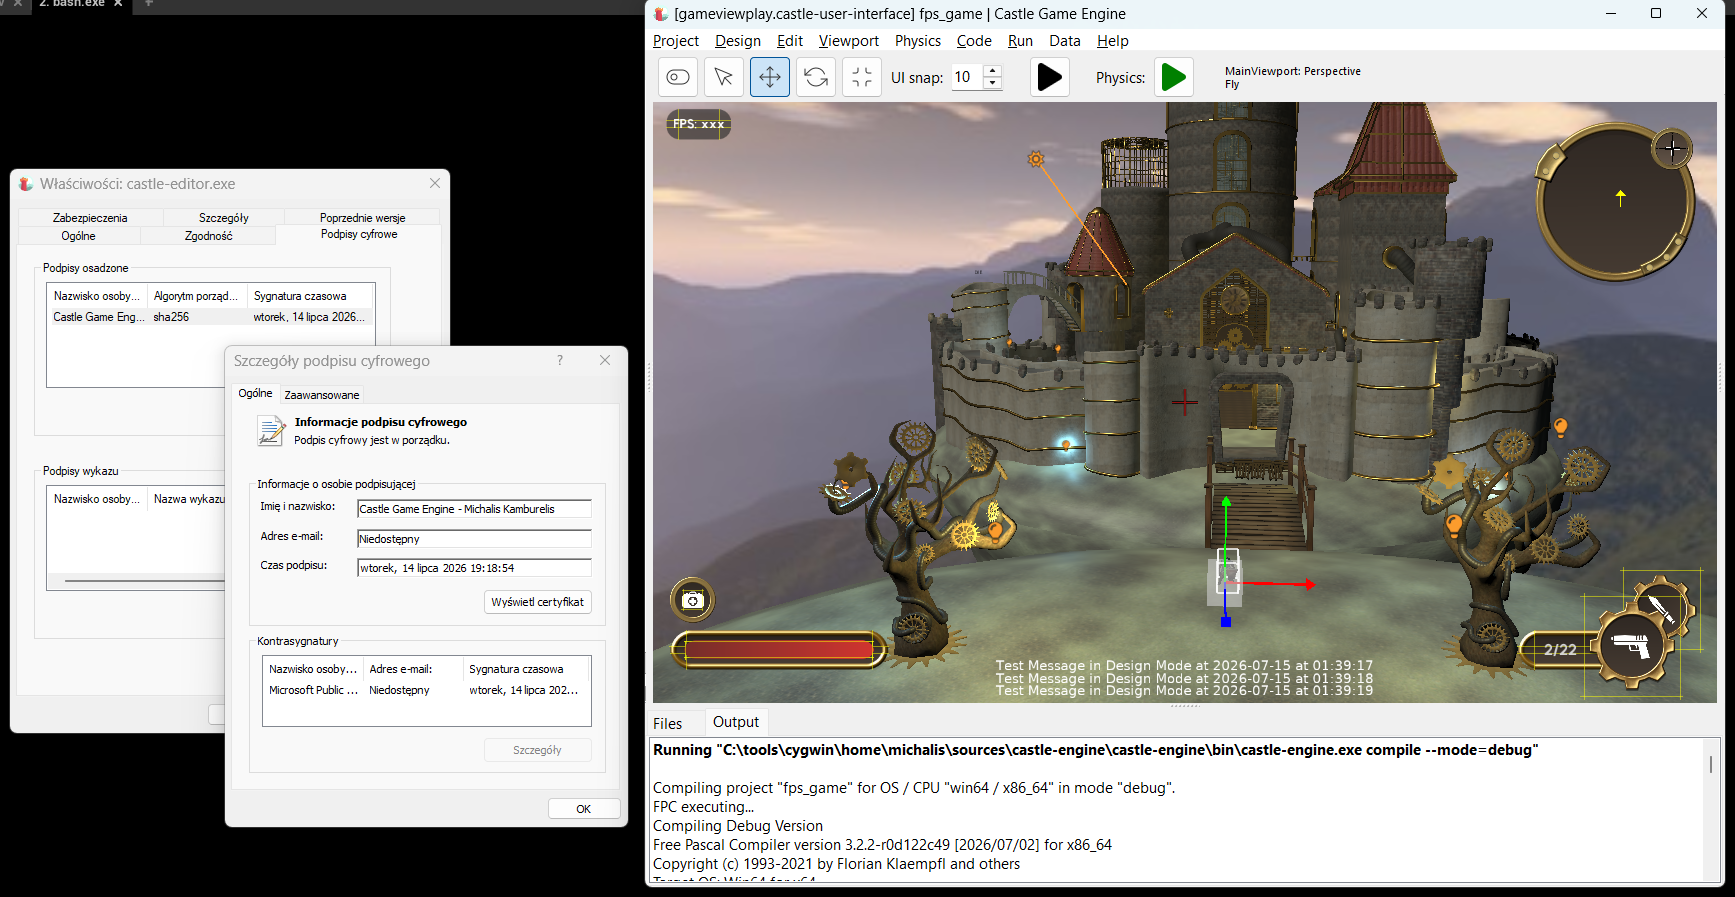
Editor code-signed on Windows

Our downloads for Windows include now all the executables code-signed, which means that they are trusted and running the engine will raise fewer alarms from various Windows protection tools. In particular, “Smart App Control” (mentioned also in past news) will no longer block us, randomly preventing you from running compilers or your applications. This applies to all our downloads, including the automatic snapshots made after every commit+push.

We have also decreased a bit the size of our downloads, thanks to a small de-duplication fix and using more compressed formats for some systems (tar.xz for Linux, 7z for Windows).

Let this also be an occasion to ask for your support on Patreon. Your support really matters, enabling me to spend more time working on the engine. Our “infrastructure costs” are rising — the signing, employed now, will cost us an extra 120 USD / year (this comes on top of Apple membership costs, servers costs, domains etc., and on top of my cost of living 🙂 ).

That was the short version of the news 🙂

What follows is a detailed description of how / why we did the signing. I hope it is interesting, in particular if you wonder how to code-sign on Windows yourself, but admittedly there’s a lot of “gory” details below. Read on if you’re brave!

Various solutions to sign on Windows

We have done a lot of research about how / which signing solution to use:

  1. I rejected usage of Certum certificates. They are cheap, but using them with CI requires quite some hack with Docker executing GUI application inside. I don’t believe this will be maintainable for a long-run, as we try to use it also for CI builds.

  2. I had high hopes but in the end resigned from using SignPath Foundation for OSS projects. It’s a great initiative for open-source projects, “SignPath Foundation” can provide you with tools and sign your executables for free. However, it wasn’t a fit for us:

    • The process puts some constraints how we can use signing, in particular it is not allowed to sign 3rd-party tools (this means bundled FPC in our case) we ship with our engine. See their terms.

    • It also has additional constraints: “Every release needs manual approval for signing.”, signing 48 GB / year. So it’s not really for CI snapshots, only for “real” stable releases (which we should do more often, but that’s another story 🙂 ).

    • It would also practically tie us to GitHub, since their Trusted Build Systems for OSS support only GitHub Actions or AppVeyor, you cannot build anywhere else. And I want to avoid being limited to only these 2 CI systems — I like Codeberg more and more, and GitHub less and less and I want to keep our migration options open 🙂

  3. I eventually settled on Azure Artifact Signing (formerly known as Azure Trusted Signing), a signing service straight from Microsoft.

    • It costs (10 USD / m) but it gives us the flexibility we need.

    • Tooling is really good and cross-platform. One can build any script on top of Windows signtool or cross-platform jsign.

    • We can sign everything — engine tools, and compiler we use.

    • It’s really well made to work in CI. The way Azure Login works with OIDC (OpenID Connect) was new to me, and really cool. It took some time to understand and set up… but the end result is really nice. It means that CI system (which can be GitHub, but also Forgejo implements OIDC workload identity federation) creates a token, authenticating that this is a particular project on a particular branch. There’s no need to establish/exchange any secret (that would be an attack possibility on our Azure account) to make signing work from CI.

    • Note: this is not available for individuals outside US/Canada, but luckily I’m a company in Poland so we are eligible for it.

All in all, we have a reliable system, and you shall see all our executables on Windows signed by “Castle Game Engine – Michalis Kamburelis”.

Our scripts to sign in castle-build-ci

Our castle-build-ci repository has now bash scripts to perform signing using Azure Artifact Signing. You’re welcome to use them too, they are generic and documented in castle-build-ci/windows.

As with Apple signing scripts (already done in the past), I decided to design this as bash scripts (portable to all systems, including Windows, and of course all Unix like Linux, FreeBSD, macOS). This is in contrast to using ready GitHub Actions for signing, like this one. Why bash scripts? I explained the reasons in detail here, in short:

  • Having this as bash script is more powerful: can be used in the middle of another bash script. And can be passed as InnoSetup command to sign uninstaller too.

  • bash script can be tested on a local system, i.e. I can just use the same scripts to sign locally, not in CI. I found this to be a great help when debugging — I don’t need to wait for GitHub Actions to perform first test of the scripts.

  • It keeps us more independent from GitHub Actions, which is desirable for me, as I’m really looking forward to jump to Codeberg, and we already test their Woodpecker CI. Forgejo Actions may also be a viable option at some point. I do not want to depend on GitHub for our engine existence.

Signing everything!

FPC builds from castle-fpc are now signed, on both macOS and Windows.

Lazarus builds from castle-lazarus are now signed too, on both macOS and Windows. We don’t bundle it with CGE for now, but it’s ready.

Our Castle Game Engine releases are now signed, by our pack_release.sh script (controlled by GitHub Action workflows). Everything is signed:

  • All our tools are signed (castle-engine, castle-editor, castle-model-viewer…).
  • Installer and uninstaller are signed.
  • pasls (LSP for VS Code and other editors) is signed.
  • And bundled FPC is signed, as mentioned above.

Finally, standalone snapshot releases of our viewers are also signed:

The tests confirm this is now good and makes Windows happy. I can install our engine, run editor, see detected (bundled) FPC version, create new project, build it and run — and everything works even with the dreaded “Smart App Control” turned “On”.

Our Pascal Language Server, used by VS Code / VS Codium extension also works without any fuss, as it is also signed.

Size optimizations

We also did some size optimizations, since we’re aware the engine downloads are big, and we’re looking for ways to trim them down (ideally: still keeping examples as part of default downloads).

  • We found and removed duplicated binaries of our tools. These needlessly inflated download size by 40-70 MB (depending on system) — fixed now.

  • We added alternative archives compressed by 7z (for Windows) and tar.xz (for Linux). These have much smaller sizes than simple zip, lowering download size by ~250 MB (for tar.xz) and even 300+ MB (for 7z). No loss of functionality, just better compression!

  • We also removed “non bundled” download archives, because maintaining them was becoming too much work, our GHA scripts were getting quite complicated. They were only available for 2 platforms (win64/x86_64 and linux/x86_64) and the size gain from not bundling FPC was < 100 MB after above optimizations.

Thank you!

Woah. This was a big infrastructure change, to make all our Windows stuff signed. Enjoy!

And if you like what we do, and like our long news posts :), please support us on Patreon.

Comments on the forum ➤

TCastleProcess and ExecuteCommand available with both FPC and Delphi, no more cryptic “Failed to execute  : 4551” when Windows “Smart App Control” blocks us

Posted on

Editor executing compiler and game - this is one process calling another
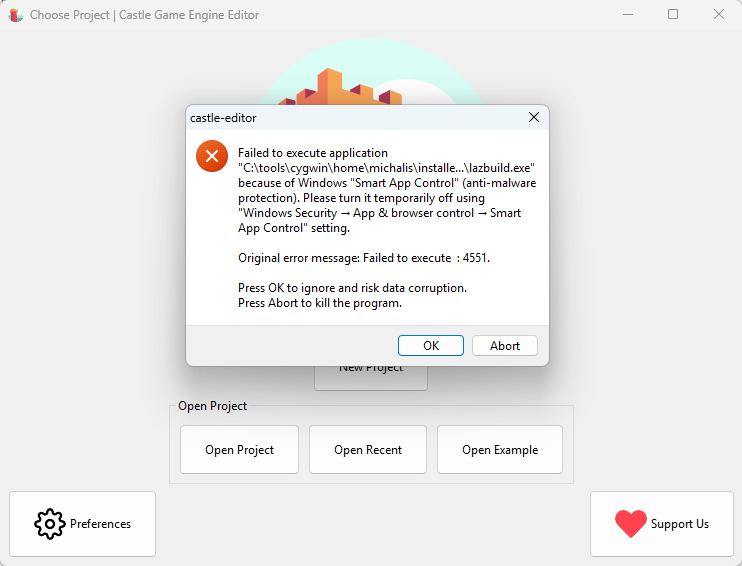
Effect when &quot;Smart App Control&quot; blocks us

We refactored our process running code (when one application wants to run another). This is used throughout our tools (build tool, editor) but we also have uses for it in the engine itself. Refactoring this into a nice unit gives us more possibilities, for now and for the future:)

  1. The code is now in a nice unit CastleInternalProcess available throughout the engine, with TCastleProcess class and our routines like ExecuteCommand, ExecuteCommandCapture.
    • As the name suggests, we still consider this an internal unit, so if you decide to use it in your own applications -> you risk that we break API.

    • That said, there’s no hiding that the unit is useful right now, with FPC+Delphi capability to run processes. Let us know how do you use it, and maybe we’ll just rename it to CastleProcess at some point.

    • Since this is internal now, the API docs are not generated by PasDoc, but you can just read the source code for the docs in comments.

  2. The code is simpler and better organized than previous code in build tool / editor. Some of the old internal code had “historical baggage” (e.g. how is environment overridden for the child process) which was cleaned up now.

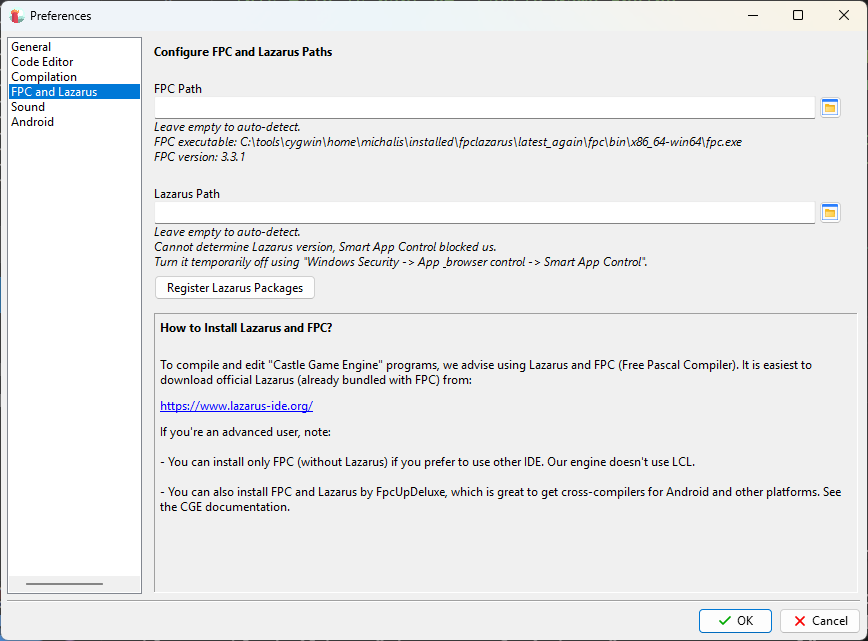
  3. Since all usage now goes through TCastleProcess, we can reliably make a better error message when execution on Windows is blocked by “Smart App Control”. FPC Process was showing cryptic “Failed to execute  : 4551” message in this case. This is quite important — as this message is killing our usage on Windows now!

    • Note that this Reddit comment with cited Microsoft documentation tells the simple version of what happens: “Smart App Control” checks if the application is “known”, and if not -> checks does it have a valid signature. As that comment says: “it effectively just prevents you running any programs that don’t have a digital signature”.

    • Proper codesigning is coming ASAP too. I see that with “Smart App Control”, right now our experience on Windows is really bad. We have started our SignPath process, I need to finish it.

  4. TCastleProcess and helpers are now implemented also for Delphi (for Windows, Linux, macOS/Intel, macOS/Aarch64).

    • This also opens the door to have e.g. our build tool compile-able with Delphi in the future. It’s not a high-priority goal (it is an engine tool, you should not need to recompile it yourself), but it aligns with our goal “support Delphi as good as FPC”. On more practical grounds, compiling code with Delphi is always a useful “extra check” of the code correctness.
  5. We feature helpers like:
    • ExecuteCommand – wait for the executed process to finish, don’t capture anything, return status.

    • ExecuteCommandCheckStatus – wait for the executed process to finish, don’t capture anything, raise exception if non-zero status.

    • ExecuteCommandCapture – wait for the executed process to finish, capture stdout/stderr to string. This one is for now still FPC-only.

  6. OpenDocument, OpenUrl on Unix are simpler now — they just use TCastleProcess through a simple ExecuteCommandNoWait, with both compilers.

Comments on the forum ➤