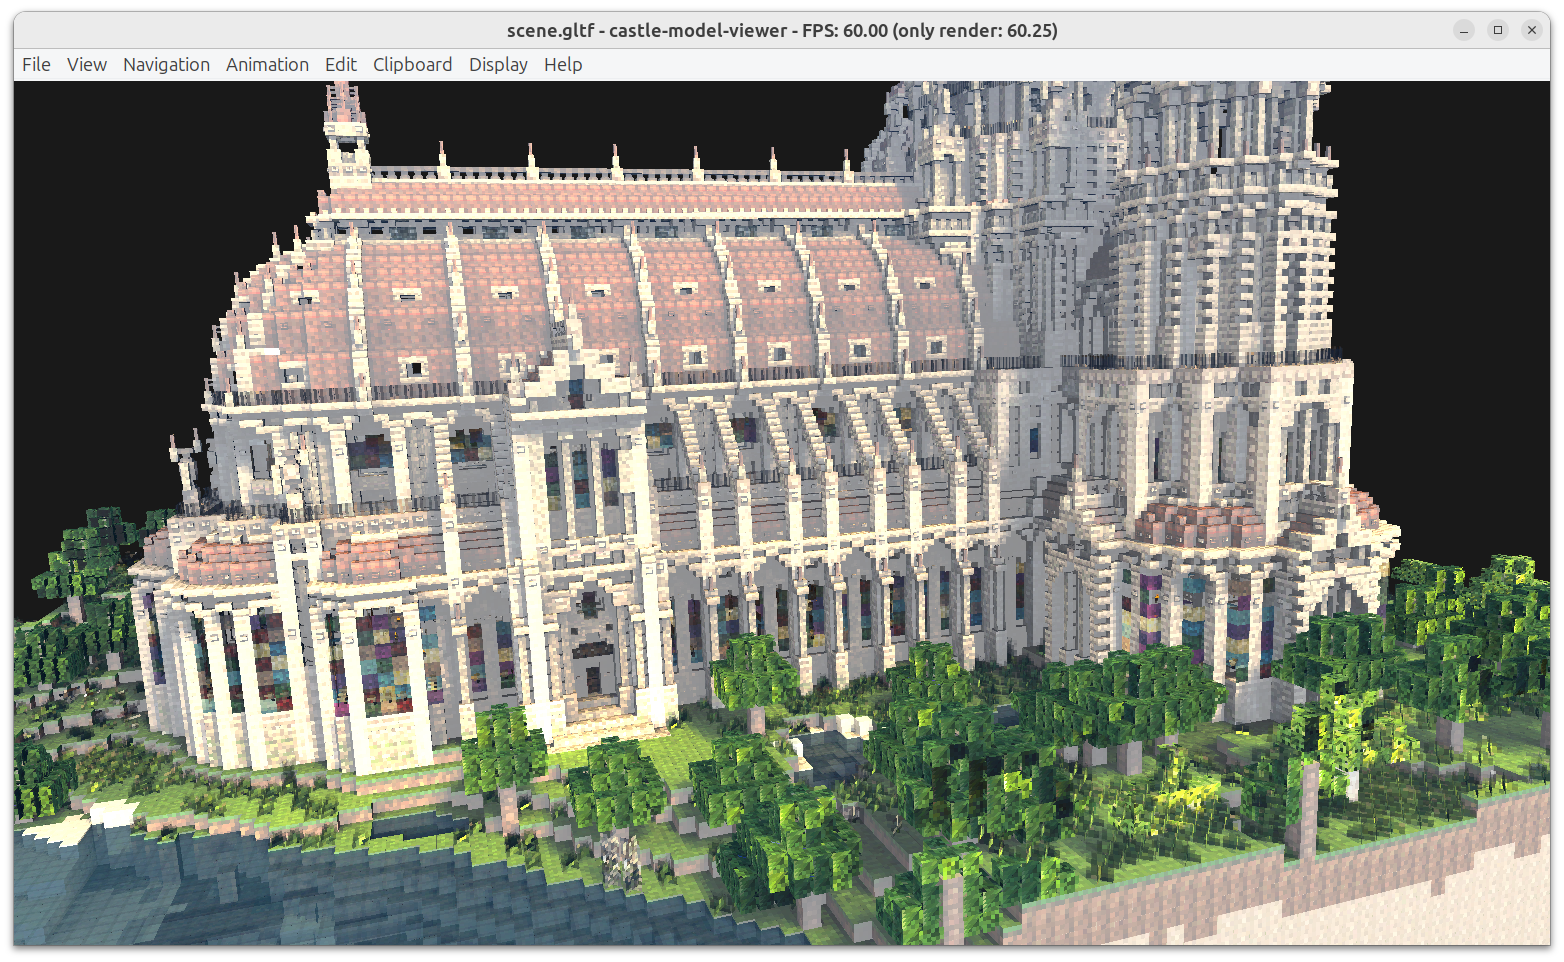
We’re proud to announce a new version 5.0.0 of Castle Model Viewer, previously known as “view3dscene”. This is our tool to view 3D and 2D models in many formats (glTF, X3D, VRML, Spine JSON, MD3, …), and it is powered by the Castle Game Engine.
Along with the viewer, we also release new version of Castle Model Converter (formerly tovrmlx3d), a command-line tool to convert models between various formats.
Underneath, all the released tools use the latest Castle Game Engine version which will soon be released too as 7.0-alpha.3.
New Castle Model Viewer features:
-
A ton of fixes and optimizations coming from using new Castle Game Engine 7.0-alpha.3. Some highlights (engine features that improve the viewer):
-
Default fonts include a lot of common Unicode characters, so rendering text in local language in most cases will now just work “out of the box”.
Almost all common glyphs are included, except the languages that have a lot of specific characters or require specific fonts: Chinese, Japanese, Arabic or similar. If you find your language characters missing, let us know, and we will likely “just add a few more characters” to the default font. Unless your language has really a lot of specific glyphs. If in doubt, really let us know, we will talk and see 🙂
-
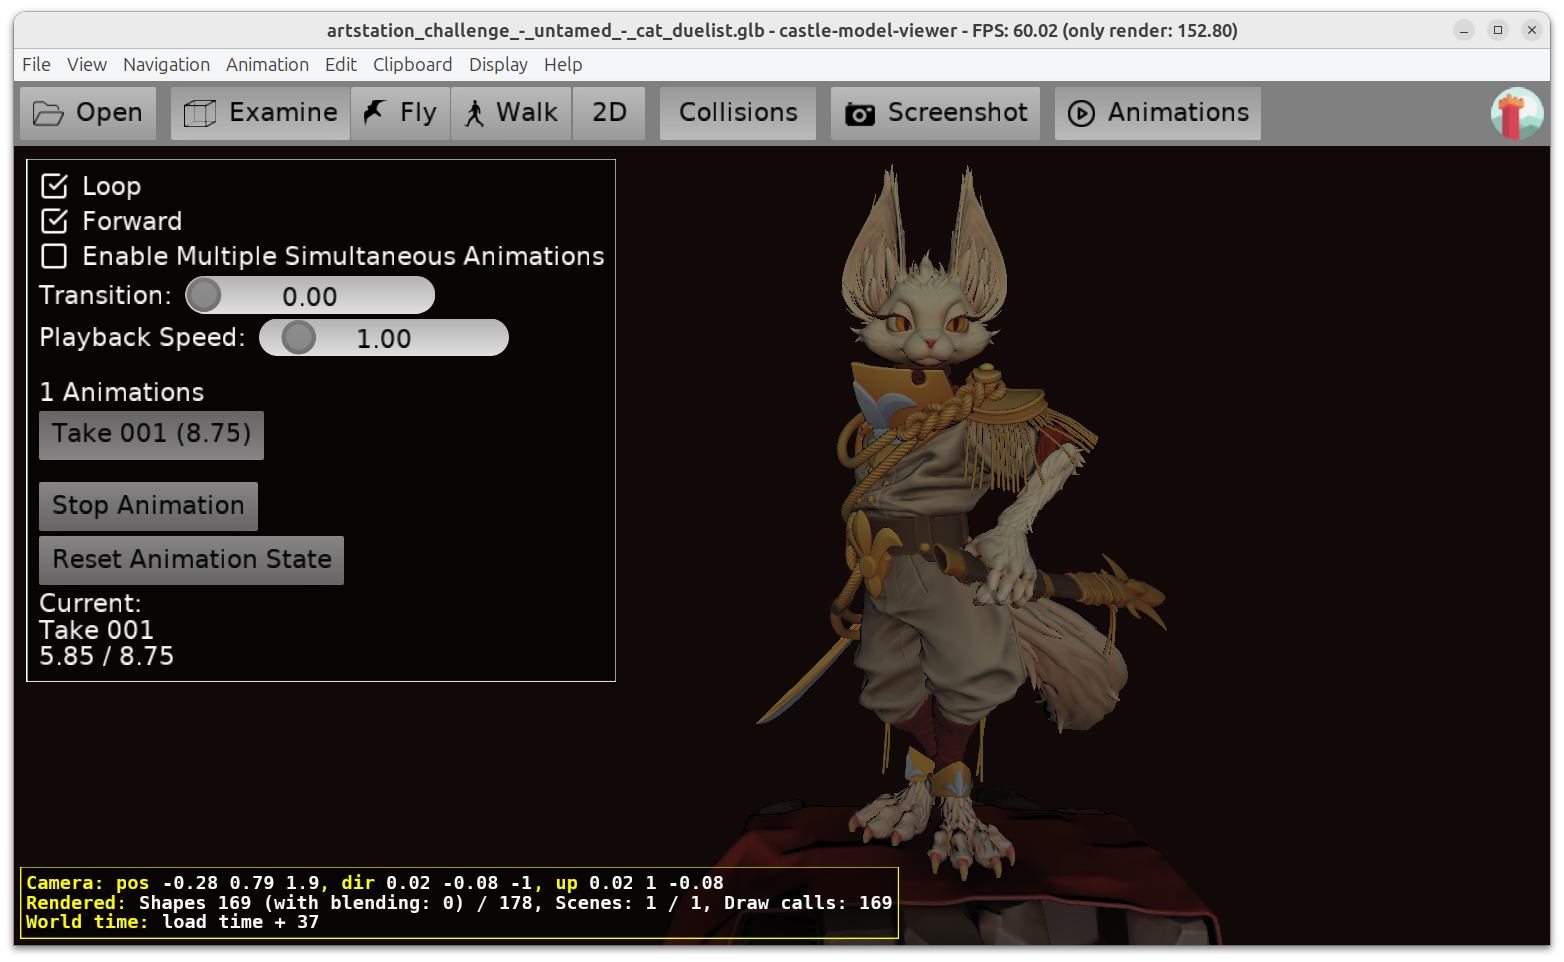
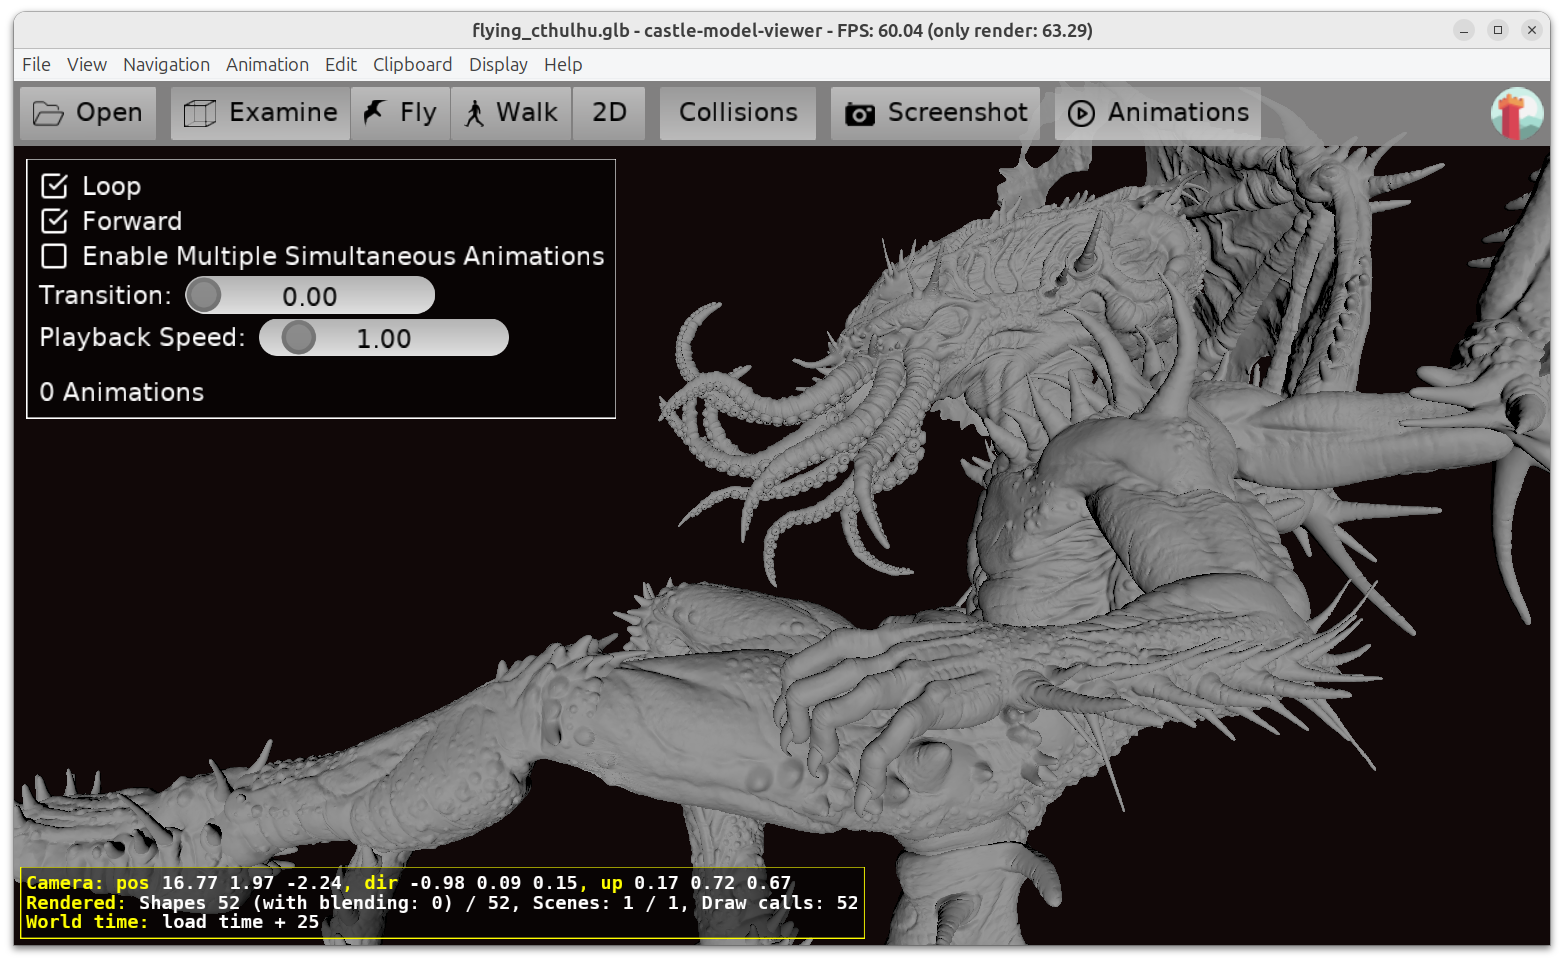
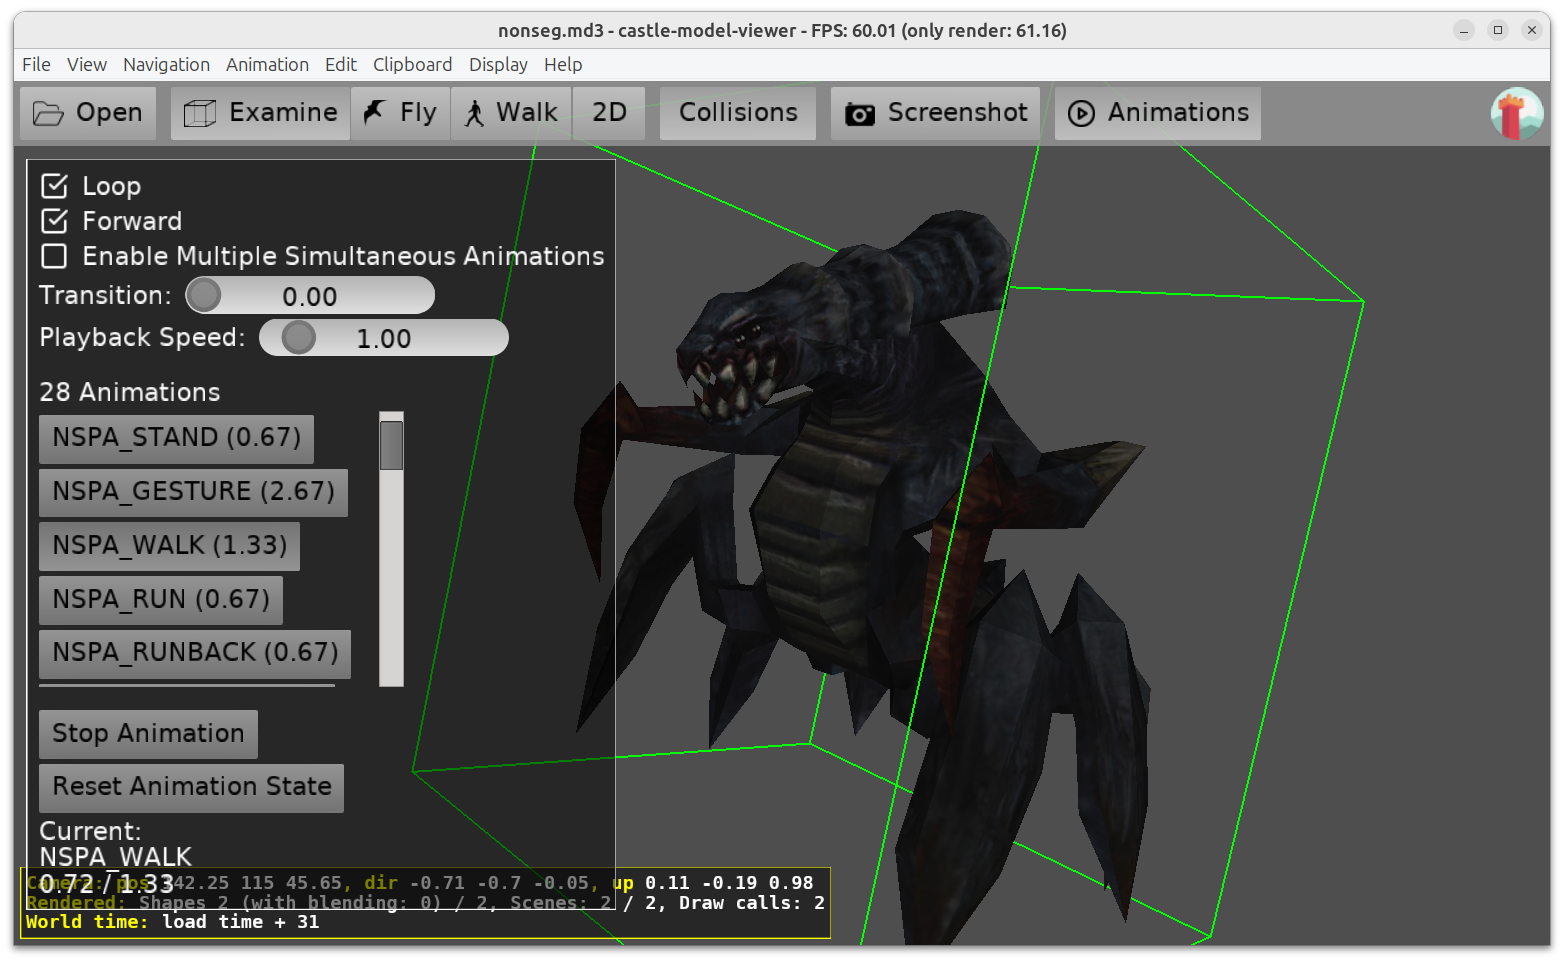
MD3 support improvements: multiple animations supported (we load
animation.cfg). Choosing skins. Support for tags. Optimized loading.
-
X3D 4.0 support improvements, e.g. proper metadata containerField handling for both X3D 4 and 3, and added new X3D 4.0 fields to various nodes.
-
We changed how we deal with duplicate names in the input (like non-unique names in glTF content). We now rename non-unique node names on input (like glTF) to be unique on output (to guarantee to make valid X3D from valid input glTF).
See docs: glTF files may have non-unique names, but we advise to generate them to be unique; eventually we’ll force them unique at loading. See also more details in the What to do with node names when importing e.g. glTF? document.
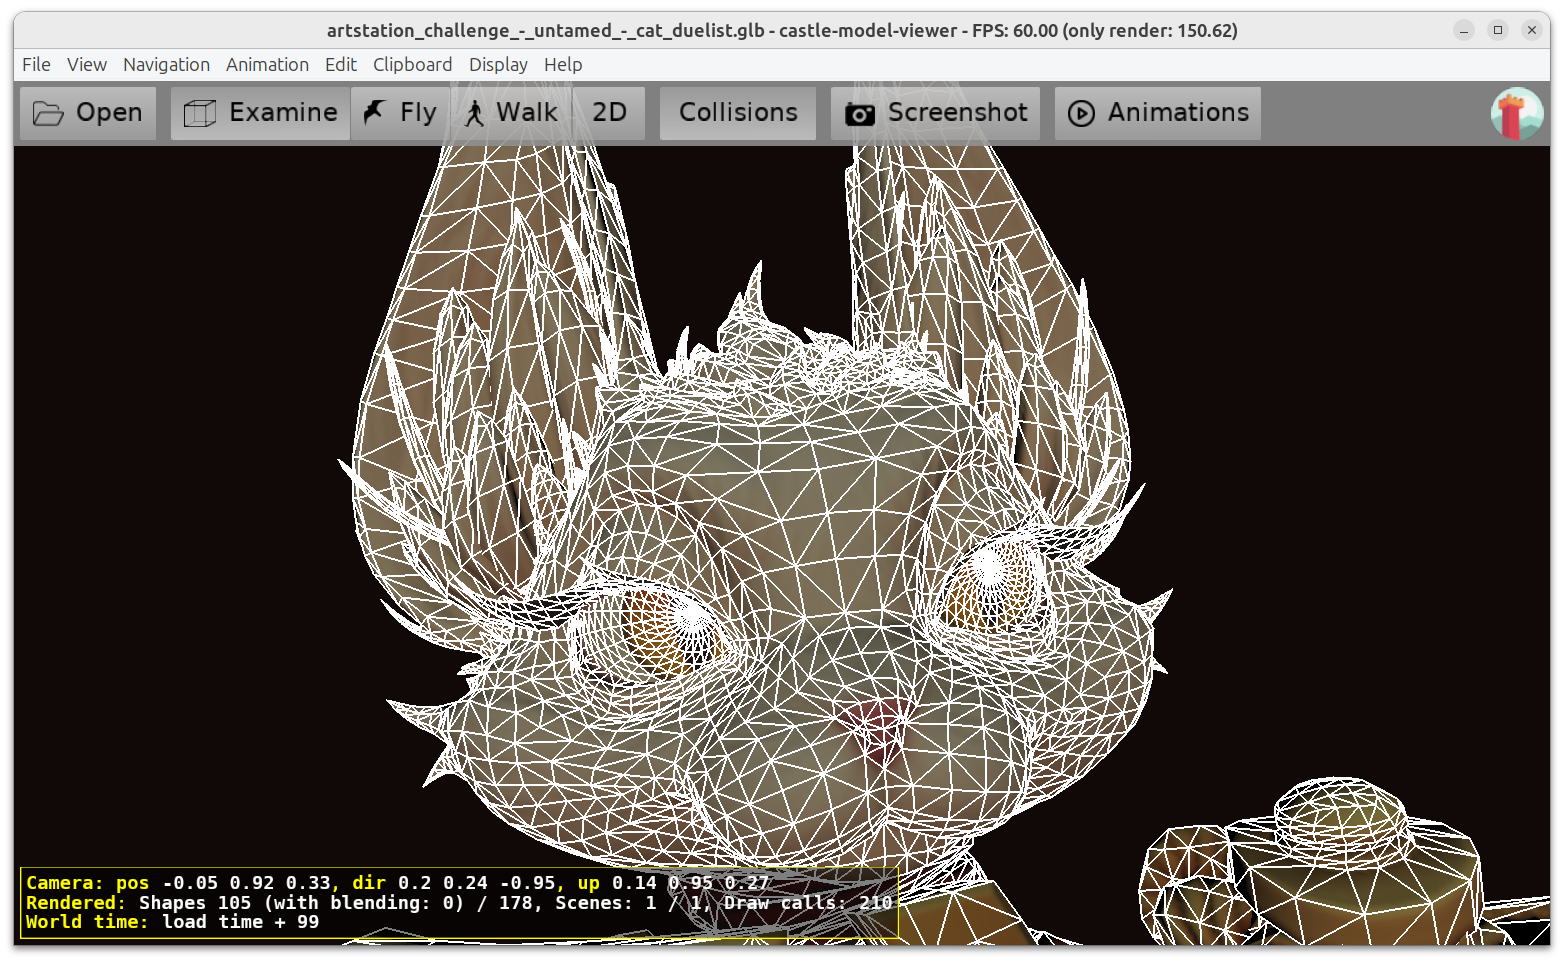
And see demo of glTF including in X3D: avocado_and_exports. Here the Castle Model Viewer allows to work with the glTF file, despite glTF having duplicate names.
-
Faster on modern systems, due to using only modern rendering features.
-
Reliable on older systems, due to better tested “fallback mode” for old OpenGL workings.
-
Fixes for shaders on older ATI GPUs.
-
Prettier panel icons and buttons.
-
Improved menu items to edit materials – you can now reset material, and create any material type (physical, unlit, Phong).
-
New conversion options of Castle Model Converter:
-
Option to only validate (
--validate)
-
Read from stdin (with optionally providing the base URL to resolve relative URLs using
--stdin-url=URL)
-
Configure output float precision using
--float-precision=DIGITS
-
2nd parameter to specify output file name (optional; if you still want to save to stdout, you can influence output type using --stdout-url)
-
Option to save to STL (binary). Also available in our online converter and “File -> Save As…” in Castle Model Viewer.
-
We plan to add glTF output to the converter soon.
-
Converter is also packaged in big engine download, just like the viewer already was. So if you download complete engine, then you already have all our tools, no need to download the viewer and converter separately.
-
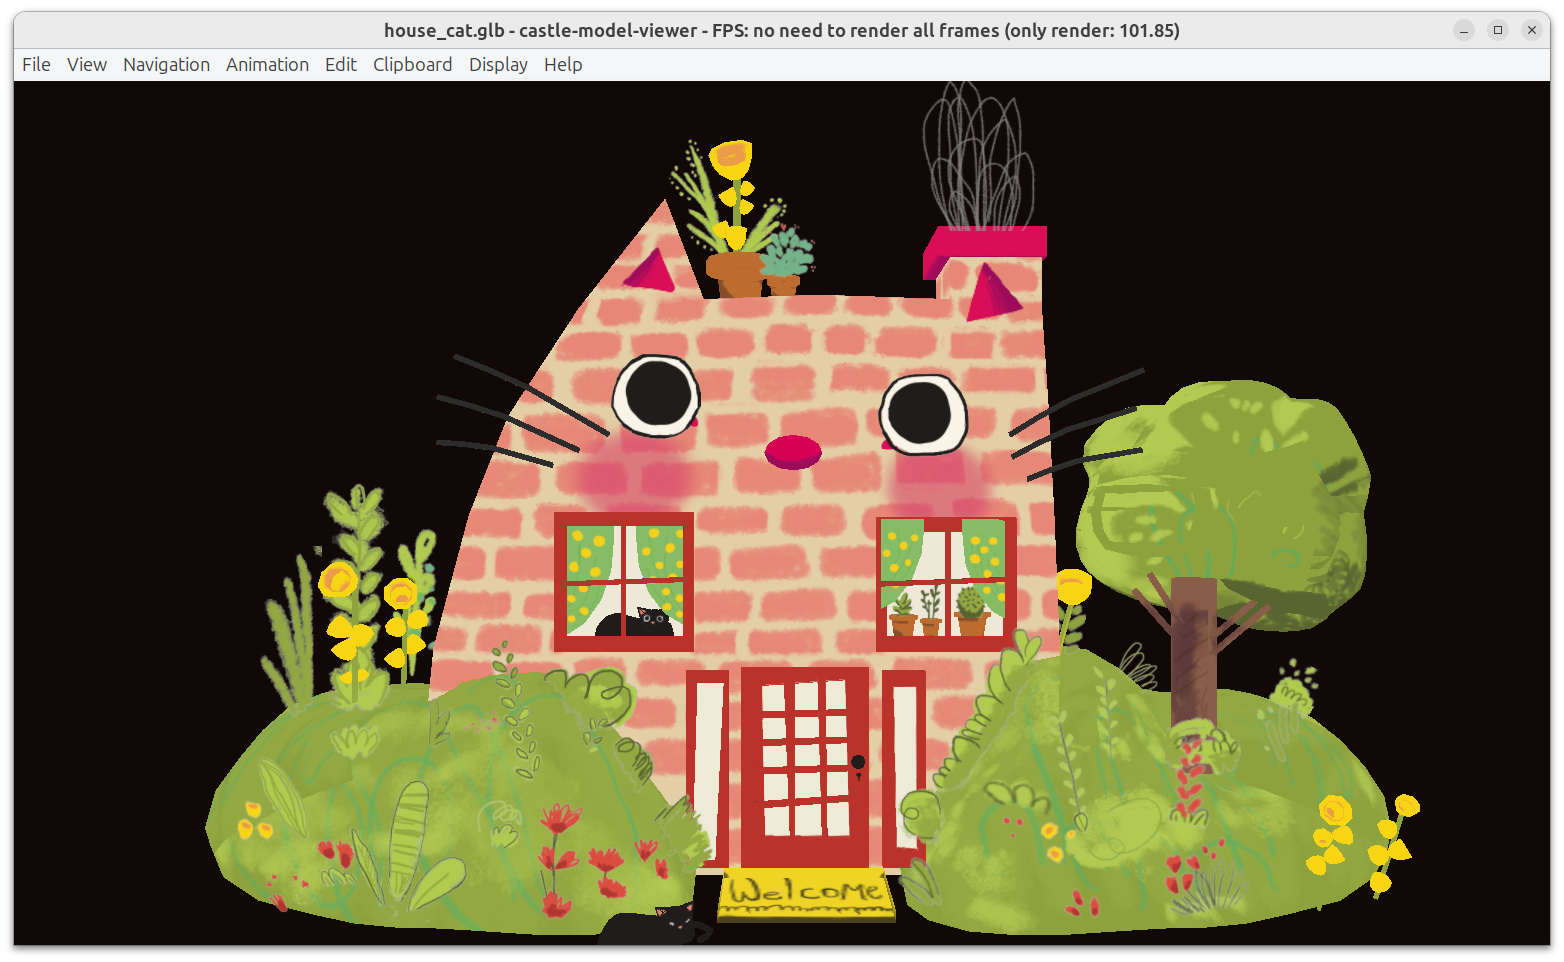
The viewer is packaged with a few example models, find them in the example_models subdirectory of the package. This is a small representative subset of our demo models.
New names – what, why?
As you see, we also renamed our tools. Summary:
The new names should better reflect the features (current and planned) of our tools. In particular:
-
Rename of “tovrmlx3d” to Castle Model Converter allows us to naturally add more output formats. We added STL, we plan to add glTF output soon. This means that Castle Model Converter will be useful to convert both ways, glTF -> X3D (right now) but also X3D -> glTF (soon!).
-
New names make the association with our engine obvious. They communicate “we support all formats supported by Castle Game Engine” which is the point of the tools, they are the “core” CGE tools and will always support everything that CGE supports.
-
New names avoid strict “3D” association. While we support many formats that are usually used for 3D, but the viewer (just like the engine) stays universal and supports also 2D formats. For example, 2D spite sheets, Spine JSON, Tiled maps and even simple images. You can also design and view 2D models in traditional “3D formats” like glTF or X3D.
Please support us on Patreon if you find our tools useful. Thank you!
If you find any issues with our tools, please report them using GitHub issues, or just talk to us on forum, Discord or other places.