-
You should install the latest version.
-
It that fails, try the most tested version, which as of now is Java SE Development Kit 17.0.2.
Android
Table of Contents
 |
1. Introduction
To create applications for Android you need to install some additional software.
2. Examples and build tool
Almost all our examples, and all new projects created by CGE editor "New Project", are automatically cross-platform and can be compiled for Android. In particular:
-
You can create "New Project" from any template - 2D game, 3D game etc. You get a cross-platform application that can be build for Android.
-
examples/mobile/simple_3d_demo/ - 3D world, navigation and graphic effects on Android.
-
examples/mobile/game_services/ - 2D animation and Google Play Games integration on Android. Shows how you can use achievements and leaderboards.
Once you finish this chapter, you will be able to use use the editor or command-line build tool to compile all these programs (and almost all other engine examples) for Android.
3. Installing Android tools
3.1. Install Java
-
We recommend that you install full Android Studio that already includes best Java version suitable for Android development.
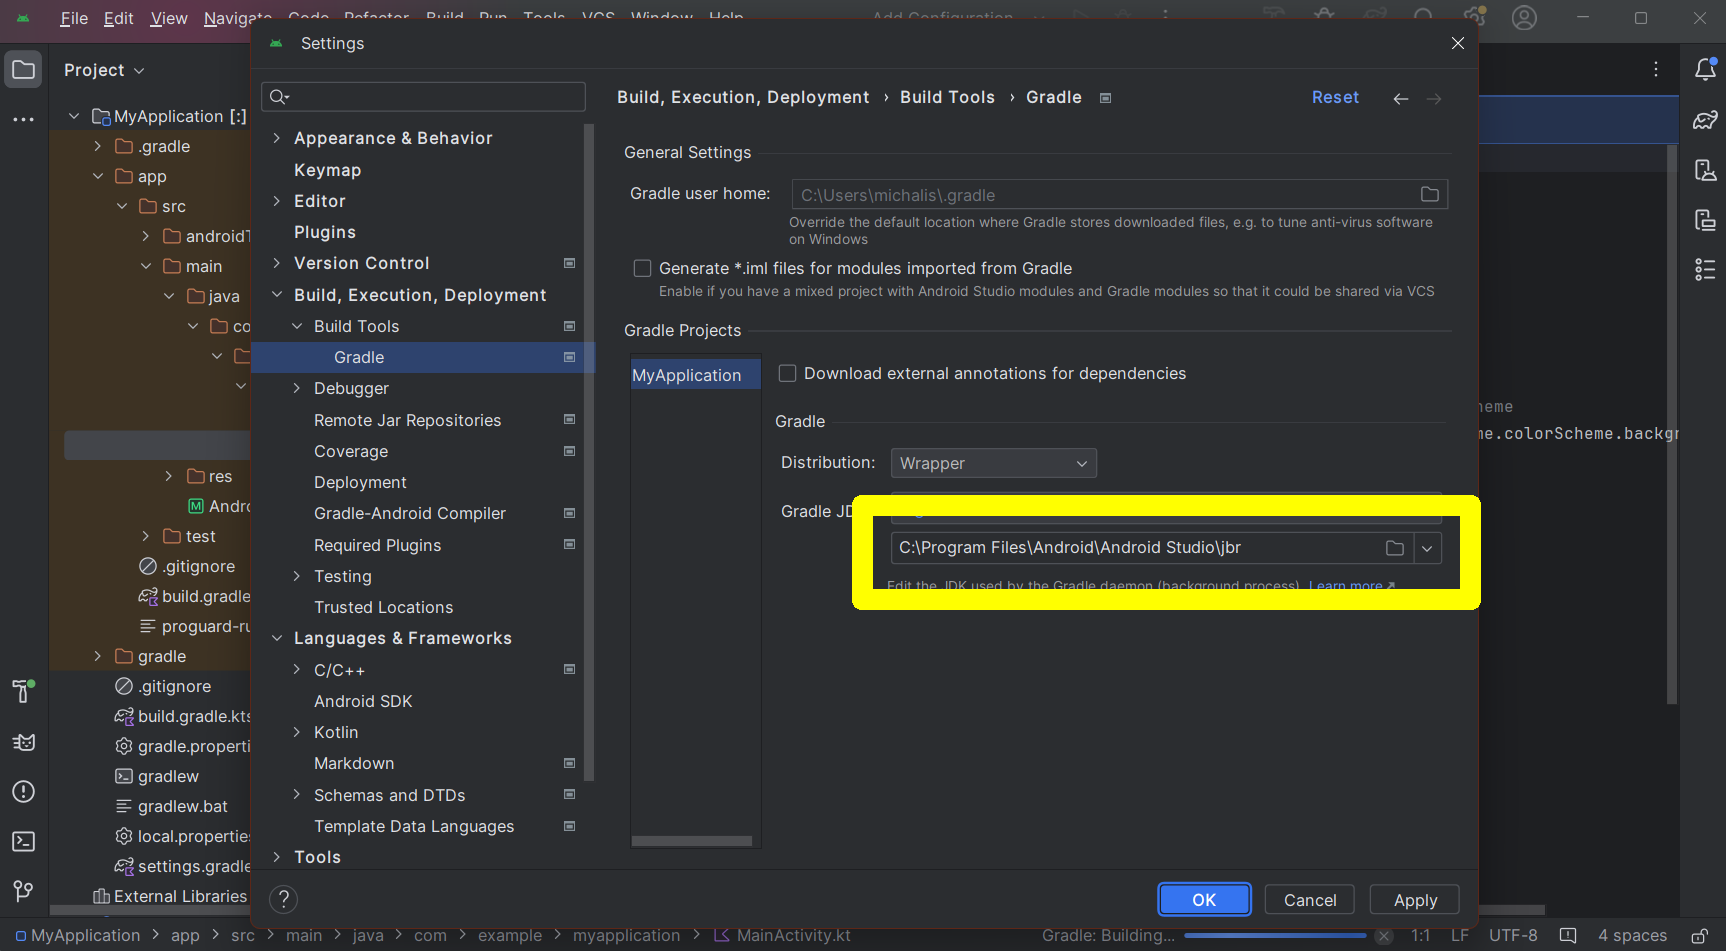
The Java installation path can be located by going to "File → Settings" and there to "Build, Execution, Deployment → Build Tools → Gradle → Gradle JDK". See the screenshot below.
If the above panel doesn’t show Java location, look for
jbrsubdirectory in your Android Studio installation. E.g. on Windows it is usually located inC:/Program Files/Android/Android Studio/jbr. -
Alternatively: Install Java separately. You want to install Java JDK (Java Development Kit).
-
On Debian or Ubuntu (Linux), you can install the
default-jdkpackage that will pull in (as dependencies) the best Java Development Kit version.In case of trouble (the Java version requirements sometimes change, and distros default Java is sometimes too old, sometimes too new) install directly a package like
openjdk-X-jdk. -
On Windows, download the latest version from http://www.oracle.com/technetwork/java/javase/downloads/index.html .
By default, it will be installed in
C:\Program Files\Java\jdk-17.0.2.
-
The Java version required is at least 17 (this is determined by the latest Android Gradle Plugin requirements). It should not be problematic, e.g. default-jdk in latest Debian stable pulls Java 17.
3.2. Tell the engine where’s your Java located
Point the Castle Game Engine editor to this Java location: open "Preferences" dialog, go to the "Android" page, set "Java Location".
Alternatively: set the JAVA_HOME environment variable.
In some cases, you don’t need to do this and things will work automatically (without you needing to set JAVA_HOME environment variable or "Java Location" in editor preferences). In particular, on Unix (Linux), if java is located in your PATH, everything should use it automatically.
3.3. Install Android SDK (optionally: along with Android Studio)
Download and install Android SDK.
-
We recommend that you just install the whole Android Studio. Run it and it will automatically install the Android SDK for you.
This is the easiest way, in our experience. Reasons: Some configuration can be then done using GUI. You accept licenses using GUI. Android Studio comes with useful additional GUI tools to manage virtual Android devices or mirror real (physical) Android devices. And it comes with the best Java version suitable for Android development, as we mentioned in previous section.
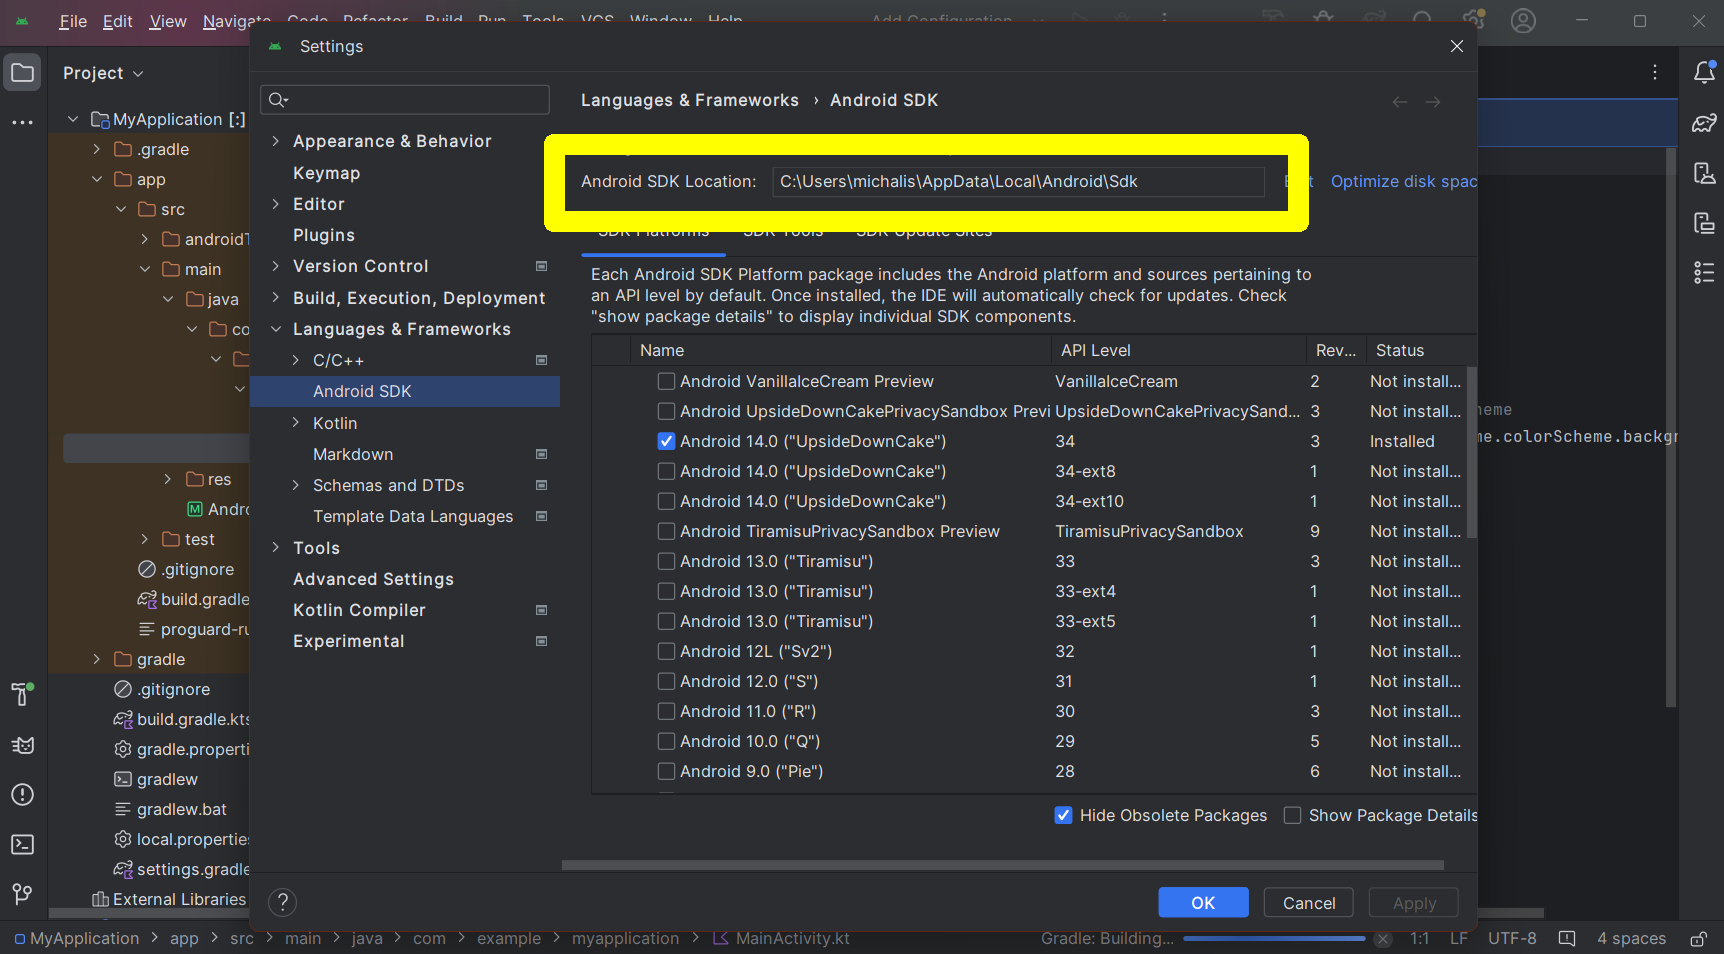
For your information (you will need this later), location of the Android SDK is visible in the Android Studio "File → Settings → Languages & Frameworks → Android SDK". You need to have some project open to access this Android Studio dialog — you can just create a new empty project in Android Studio (from any template, any language — Kotlin or Java, doesn’t matter), just to be able to access the settings.
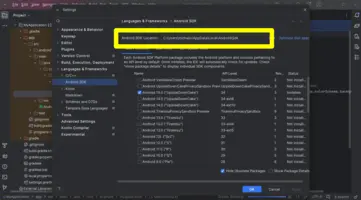
It looks like this, by default:
-
Windows:
C:\Users\<my-user-name>\AppData\Local\Android\Sdk -
Linux:
~/Android/Sdk
-
-
Alternatively: Install Command line tools only (scroll to the bottom of https://developer.android.com/studio ):
-
Create a new directory on disk for Android SDK. Like
c:/android-sdk. -
Unpack the command-line tools under
cmdline-toolssubdirectory of your chosen Android SDK directory. -
Move all the
cmdline-toolscontents under additional subdirectorylatest. -
If effect you should have a file like
c:/android-sdk/cmdline-tools/latest/bin/sdkmanager. (with additional extension.baton Windows).
-
3.4. Tell the engine where’s your Android SDK
The Android SDK location is the directory that contains subdirectories like platform-tools. See above how to find where your Android SDK is installed.
-
We recommend to set Android SDK location using Castle Game Engine editor "Preferences" dialog. Go to the "Android" page and adjust the "Android SDK Location" value.
This is simple and works great if you build and run Android applications using CGE editor.
-
Alternative: If you want to use our command-line build tool or some Android command-line tools, you can set instead the
ANDROID_HOMEenvironment variable.If you don’t know how to set the environment variable, search the Internet (e.g. these are quick instructions how to do it on various Windows versions). See also official Android documentation. Remember to close and reopen all the applications after setting the environment variable. Changing environment variables only takes effect for new applications.
3.5. Accept Android SDK license
It’s easiest to accept the licenses using Android Studio. Just run it and proceed through the default "Standard" configuration.
Alternatively, you can accept them using command-line:
- Windows
-
Open the terminal (press Windows key, type
cmdand press Enter) and type commands like this:cd c:/android-sdk/cmdline-tools/latest/bin/ sdkmanager.bat --licenses
- Unix (Linux etc.)
-
Open the terminal and type commands like this:
cd ~/android-sdk/cmdline-tools/latest/bin/
./sdkmanager --licenses
You need to answer "yes" (key y) to all the license questions to let the build process automatically download the necessary Android SDK components.
3.6. Install FPC for Android (using fpcupdeluxe)
You need a special version of FPC (Free Pascal Compiler, http://freepascal.org/): a cross-compiler to Android. This means that FPC can run on your normal OS/processor (Linux, Windows, macOS…) and can produce binaries for Android. "Android" more precisely means "Android OS (based on Linux) + Android processor (32-bit arm or 64-bit aarch64)".
The easiest approach to get FPC for Android is to use fpcupdeluxe.
-
Build normal FPC and Lazarus with it. We advise picking the latest stable FPC and Lazarus versions at the time. All Android architectures are perfectly supported in latest FPC 3.2.2.
-
Install cross-compiler to Android / Arm. This is the architecture used by old (32-bit) Android devices.
To do this, switch to "Cross" tab in fpcupdeluxe, select CPU =
arm, OS =android, click "Install cross-compiler". Wait a while. When it shows a message that effectively asks "Missing cross-tools, download them?" answer "yes". -
Install another cross-compiler for Android / Aarch64. This is the 64-bit architecture used by most modern Android devices.
This is done exactly like above, just select CPU =
aarch64this time. Same as above, select OS =android, click "Install cross-compiler", and confirm when it asks to download cross-tools. -
(Optionally): If you want to use emulator, install also cross-compiler for Android / i386 and Android / x86_64. In total, this will cover all 4 CPU architectures used by Android devices and emulators.
Make sure CGE is using the new FPC. It is best to do this by configuring FPC and Lazarus location in CGE editor Preferences. Make sure the detected FPC and Lazarus are the ones you have just installed using fpcupdeluxe.
4. Build, install and run Castle Game Engine application for Android!
You should have everything set up now. Let’s try compiling and running our mobile demo application, in examples/mobile/simple_3d_demo/ . (You can pick almost any other CGE example if you wish, for this test.)
-
First compile and run a normal standalone version, to make sure everything is OK with your FPC installation. Just compile and run the application as usual, press F9 in CGE editor or in Lazarus to compile and run it for the default platform.
-
Connect your Android device to your PC using an USB cable, if you have one. In the next step, we will not only build, but also install and run this application on your device!
Make sure that the "USB Debugging" is turned on in the "Development Settings" on your Android phone or tablet. The official information how to do it from Google is here. In case of trouble, search the Internet about it, some devices have special quirks around it.
-
Switch the CGE editor to build for the Android platform: use menu item "Run → Platform (To Build And Run) → Android (…)".
-
And press F9. That’s it! It automatically does the build and run sequence, which in case of Android means:
-
Package the application (recompile it for both Android CPUs, and create APK with the compiled code and data).
-
Install the APK on Android device, if any device is available for the ADB tool.
-
Run the application, and capture the logs, displaying them in the editor output.
-
|
Note
|
You could also do these steps using our command-line Build Tool:
|
|
Note
|
The first Android build will take a while. That is because at the first run, we automatically download the proper components of Android SDK and NDK. Simply make sure to run the 1st build when connected to the Internet and be patient. |
5. Further steps
At this point, you have a ready APK file, which you can upload / install / run just like any other application, using any Android tool.
You can also upload your application to Google Play and release your game! Note that Google Play requires using AAB format for the uploads now, not APK. To create AAB, just switch in CGE editor menu item "Run → Package Format → Android App Bundle (AAB)" and press "Run → Package (Release to Users)".
See the Android FAQ for more information about building AAB, signing for release etc.
6. If things don’t work: alternatives, contact us
If you have problems with the procedure outlined below:
-
Check out our Android SDK and NDK troubleshooting and Android FAQ.
-
Consider an alternative to this: you can use our Docker image. It’s basically a light-weight virtual machine, easy to download and update and quickly run. And it contains all the software related to CGE, FPC and Android configured and tested.
-
If you get stuck, talk to us! We have a forum, Discord chat and we want to help.
To improve this documentation just edit this page and create a pull request to cge-www repository.