sudo arch -x86_64 gem install ffi # make sure to rebuild this native dependency of CocoaPods
sudo arch -x86_64 gem install cocoapodsManual
iOS
Table of Contents
- 1. Introduction
- 2. Supported iOS Devices
- 3. Building the App
- 4. Debugging the Pascal Code without iOS
- 5. Known problems
- 6. More information about FPC and iOS
- 7. Alternative: Using the latest FPC development branch
1. Introduction
To build for iOS your application should reside in a directory with CastleEngineManifest.xml file. Moreover, this CastleEngineManifest.xml should have game_units attribute set, e.g. like this: game_units="GameInitialize".
This is already true for new projects created using the "New Project" button from the editor and for almost all engine examples in the examples/ subdirectory.
Then:
-
Use the GUI editor. Open the project, select "Run → Platform (To Compile And Run) → iOS", and then press "Run → Package".
-
Or use a command-line build tool. In the terminal, go to the project directory and run
castle-engine package --target=ios.
Both these ways give you a ready project that you can open, run and publish from Xcode. The Xcode project is in <my-project>/castle-engine-output/ios/xcode_project/ subdirectory.
2. Supported iOS Devices
The engine should work with all devices running iOS 4.2 or newer. It was successfully tested with iOS 5.1, 7, 10, 11, 13, 14. The engine runs flawlessly on iPhone Simulator as well.
3. Building the App
3.1. Get macOS and Xcode
You will need any Mac computer with Xcode installed (available in Mac App Store, free).
You can use Intel-based or Arm-based (Silicon — M1, M2…) Macs.
|
Note
|
If you use Arm-based (Silicon — M1, M2…) Macs, you can use still the fpcupdeluxe for darwin-x86_64. Both darwin-x86_64 and darwin-aarch64 should work equally well (report a bug if not!).
|
|
Note
|
If you browse the documentation on FPC wiki about iOS, it will talk about Xcode templates and proprietary iOS SDK headers. For the sake of developing games using Castle Game Engine, this can be ignored — we don’t need these headers or templates (since our entire GUI is drawn using GLES through Castle Game Engine). |
Install also CocoaPods by sudo gem install cocoapods in the terminal.
|
Note
|
Depending on your macOS version, the above command may fail on some packages with an error like this: "The last version of XXX to support your Ruby & RubyGems was YYY. Try installing it with gem install XXX -v YYY and then running the current command again". This is normal. Follow the advise: run sudo gem install XXX -v YYY, and the try sudo gem install cocoapods again.
|
If you’re on Arm-based (Silicon — M1, M2…) Macs, the above command will install CocoaPods for Arm architecture. If you need to build for x86_64 (e.g. because you build CGE tools for x86_64) then install CocoaPods for x86_64 using
3.2. Install FPC for macOS
3.2.1. Version A: Use fpcupdeluxe
Use fpcupdeluxe. This works now great with latest stable FPC 3.2.2.
-
Install the regular FPC/Lazarus, latest "Stable" version.
-
Add the necessary cross-compilers:
-
iOS / arm -
iOS / aarch64 -
i-sim /x86_64(only if you need testing in simulator)
-
3.2.2. Version B: Use the official FPC downloads
First, the FPC compiler needs the "Xcode command-line developer tools" installed. In short, open /Applications/Utilities/Terminal and execute xcode-select --install. See macOS for more information about developing desktop applications for macOS using Castle Game Engine.
Then install FPC:
-
Go to https://sourceforge.net/projects/freepascal/files/Mac%20OS%20X/
-
Select 3.2.0. (Usually we suggest here using the latest stable version, which is 3.2.2 now, but right now 3.2.2 has no precompiled cross-compiler for iOS.)
-
Download the regular compiler (for macOS) from there (like
fpc-3.2.0.intel-macosx.dmgat the time of writing this). Install this. -
Download the cross-compiler for iOS from there,
xxx-macosx.cross.ios.dmgfrom there (likefpc-3.2.0.intel-macosx.cross.ios.dmg). Install them all. You need these FPC cross-compilers:-
ios / armandios / aarch64applications (for the actual iPhone device). Note:aarch64is also calledarm64. -
iphonesim / x86_64applications (for the iPhoneSimulator on Intel-based macs; it seems iPhoneSimulator is not available for Arm-based macs now).
-
3.3. Testing FPC cross-compilers
Before attempting the compilation of a full program, we advise testing that your fpc is installed OK and supports the necessary platforms.
First, test that you can compile for the necessary CPUs. The cross-compiler for each CPU is actually a different FPC executable, so the lines below will make an error immediately if you cannot cross-compile to the given CPU. The desired result is that they should answer No source file name in command line.
fpc -Px86_64  -l
fpc -Parm     -l
fpc -Paarch64 -l
Second, test the actual compilation.
cd /tmp/
echo 'library test_compilation; begin end.' > test_compilation.lpr

SIMULATOR_SDK='/Applications/Xcode.app/Contents/Developer/Platforms/iPhoneSimulator.platform/Developer/SDKs/iPhoneSimulator.sdk'
fpc -Px86_64  -Tiphonesim -WP7.0 -XR${SIMULATOR_SDK} test_compilation.lpr
# TODO: This iphonesim will fails with FPC 3.2.2 now on Silicon-based Mac.
# You can ignore it if you don't need simulator.

DEVICE_SDK='/Applications/Xcode.app/Contents/Developer/Platforms/iPhoneOS.platform/Developer/SDKs/iPhoneOS.sdk'
fpc -Parm     -TiOS    -WP7.0 -Cfvfpv3 -Cparmv7 -XR${DEVICE_SDK} test_compilation.lpr
fpc -Paarch64 -TiOS    -WP7.0                   -XR${DEVICE_SDK} test_compilation.lpr
|
Note
|
If you use older FPC 3.2.0: The iOS targets should be called as -Tdarwin. The -TiOS is not available. See FPC 3.2.2 new features, FPC 3.2.2 user changes. For FPC >= 3.2.2, use -TiOS. The change was caused because now macOS is also available for Arm CPUs, so we needed to distinguish between iOS and macOS.
|
Every fpc invocation should create libtest_compilation.dylib.
The reasons behind some of these compiler options:
-
We test by compiling a library, not a program. Compiling a program may fail at linking with some issues that are not relevant for our task.
-
We use -WP5.1, otherwise the linking fails (error: symbol dyld_stub_binding_helper not found, normally in crt1.o/dylib1.o/bundle1.o for architecture armv7).
-
Actually we use later
-WP7.0, corresponding to what CGE uses now. -
The additional parameters (the -XRxxx, and -Cfvfpv3 -Cparmv7) come from the
Getting Started - iOS.rtffile from the FPC for iOS package.
3.4. iPhone Simulator is not an iPhone emulator
The iPhone Simulator is not an emulator of a real iPhone device, i.e. it does not emulate the processor inside the iPhone. Rather, it’s a modified version of the normal (desktop) macOS system, running on a normal CPU, same CPU as your macOS is using.
This should help you understand why we did some things above, e.g. why do we have a special compilation target for iPhone Simulator (because we cannot just run in the simulator the application compiled for an actual iPhone), and why it works fast (because it doesn’t emulate the iPhone CPU).
This is in contrast to the Android emulator that can emulate Android CPUs (Arm or Aarch64, though can also work on x86_64) and can run your application in a mostly-regular Android OS and environment in a virtual machine.
3.5. Using the command-line build tool
-
Make sure the build tool is available on $PATH, so you can call
castle-enginein the terminal. -
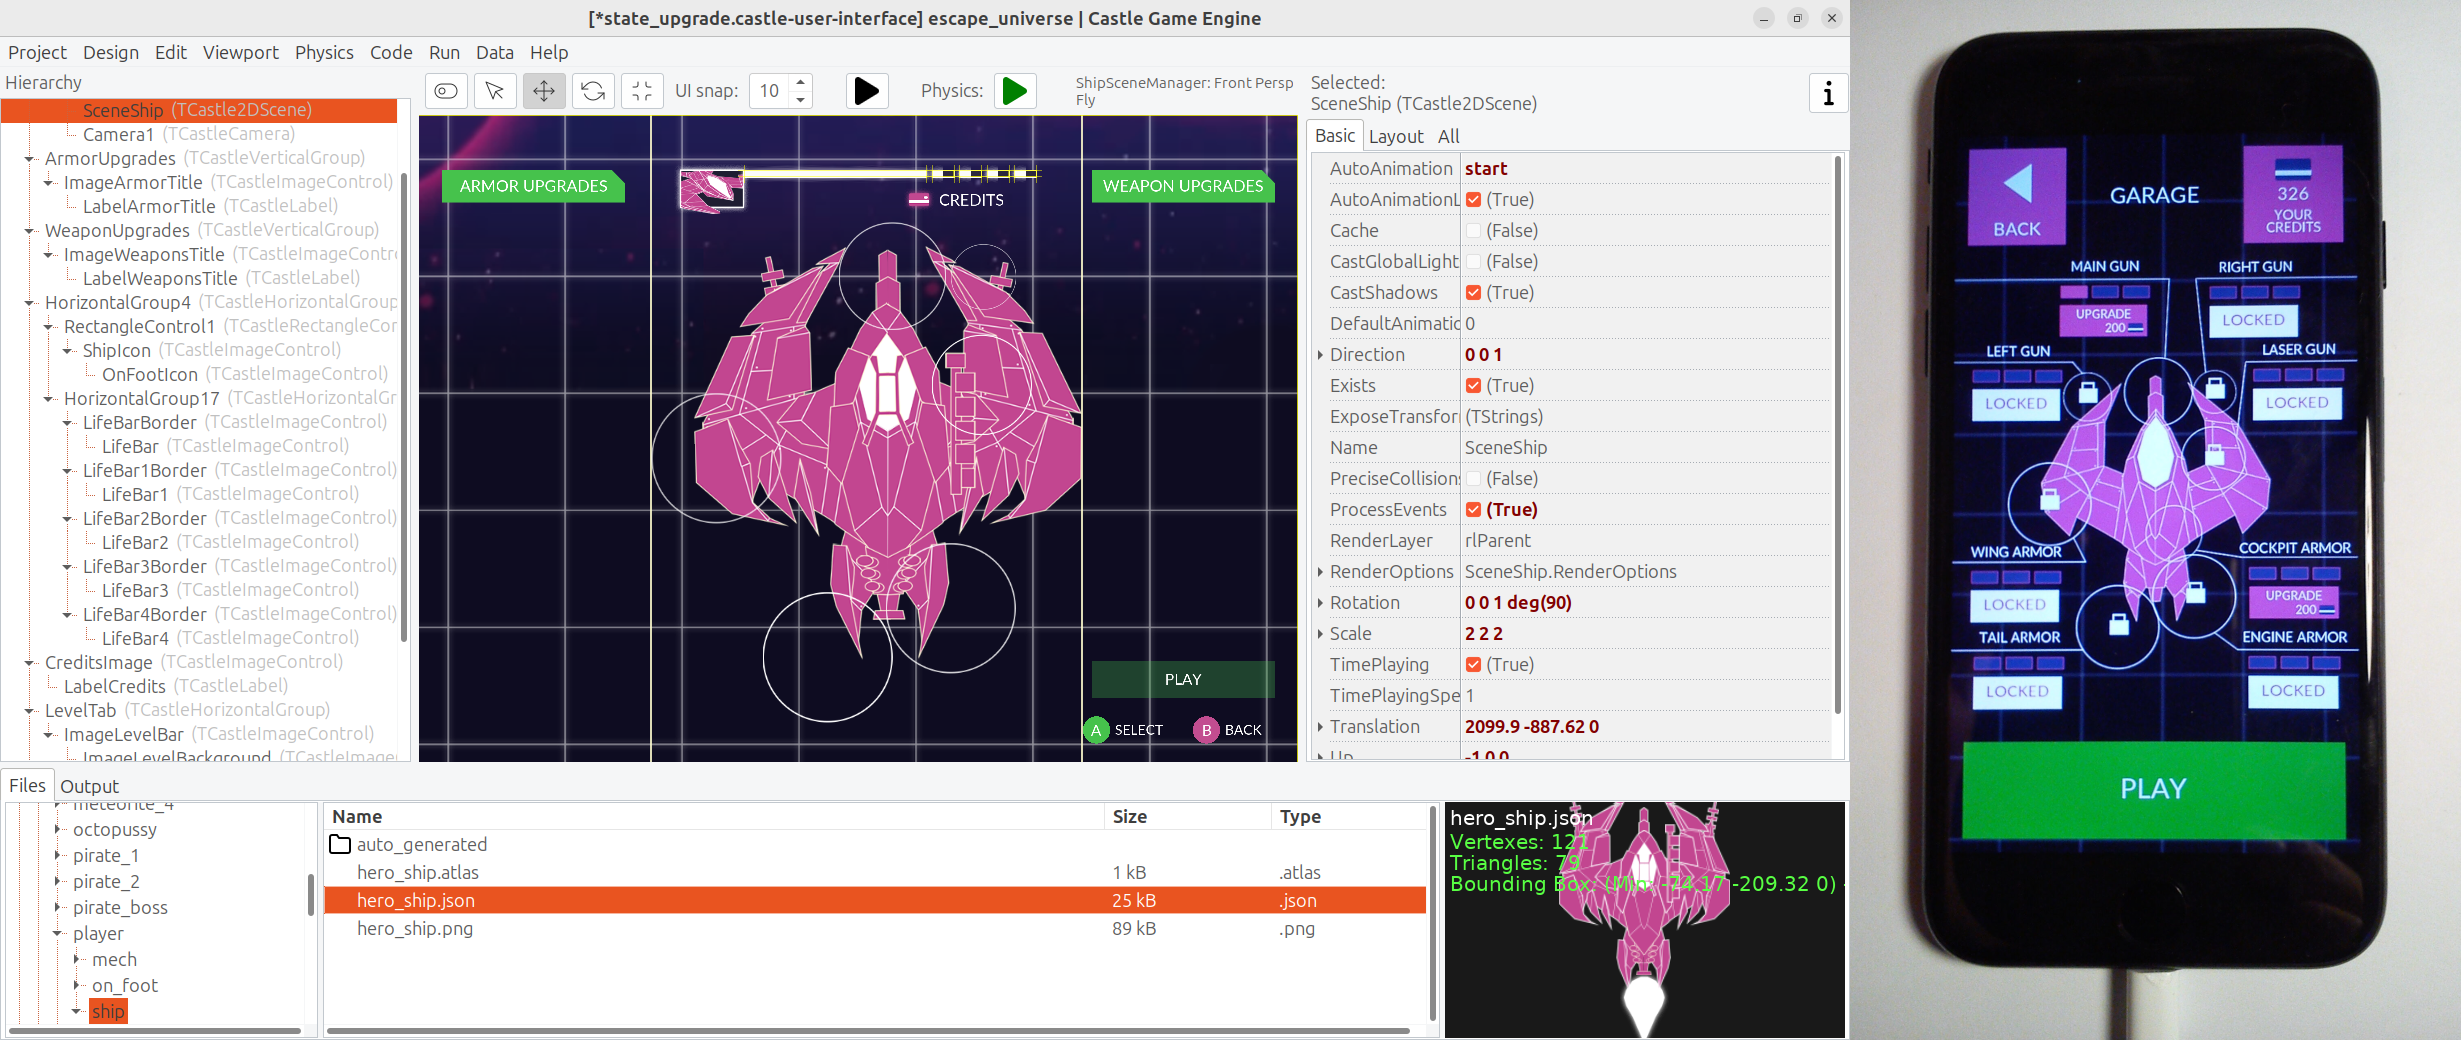
Run in terminal:
cd <castle-engine>/examples/mobile/game_services
castle-engine package --target=ios
Tip: You can speedup this process: The
packagecommand by default cleans and recompiles everything, to make sure everything is recompiled for the current mode (which is a release mode by default). When developing, it’s often useful to make this process quicker, and recompile only what changed. Do this by adding--fastoption:cd <castle-engine>/examples/mobile/game_services castle-engine package --target=ios --fast
Another way to speedup the process is to rebuild only code. Add the
--update-only-codeoption for this.Tip: You can include iOS simulator support: Simply add the
--ios-simulatorcommand-line option. By default this is off, as including simulator support makes build longer (more platforms to compile for) and often it is not necessary. Like this:cd <castle-engine>/examples/mobile/game_services castle-engine package --target=ios --ios-simulator
-
Run Xcode and open the resulting project in
<castle-engine>/examples/mobile/game_services/castle-engine-output/ios/xcode_project/.Open the file with
.xcworkspaceextension in that directory. For now, all iOS projects use CocoaPods and so you need to open them through the.xcworkspacefile, not just.xcodeproj. -
Run the project from Xcode (Command + R), to see your game working in an iPhone simulator.
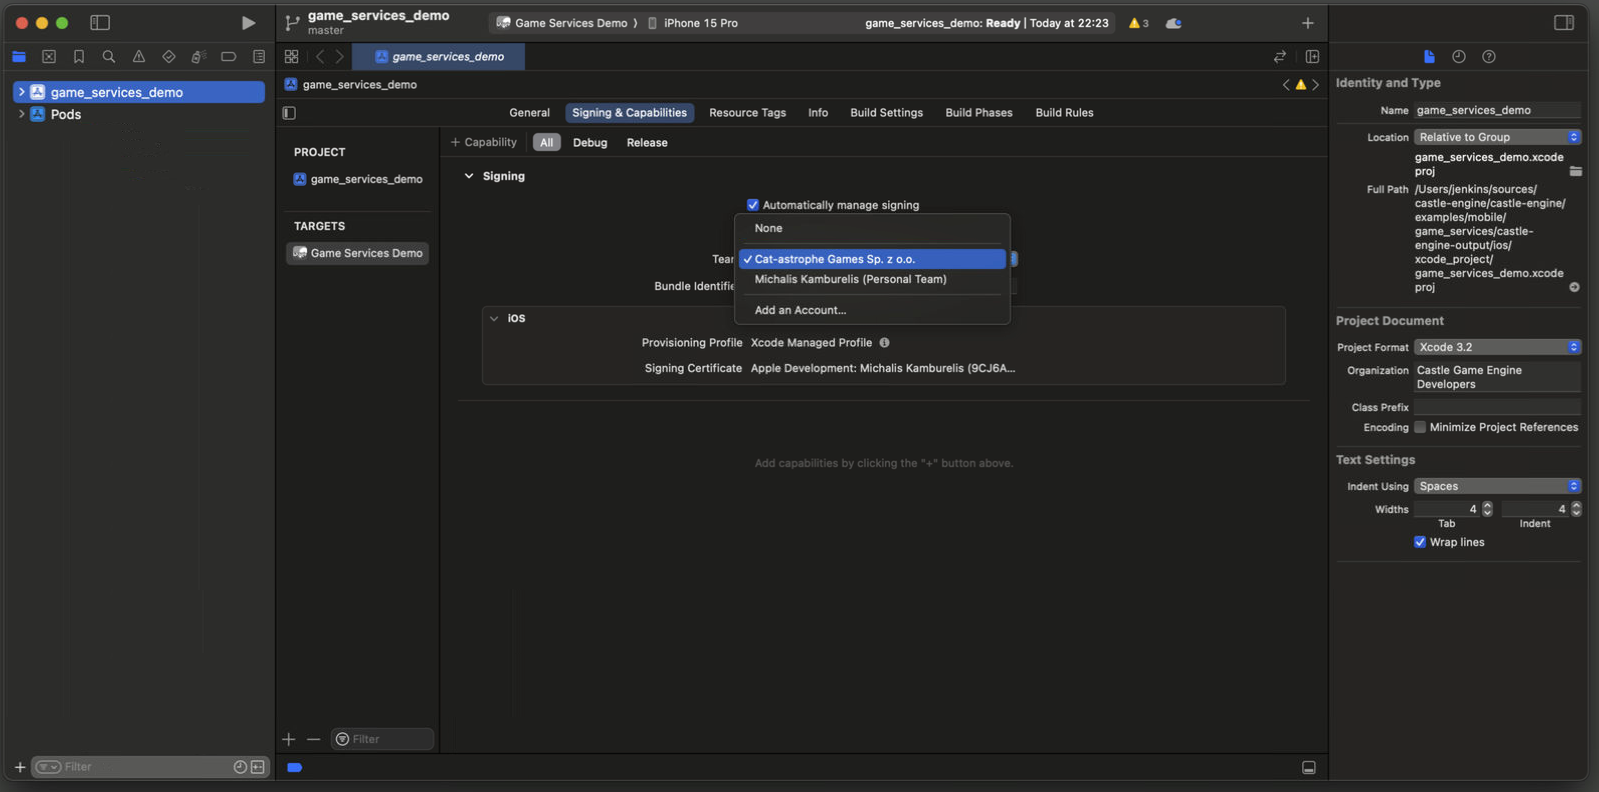
Tip: Running on a real, physical device: It works out of the box! You only need to set the Development Team in Xcode, or set
<ios team="xxx" />attribute in CastleEngineManifest.xml.
3.6. Archive (deploy on iOS)
You can perform further automatic packaging using the command-line CGE build tool. Call this:
castle-engine package --target=iOS --package-format=ios-archive-ad-hoc
|
Note
|
From Xcode GUI, the equivalent is to use "Product → Archive" menu item, then in the resulting window press "Distribute" and select "Release testing" option. This a prettier name for "ad-hoc" distribution. |
This generates an IPA file which you can distribute to your testers e.g. using TestFairy. The resulting IPA file will be inside the castle-engine-output/ios/build/ subdirectory. It is somewhat similar to Android APK, although distributing IPA to testers is more cumbersome (their devices need to be registered in your Apple developer account, and Xcode must know them at build-time to sign IPA for them).
Other options are available:
-
ios-archive-development -
ios-archive-app-store. Note that this does not upload to the AppStore (although we’d like to extend this someday to do it, but it’s unsure whether it is actually possible). In effect this is not very useful in practice, and you do not need to use this to release your iOS application on the TestFlight / AppStore.
Note that these options automatically sign the application. To make it work,
-
Register as a (paid) Apple Developer,
-
Place your "team ID" in the iOS section of the CastleEngineManifest.xml,
-
Release from Xcode once manually. Xcode will ask you to configure your team, store the team password in your keychain etc. Once it works, next time you can do it all automatically.
-
If you do it through SSH (not in an interactive GUI session) you need to call
security unlock-keychain login.keychain
or
security unlock-keychain -p YOUR-PASSWORD login.keychain
to unlock the keychain before building.
-
And now
castle-engine package --target=iOS --package-format=ios-archive-...will work smoothly.
3.7. Upload to TestFlight and AppStore
To upload the application to the AppStore:
-
Create and configure your iOS application on https://appstoreconnect.apple.com/ . You will link there the uploaded build number later.
-
Package project for iOS (any
--package-format=, including default--package-format=ios-xcode-project, is OK). -
Open resulting project in
castle-engine-output/ios/in Xcode. Switch target to "Any device", press "Archive". In the resulting window (once archive is done) press "Distribute" selecting the option to upload to the store.
4. Debugging the Pascal Code without iOS
Same instructions as for Testing mobile (OpenGL ES) rendering without an Android apply here too, as the Pascal code is platform independent.
5. Known problems
-
When compiling with FPC 3.2.2, there are a lot of warnings
clang: warning: using sysroot for 'MacOSX' but targeting 'iPhone' [-Wincompatible-sysroot]
They can be ignored. We link with proper iOS libraries, don’t worry. We don’t yet know how to avoid this warning.
-
The event loop on iOS must be controlled by the main program in Objective-C, not in Pascal. This means that
Application.ProcessMessagescannot work. The library cannot force the main process to handle some events, and wait for something to happen. This means that you cannot useApplication.ProcessMessages, or things depending on them.In particular
CastleMessagesunit is mostly useless on iOS. Functions in this unit make modal windows, running a message loop inside and only returning when user exits — similar toShowMessagein Lazarus LCL / Delphi VCL.To make modal windows on iOS, design your modal dialog as a view and "push" it, waiting for it to return to the previous view. See the views manual and examples linked there. To have ready-to-use modal dialogs, use
CastleDialogViewsunit with ready descendants ofTCastleViewclass that implement simple dialog windows. -
On iOS, the OpenGL(ES) context is created and destroyed solely by the Objective-C code, not Pascal. You cannot use the
Window.OpenandWindow.Closefrom the Pascal code to force recreating OpenGL context. This follows our cross-platform code guidelines. -
The touchesEnded / touchesCancelled events on iOS (that in turn determine CGE events like
TCastleView.Release,TCastleUserInterface.Release) have poor behavior.It seems to be implemented like "report that touch ends, or is cancelled, when the finger position doesn’t change for the 0.36 seconds". It seems to be done regardless of when did the user actually released the finger, and if the user actually released the finger. You can test this unfortunate behavior even with simple CGE example examples/user_interface/test_all_view_events. As a result:
-
If you press and release the finger, you will notice that CGE
Releaseevent is reported with small (0.36 sec) delay instead of being instant. This small delay sometimes matters in games — you will e.g. seebuttonLeft in Container.MousePressedfor a short time, even after user physically released the finger. -
If you keep pressing your finger, but without any movement, then the CGE
Releaseevent will be reported (and the touch will no longer be tracked). Even if you keep holding the finger down.
There’s no reliable solution, it seems to be just the way iOS behaves. Trying various, even crazy, things (like not calling
superintouchXxxevents, ortouchesCancelled) inOpenGLController.mcode doesn’t help. Your application simply must be ready for this iOS weirdness — the CGEReleaseevent may happen too early, or too soon, in case user presses the screen quickly, or presses and holds without moving. -
6. More information about FPC and iOS
-
Building FPC and cross-compiling: see Build FAQ (PDF), Build FAQ (Wiki).
7. Alternative: Using the latest FPC development branch
Instead of using the stable FPC, you can try using the latest development version of FPC (main branch from FPC GitLab). You need to install 4 cross-compilers, for all 4 platforms that are included in the "iOS target":
-
arm / iOS
# use "darwin" instead of "iOS" with older FPC < 3.2.2 -
aarch64 / iOS
# use "darwin" instead of "iOS" with older FPC < 3.2.2 -
x86_64/ iPhoneSimulator
An easy way to install cross-compilers is to use fpcupdeluxe. Notes:
-
iPhoneSimulator is called i-sim in the fpcupdeluxe UI.
-
Our build tool uses the
fpcbinary available on your$PATHenvironment variable. Make sure you create an appropriate symlink to make it call the FPC installed by fpcupdeluxe (this wiki page describes this).
When you compiled your own FPC version, you may want to use --fpc-version-iphone-simulator "" on the command-line to the build tool. Otherwise the build tool may try to call FPC for iPhone Simulator target with a different FPC version (because some standard FPC versions required this).
To improve this documentation just edit this page and create a pull request to cge-www repository.