GitLab CI/CD
1. Introduction
 |
You can use GitLab CI/CD to automatically build your project, if you commit it to GitLab. You can use the provided for free GitLab-hosted runners or set up your own runner.
2. Example project
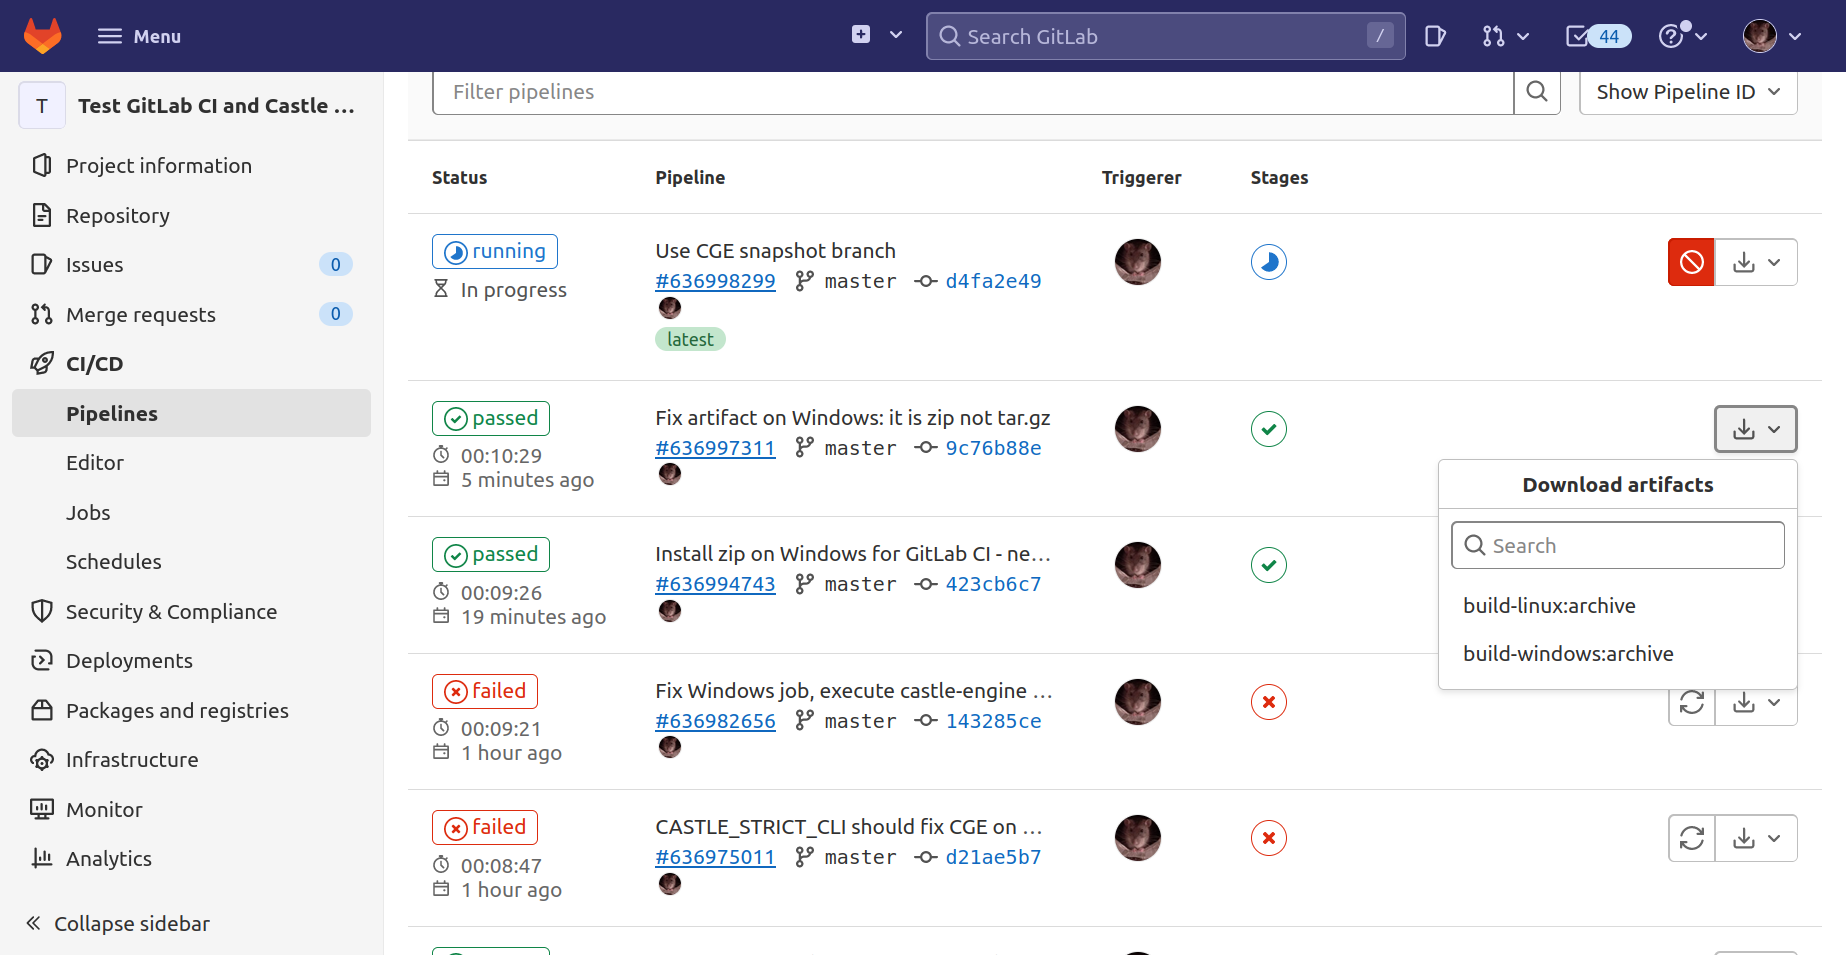
We host test-gitlab-ci project on GitLab specifically for the purpose of demonstrating this feature. You can open CI/CD → Pipelines to see the jobs it executed, their status, download their artifacts etc.
|
Note
|
You don’t need to be logged into GitLab to see the build results. |
3. Usage
-
Download this file: .gitlab-ci.yml and place it in the top-level directory of your repository.
NoteThe .gitlab-ci.ymlfilename starts with a dot, this means it is a hidden file (by convention) on Unix. -
Commit and push it, and watch the "CI/CD" subsection of your project get populated with "Pipelines" and "Jobs". You can download the artifacts for each job.
By default, these are builds for Linux and Windows.
4. Using Docker image with GitLab CI
The .gitlab-ci.yml file linked above does not use our Docker images by default. That’s because our Docker images require a considerable disk space and free GitLab-hosted runners are too small to unpack it.
But if you use your own runners, disk space may not be a problem. You can change the YAML file to use Docker images (to have more power and build easily e.g. also for Android). Simply uncomment the section in that file marked as # Commented out version using Docker image.
See Using Castle Game Engine with any CI for more notes how to setup FPC and Castle Game Engine inside the CI job.
To improve this documentation just edit this page and create a pull request to cge-www repository.