function TViewMainMenu.Press(const Event: TInputPressRelease): Boolean;
begin
  Result := inherited;

  if Event.IsKey(keyEnter) then
  begin
    Container.View := ViewPlay;
    Exit(ExclusiveEvents);
  end;
end;Manual
Managing Views
Table of Contents
1. Introduction
View is a class descending from TCastleView. It determines what is currently displayed, and is the primary place where you can react to events (handle user input, passage of time, clicks on buttons and more).
In a larger application you will likely have more than one view. If you want to display something "completely different" (like a game, or main menu, or a "game over screen") then it’s most natural to do this by switching to a different view.
You can add new view to your application using the menu item Code → New Unit → View… in CGE editor. It just creates a new Pascal unit that defines a new TCastleView descendant and loads a new user interface design.
2. Changing view
At runtime, you can change from one view into another using:
-
You can set
Container.View := ViewXxxto make the new view the one and only currently active view.This is the simplest way to change current view. For example use this to change from main menu, to loading, to playing game, to game over views.
Usually the implementation of one view has code to change it into another view. For example, this is how
ViewMainMenucan react to user pressing Enter to switch toViewPlay: -
You can alternatively use
Container.PushViewto push new view on top of the stack, making it the front-most view (but not necessarily the only view active right now). Such view will usually pop itself from the stack, usingContainer.PopView, although you can also setContainer.Viewto just change whole stack into a single new view.Using a view stack makes sense when you want to display one view on top of another. For example, you may want to push options view to make options UI visible on top of the game. The game can even be still animated underneath (it is up to you to pause the game if you want, e.g. by changing
Viewport.Items.Paused).For example, this is how
ViewPlaycould displayViewOptionson top, when user presses Escape:function TViewPlay.Press(const Event: TInputPressRelease): Boolean; begin Result := inherited; if Result then Exit; // allow the ancestor to handle keys if Event.IsKey(keyEscape) and (Container.FrontView = ViewPlay) then begin Container.PushView(ViewOptions); Exit(true); end; end;The
ViewOptionscan in turn pop itself from the stack when user presses Escape again:function TViewOptions.Press(const Event: TInputPressRelease): Boolean; begin Result := inherited; if Result then Exit; // allow the ancestor to handle keys if Event.IsKey(keyEscape) then begin // parameter Self is optional here, just allows to make additional check Container.PopView(Self); Exit(true); end; end;
3. Creating new views
While in theory you can create instances of the TCastleView at any point, in practice it is usually most comfortable to create all of them at the beginning of the application, in Application.OnInitialize handler.
If you use the "Code → New Unit → View…" editor menu item, it will automatically edit your Application.OnInitialize handler in (by default) gameinitialize.pas unit to create the new view. So it will look like this:
{ One-time initialization of resources. }
procedure ApplicationInitialize;
begin
  ...

  { Create game views and set initial view }
  ViewPlay := TViewPlay.Create(Application);
  ViewMainMenu := TViewMainMenu.Create(Application);

  Window.Container.View := ViewMenu;
end;
Each view loads the user interface appropriate for the given view. The advised way to do this is to set TCastleView.DesignUrl in the overridden view constructor, like this:
constructor TViewMain.Create(AOwner: TComponent);
begin
  inherited;
  DesignUrl := 'castle-data:/gameviewmain.castle-user-interface';
end;
If you use the "Code → New Unit → View…" editor menu item, the above code is also automatically created for you.
4. Reacting to view start, stop, pause, remove
You can override a number of view methods to react to the view becoming active (when it is started) and resumed (when it is started and it is the top of view stack).
-
TCastleView.Startis executed when the view starts. This is your typical place to initialize things for this view.To create a component that lives only until the view stops, you can assign a special owner
TCastleView.FreeAtStopto this component. This is essentially equivalent to just using ownerniland manually freeing the component inTCastleView.Stop. -
TCastleView.Stopis executed when the view stops. -
TCastleView.Resumeis executed when the view is started, and moreover it becomes the top view on the stack. -
TCastleView.Pauseis executed when the view is started, but it is no longer the top view on the stack.Note that the view is not automatically paused for the user in any way, i.e. a paused view can still animate anything, process inputs and generally act like a normal view. It is your responsibility to pause any animations you want in the
TCastleView.Pausemethod, if you want it.The paused view will also continue to receive user input (mouse and key) that was not processed by the views higher on the stack. The higher view should return
truefrom their input methods, likePress, to mark the input as handled. You can also setTCastleView.InterceptInputtotrueon a higher view to make it pretend that it handles all inputs, thus the inputs will not reach views lower on the stack.
5. Examples
Explore the "3D FPS game" and "2D game" templates, by creating 2 new projects from these templates. Each of these templates creates 2 views, "MainMenu" and "Play". They follow the same pattern:
-
Class
TViewMainMenu, unitcode/gameviewmainmenu.pas, instanceViewMainMenu, designdata/gameviewmainmenu.castle-user-interface. -
Class
TViewPlay, unitcode/gameviewplay.pas, instanceViewPlay, designdata/gameviewplay.castle-user-interface.
Many examples in the engine show even more complicates views setup:
-
Platformer demo in examples/2d_games/platformer/ has views for:
-
main menu,
-
options (with volume configuration),
-
pause,
-
credits,
-
game over,
-
and of course the actual game.
-
-
Strategy game examples/tiled/strategy_game_demo has multiple views, including:
-
main menu,
-
game,
-
"win" views.
-
-
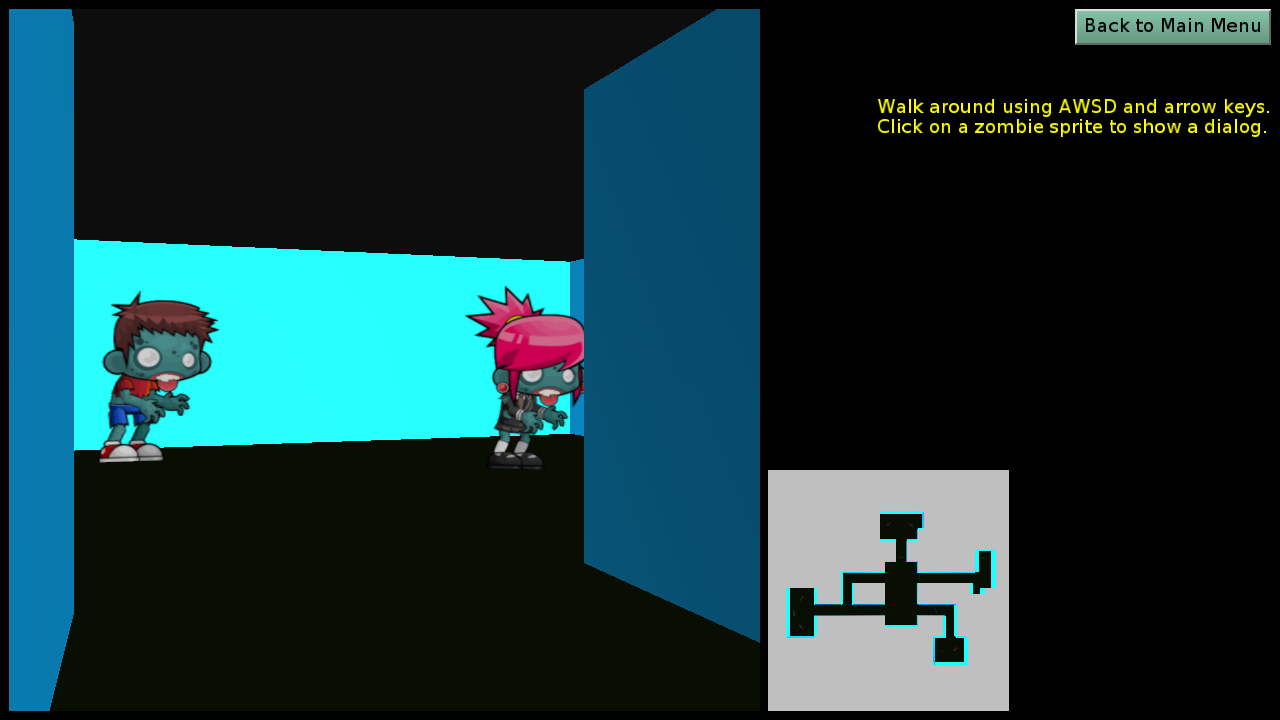
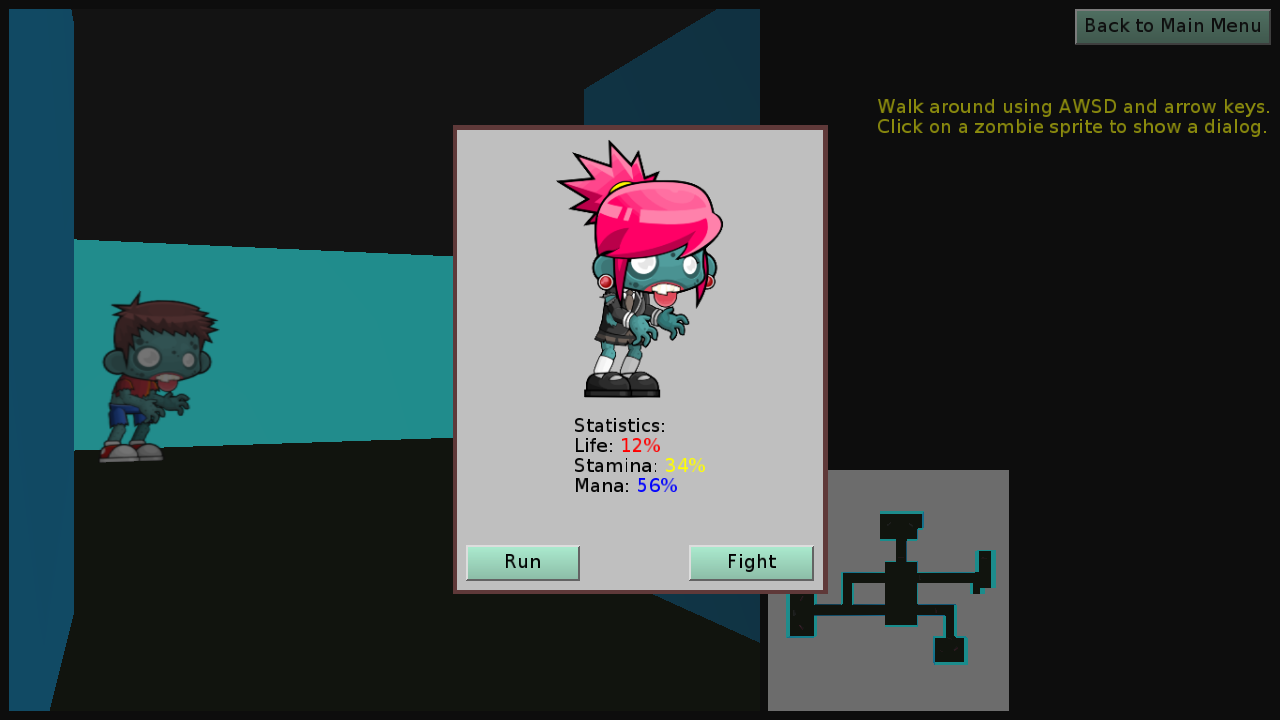
"Zombie fighter" demo examples/user_interface/zombie_fighter has multiple views, including:
-
main menu,
-
loading (that displays progress),
-
actual game,
-
modal dialog box.
-
6. Beware: View changes are executed with a delay
This section applies to all the ways to "change the view":
-
by setting the
TCastleContainer.Viewproperty, -
by calling the
TCastleContainer.PushViewmethod, -
by calling the
TCastleContainer.PopViewmethod.
These operations may not immediately change the view. Instead, they may add an item to the "pending changes" list, and the actual view change will be executed at the end of current event processing.
For example, suppose you have a button and you change the view in its OnClick handler:
procedure TViewMainMenu.Start;
begin
  inherited;
  ButtonStart.OnClick := {$ifdef FPC}@{$endif} ButtonStartClick;
end;

procedure TViewMainMenu.ButtonStartClick(Sender: TObject);
begin
  Container.View := ViewPlayGame;

  { At this moment, ViewPlayGame is not yet active, i.e.
    - ViewMainMenu.Stop was not yet called,
    - ViewPlayGame.Start was not yet called.
    The previous view (likely ViewMainMenu) is still active now.

    Only once the event processing finishes, the engine will execute
    all pending view changes. }
end;
As the comment above indicates, TViewMainMenu.Stop and TViewPlayGame.Start are not called immediately when you set Container.View := ViewPlayGame. Only after the event (here: the mouse or touch release that triggered the click) finishes does the engine execute all pending view changes, calling TViewMainMenu.Stop and then TViewPlayGame.Start.
Reason for this design: When the view stops, we destroy some things: the instance of design configured by TCastleView.DesignUrl, anything owned by TCastleView.FreeAtStop and anything more freed explicitly in overridden TCastleView.Stop. But it is not allowed to destroy an instance of a component (like a TCastleButton) while still processing its event handler (like TCastleButton.OnClick), as the component code may in general be not prepared for this, and the event loop iterating over the components may also not be prepared for this.
Delaying the view change until event processing finishes ensures that component destruction happens at a safe point.
The same delay applies when you change the view from the TCastleView.Press method or any other view event handler. This prevents hard-to-spot bugs when processing key presses:
procedure TViewMainMenu.Press(const Event: TInputPressRelease): Boolean;
begin
  Result := inherited; // allow the ancestor to handle keys
  if Result then Exit;

  if Event.IsKey(keyEnter) then
  begin
    Container.View := ViewPlayGame;
    { Note: In most cases we recommend doing "Exit(true)",
      not only "Result := true", when the input is handled.
      But sometimes it makes sense to not Exit immediately. }
    Result := true;
  end;

  { This would crash if view change was executed immediately,
    and thus LabelLastEvent was destroyed immediately
    when processing Enter.
    But with delayed view change, this works fine,
    as LabelLastEvent is always valid here. }
  LabelLastEvent.Caption := Event.ToString;
end;
There are two exceptions when view changes are still done immediately, without delay:
-
View changes done outside of event processing. This allows, for example, setting
Container.View := nilin a unit’sfinalizationsection to stop all views explicitly. (The engine stops all views anyway when the container is freed, so this is rarely needed.) -
Setting
Container.View := ViewXxxwhen the view stack is empty. This is useful for initialization code likeWindow.Container.View := ViewInitial; MyComponent := ViewInitial.DesignedComponent('MyComponent'); MyComponent.Something := ...;Performing this view change can be safely done immediately, because no view is stopped, nothing is freed, and therefore the reasons for delaying do not apply. We just start the new view immediately.
To help you inspect what’s going on, our API exposes both "pending" and current view stack state:
- Current view stack
-
These reflect the views whose lifecycle methods have already been called:
For example,
CurrentFrontViewhas already had itsStart+Resumemethods called.As explained above, the current stack lags behind calls to
View:=…,PushView,PopView. It catches up to the pending state only after the delay. - Pending view stack
-
These reflect the view stack as it will be after pending changes are applied:
-
TCastleContainer.View(the bottom of the pending view stack).
These values update immediately when you call
Container.View:=…,Container.PushView(…), orContainer.PopView(…). However, you cannot assume the lifecycle methods (such asStart+Resume) have already been called. For example,PendingFrontViewmay still be waiting in the queue — itsStart+Resumemay not have run yet.
|
Note
|
If you’re looking to delay freeing components in other situations, use ApplicationProperties.FreeDelayed.
|
To improve this documentation just edit this page and create a pull request to cge-www repository.