var
  Controller: TGameController;
begin
  Controllers.Initialize;
  WritelnLog('Number of game controllers found: %d', [Controllers.Count]);
  for Controller in Controllers do
    WritelnLog('Game controller %d: %s', [
      Controller.Index,
      Controller.Name
    ]);
end;Game Controllers (Joysticks, Gamepads)
Table of Contents
1. Introduction
Castle Game Engine features a cross-platform API to access game controllers (joysticks, gamepads). You can initialize and query available Controllers, react to controller buttons being pressed/released, and read controller axes (e.g., how much a gamepad stick or trigger is pressed). You can also activate support for game controllers in TCastleWalkNavigation or any other component using TInputShortcut.
2. Examples
We provide several examples that allow you to test this support:
-
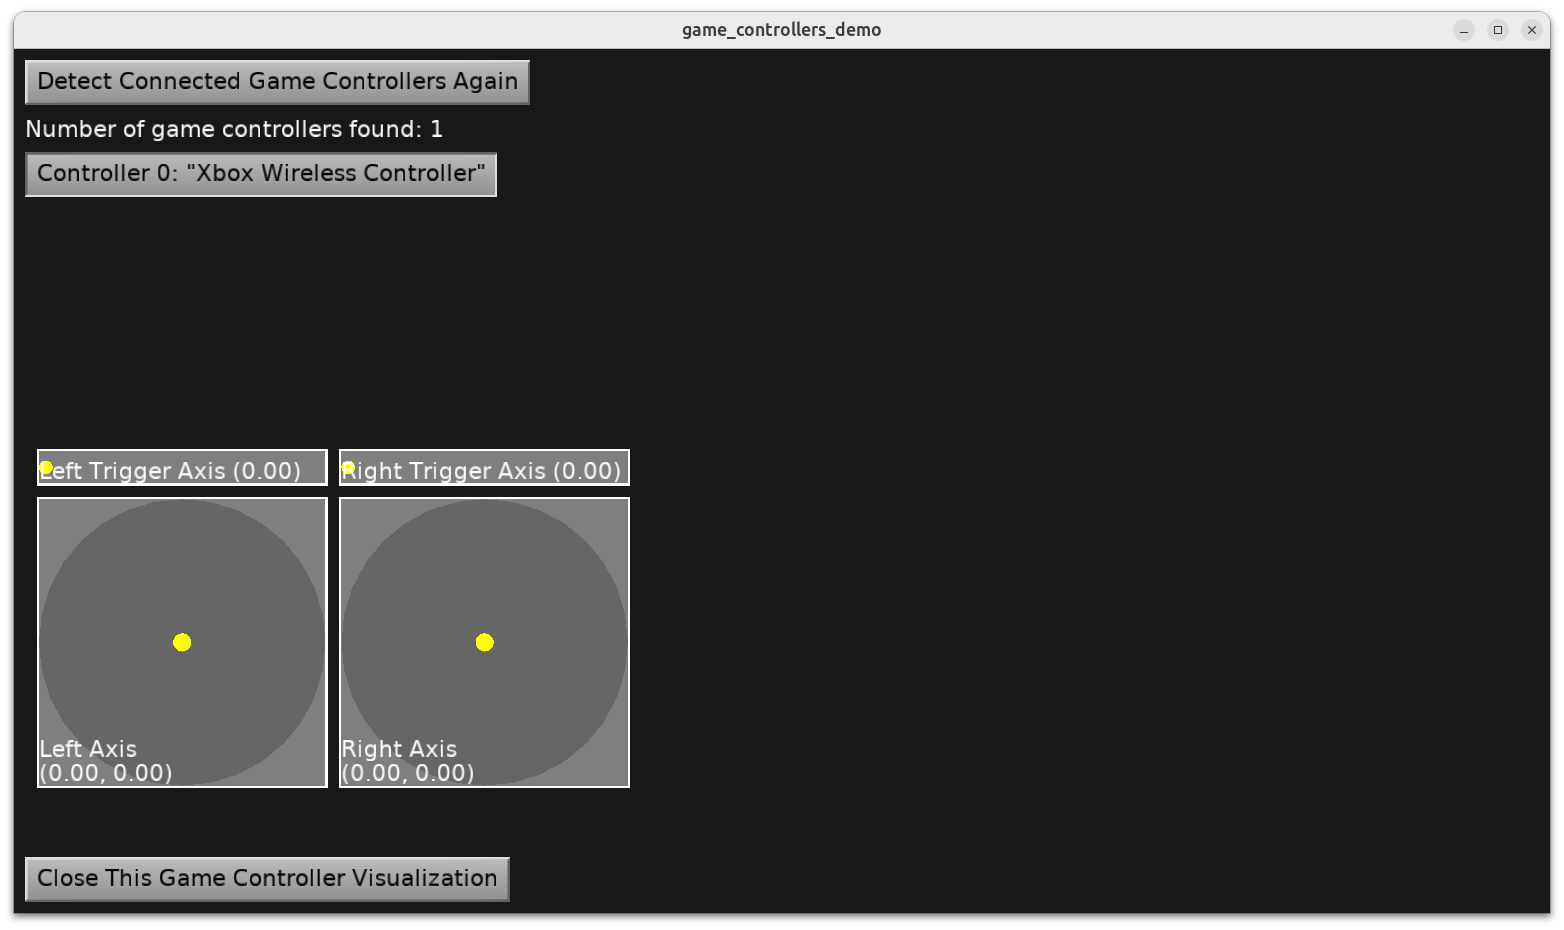
The basic example in examples/game_controllers allows you to test all controller buttons and axes.
-
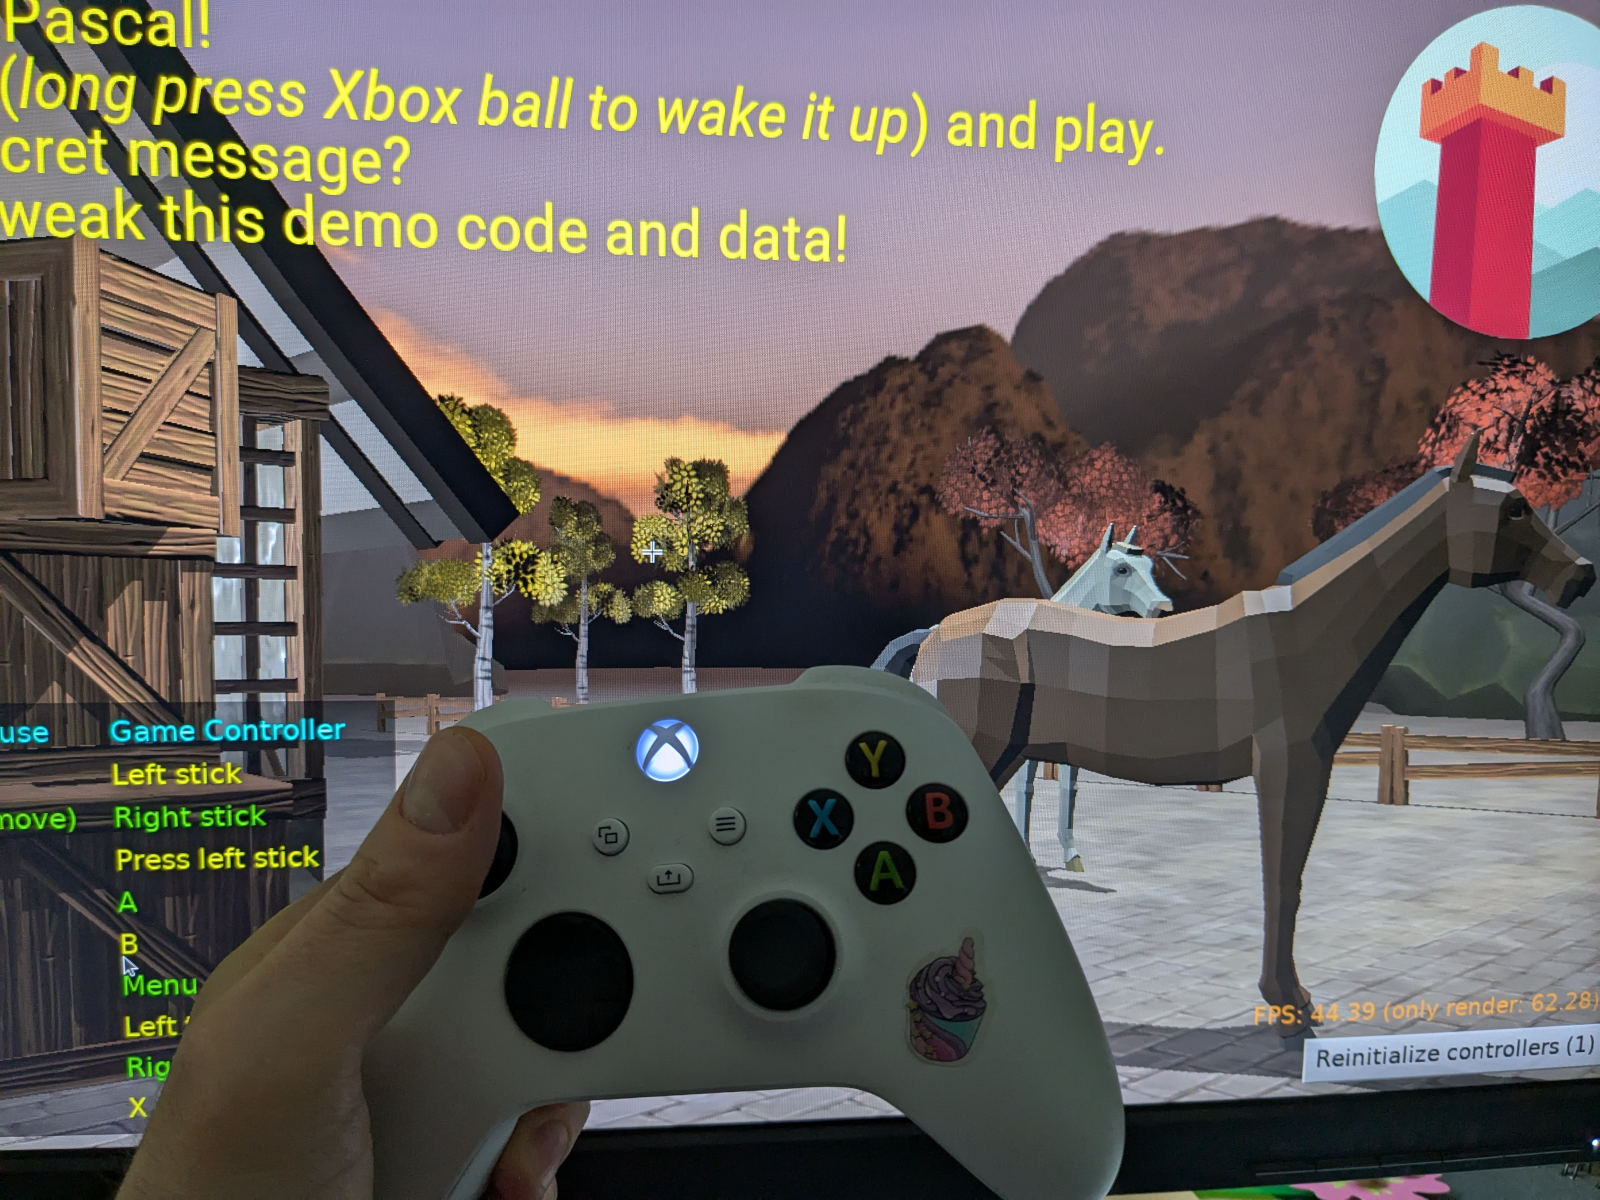
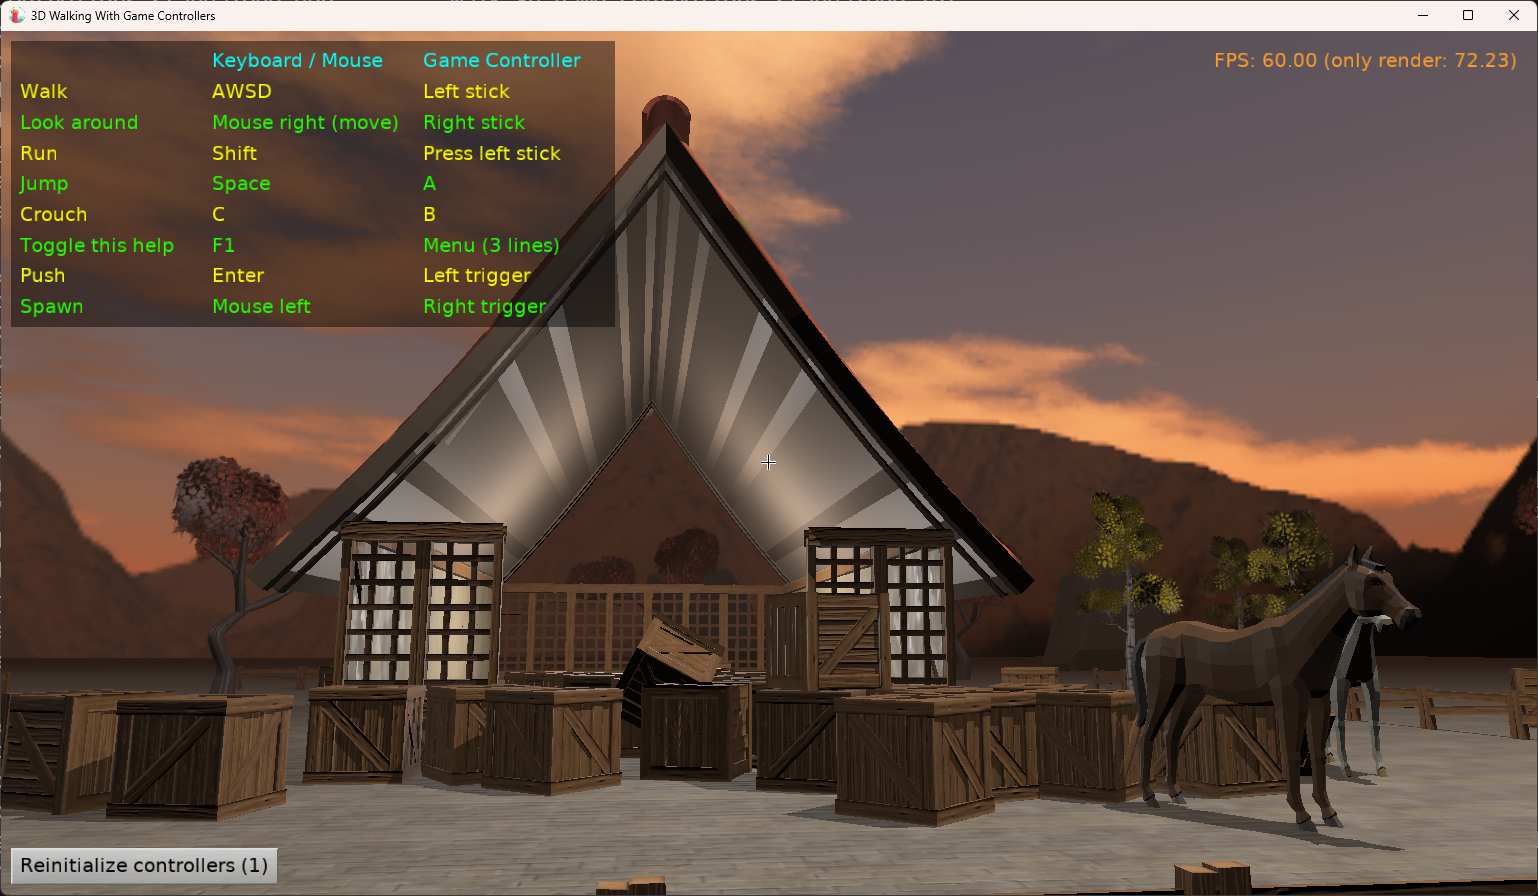
Walking Talking Adventure demo (examples/3d_games/walking_adventure) shows how to use game controllers in practice, in a simple 3D demo game where you walk and talk with NPCs.
-
Our example Explore Impressive 3D Castle (examples/3d_games/explore_impressive_castle) also supports gamepads, using the most standard arrangement for 3D FPS games, as explained later in this document.
3. Usage
3.1. Initialization
Call Controllers.Initialize to initialize controller handling. The Controllers is a singleton (single instance of the TGameControllers class) that is automatically created when accessed.
You can call Controllers.Initialize at any moment in your application. For example, in the Application.OnInitialize handler (which is located in the GameInitialize unit in the default new project), or in the Start method of your view.
You can call Controllers.Initialize as often as you wish.
-
On most platforms (Windows, Nintendo Switch), calling it once is actually enough. Later, connecting and disconnecting controllers is automatically detected. So you only need to call
Controllers.Initializeonce in your application. -
However, on some platforms (Linux currently), it is necessary to call
Controllers.Initializeagain to detect newly-connected controllers. To account for this, we recommend either giving the user an explicit button/menu item to do this (like a button "Detect Connected Game Controllers") and/or callingControllers.Initializeautomatically at certain times (e.g., every 5 seconds, or every time the user opens a pause menu).
3.2. Report connected controllers
Read Controllers.Count and Controllers.Items (default array property) to access the list of connected controllers.
You can also use a for .. in Pascal loop to iterate over the controllers in Controllers. The convenience property TGameController.Index is particularly useful in this case, if you want to get the index back from TGameController to TGameControllers.Items.
Like this:
|
Note
|
The TGameController.Name is a device name obtained from the underlying API.
It is not guaranteed to be unique among all controllers, so when displaying any diagnostic message, it’s worth always including the controller index from TGameController.Index. Also note that the controller index changes as controllers get connected and disconnected.
|
3.3. Detect pressed controller buttons
Pressing and releasing controller buttons is reported just like keys and mouse buttons: using TCastleUserInterface.Press and TCastleUserInterface.Release methods. You typically handle them by overriding these methods in your view (as TCastleView is a descendant of TCastleUserInterface).
These methods get information about what was pressed (or released) using the TInputPressRelease structure. When a game controller button press (or release) happens, the TInputPressRelease.EventType is itGameController and the TInputPressRelease.Controller contains the details, like
Event.Controller.Button-
Button that was pressed or released.
This uses controller-agnostic enumeration names. In particular, the 4 "face buttons" (which have rather inconsistent names and looks between some popular gamepads — A B X Y or square triangle circle cross) are mapped to
gbNorth,gbEast,gbSouth,gbWest. See theTGameControllerButtondocumentation for more information. Event.Controller.Meaning-
Additional possible "conventional meaning of the button". This can be
gmConfirmorgmCancelfor buttons that by convention act like this on a given controller type. For example,Aon Xbox controller isgmConfirm,BisgmCancel.For most buttons it is just
gmNone. Event.Controller.Caption-
Button caption that matches the controller type. For example, the four "face buttons" on Xbox controller are
'A','B','X','Y'.The intended purpose is to use this to display messages to the user like
WritelnLog('You pressed %s.', [Event.Controller.Caption]);. There is also a methodTGameController.ButtonCaptionto get button’s caption independently of it being pressed, to use it likeButton.Caption := Format('Press %s to jump', [Controllers[0].ButtonCaption(gbSouth)]);. Event.Controller.ControllerIndex-
Index of the controller in the
TGameControllers.Itemsarray.This is useful if different controllers map to different players, e.g. controller 0 controls the left car, while controller 1 controls the right car in a split-screen car racing game.
There are shortcut methods to test if a given TInputPressRelease matches a given controller button or meaning, see TInputPressRelease.IsController.
For example, to react to user pressing Escape key or cancel button on any controller, you can use this code:
function TMyView.Press(const Event: TInputPressRelease): Boolean;
begin
  Result := inherited;
  if Result then Exit; // allow the ancestor to handle keys

  if Event.IsKey(keyEscape) or
     Event.IsController(gmCancel) then
  begin
    // ... do something
    Exit(true); // handled
  end;
end;
3.4. Read controller axes
Controllers expose a number of analog axes that can be read at any moment. The typical moment to react to axes is in the view Update event.
Right now, these axes are available:
-
Left stick, 2D,
TGameController.AxisLeft. Both X and Y coordinates are in range[-1, 1]. -
Right stick, 2D,
TGameController.AxisRight. Both X and Y coordinates are in range[-1, 1]. -
Left trigger, 1D,
TGameController.AxisLeftTrigger. In the range[0, 1]. -
Right trigger, 1D,
TGameController.AxisRightTrigger. In the range[0, 1].
You can do anything you want with these axis values. For example, set a speed of movement, or change the immediate position, based on them:
procedure TViewMain.Update(const SecondsPassed: Single; var HandleInput: Boolean);
var
  MovementSpeed: TVector2;
begin
  inherited;

  if Controllers.Count > 0 then
  begin
    MovementSpeed := Controllers[0].AxisLeft;
    // Move the object in XZ plane
    PlayerAvatar.Translation := PlayerAvatar.Translation +
      Vector3(MovementSpeed.X, 0, MovementSpeed.Y) * SecondsPassed;
  end;
end;|
Note
|
The triggers are exposed as "axes", since this is most flexible and we have this information. They could be naturally used for things like speeding up/braking in a car racing game. But if you want, you can also add simple code to treat triggers as "digital" press or release. Simply watch when their value crosses some threshold, like 0.5. See sample code here.
|
|
Note
|
As always when doing things in the Update method of the view, remember to multiply everything you’re doing by the SecondsPassed (see view events). This includes reacting to the controller axes. Value like Controllers[0].AxisLeftTrigger says how mush pressure is the user putting on the trigger, but it doesn’t account how much time has passed since last processing the Update. If you want to move the object, you still have to multiply this value by SecondsPassed to make the movement have equal speed on every computer. See the above example, where the MovementSpeed is effectively multiplied by the SecondsPassed.
|
3.5. Integration with TInputShortcut
If you want to use game controllers with anything that exposes inputs as TInputShortcut, it’s easy. The TInputShortcut classes have a TInputShortcut.Bindings list and can react to controller buttons or axes.
Navigation components, like TCastleWalkNavigation and TCastleExamineNavigation, can read the inputs this way. They can even read the "pressure" of a given input, which corresponds to how much and which controller axis is pressed, using the TInputShortcut.IsPressed overload with the out HowMuch: Single parameter. On the application side, you just configure the bindings, like this:
procedure SetupController;
var
  BindingAxis: TInputShortcutBindingControllerAxis;
  BindingButton: TInputShortcutBindingControllerButton;
begin
  // left stick to move

  BindingAxis := TInputShortcutBindingControllerAxis.Create(Self);
  BindingAxis.Axis := gaLeftStick;
  BindingAxis.Positive := true;
  BindingAxis.Coord := 1;
  BindingAxis.ControllerIndex := ControllerIndex;
  MyWalkNavigation.Input_Forward.Bindings.Add(BindingAxis);

  BindingAxis := TInputShortcutBindingControllerAxis.Create(Self);
  BindingAxis.Axis := gaLeftStick;
  BindingAxis.Positive := false;
  BindingAxis.Coord := 1;
  BindingAxis.ControllerIndex := ControllerIndex;
  MyWalkNavigation.Input_Backward.Bindings.Add(BindingAxis);

  BindingAxis := TInputShortcutBindingControllerAxis.Create(Self);
  BindingAxis.Axis := gaLeftStick;
  BindingAxis.Positive := true;
  BindingAxis.Coord := 0;
  BindingAxis.ControllerIndex := ControllerIndex;
  MyWalkNavigation.Input_RightStrafe.Bindings.Add(BindingAxis);

  BindingAxis := TInputShortcutBindingControllerAxis.Create(Self);
  BindingAxis.Axis := gaLeftStick;
  BindingAxis.Positive := false;
  BindingAxis.Coord := 0;
  BindingAxis.ControllerIndex := ControllerIndex;
  MyWalkNavigation.Input_LeftStrafe.Bindings.Add(BindingAxis);

  // other buttons

  BindingButton := TInputShortcutBindingControllerButton.Create(Self);
  BindingButton.Button := gbSouth;
  BindingButton.ControllerIndex := ControllerIndex;
  MyWalkNavigation.Input_Jump.Bindings.Add(BindingButton);

  BindingButton := TInputShortcutBindingControllerButton.Create(Self);
  BindingButton.Button := gbEast;
  BindingButton.ControllerIndex := ControllerIndex;
  MyWalkNavigation.Input_Crouch.Bindings.Add(BindingButton);

  BindingButton := TInputShortcutBindingControllerButton.Create(Self);
  BindingButton.Button := gbLeftStickClick;
  BindingButton.ControllerIndex := ControllerIndex;
  MyWalkNavigation.Input_Run.Bindings.Add(BindingButton);
end;
3.6. Integration with TCastleWalkNavigation
If all you want is to use game controller with TCastleWalkNavigation in the simplest and standard way, then we actually have a ready utility to configure the inputs to handle the controller: just call TCastleWalkNavigation.UseGameController.
So to make a typical 3D FPS game with a game controller, you typically need to just execute 2 new lines from your view Start method, like this:
procedure TViewMain.Start;
begin
  inherited;
  Controllers.Initialize;
  MyWalkNavigation.UseGameController;
end;
This is really everything that the Explore Impressive 3D Castle (examples/3d_games/explore_impressive_castle) demo is doing to support gamepads: see here.
4. Current Controller and Platform Support
The API is designed to account for all controllers on all platforms. For now it has been extensively tested and confirmed on:
-
Windows and Linux platforms with Xbox (or Compatible) Controllers.
-
Nintendo Switch platform, with all compatible controllers, including Joy-Cons and the Pro Controller.
More platforms and support is coming (see TODO section below). The API is designed to be extensible, we can map internal button/axis numbers to controller-agnostic enums like TGameControllerButton. We have a number of "backends" providing actual (potentially platform-specific) controller handling.
5. TODO
-
TCastleInputAxis, a new way to use inputs as axis, which naturally maps to gamepad axes, but can also account for mouse look, key acceleration… is coming. See PR 533 with new navigation components. In a way, our currentTInputShortcutBindingControllerAxisis a first step towards it, but we can makeTCastleInputAxisbetter (as it will be configurable "how" aTCastleInputAxisis caused; right now the "axis" inTInputShortcutBindingControllerAxisis only for game controller handling). -
Testing + adjusting (map the internal button numbers/axes correctly) the Linux/Windows backends on more gamepad types, in particular: PlayStation gamepad connected to PC.
-
Maybe use the Godot’s game controller database, see Godot docs here. This needs testing to determine whether it helps, and on what platforms it helps — it seems it’s mostly for Android and web (which is still useful, see below, we may have backends for this).
See also previous attempt to use the database from libstem_gamepad which may be something to restore.
-
More backends:
-
Use game controllers on Android: Game Controller Library, Handle controller actions.
-
Use game controllers on the web: Using the Gamepad API (MDN), W3C spec.
-
Use game controllers through steam API. This is nice, as Steam provides an API that can already deal with lots of controller types. Steam Input, Steam Controller, Steam Input API.
-
Maybe: XInput backend on Windows. (But first research what are the practical gains over the current MMSystem?)
-
Maybe:
/dev/event*backend on Linux. (But first research what are the practical gains over the current/dev/input/js*?)
-
To improve this documentation just edit this page and create a pull request to cge-www repository.