castle-engine package --target=android --package-format=android-app-bundleAndroid FAQ
Table of Contents
- 1. Introduction
- 2. What Android devices are supported
- 3. Loading and packaging game data
- 4. Saving user preferences and savegames
- 5. Creating AAB (Android App Bundle)
- 6. Signing a release APK / AAB
- 7. Logging
- 8. Using Android emulator (virtual devices)
- 9. Testing mobile (OpenGL ES) rendering without an Android
- 10. Debugging running application (on an Android device) using ndk-gdb
- 11. Getting useful backtrace of a crash (on an Android device) using ndk-stack
- 12. WideString manager
- 13. Notes about compiling with hard floats (-CfVFPV3)
- 14. How to speedup Gradle building
1. Introduction
Questions related to Android support.
2. What Android devices are supported
Any Android >= 5.0.
Reasons:
-
Android 2.0 (platform android-5) is necessary, to have
OpenGL ES 2.0. -
Android 2.3 (platform android-9) is necessary, to
NativeActivityandEGL. -
Android 4.1 (platform android-16) is necessary, because
-
New executables (with PIC) can run only on Android 4.1+ (according to http://wiki.freepascal.org/Android ).
-
New Android NDK just supports only >= 16.
-
In theory, you could workaround it, by explicitly compiling Android library without PIC support, and sticking to an ancient version of Android NDK. But this would give you an application that, in turn, doesn’t work on newer phones (since platform 23, PIC support is required).
-
-
Android 5.0 (platform android-21) is necessary by Oboe 1.7.0, which in turn is necessary for flawless sound playback on all Android devices.
3. Loading and packaging game data
-
When developing a game, put all your game data under the "data/" subdirectory.
-
Load it using
castle-data:/xxxURLs.For example, set
TCastleScene.URL := 'castle-data:/my_model.gltf'to load a 3D model.When you design using CGE editor, it will automatically use
castle-data:/xxxURLs.
More information about data directory, and castle-data protocol, is here .
This approach makes your code 100% working on both Android and other platforms. Our build tool will automatically package the data/ subdirectory correctly.
What happens under the hood (internal):
In an Android application, you can read files on a normal filesystem (if only you have permissions to do so, which are more fine-grained in recent Android version). Just like on any other Unix. Like file:///sdcard/my_texture.png. However, reading arbitrary files on a filesystem is not a proper way to distribute your game data. The game data should be placed as the "assets" inside the Android APK / AAB file, and opened using special Android functions. We support it seamlessly in the Castle Game Engine:
-
Our build tool automatically packs files inside the
data/subdirectory as Android "assets". -
Our file-reading routines (the
Downloadfunction, and everything opening files/URLs built on top of it) support a special protocolcastle-android-assets:/to access Android assets. So you can open URL likecastle-android-assets:/my_texture.png. -
Finally, the
castle-data:/xxxURL is resolved intocastle-android-assets:/xxxon Android by default (assuming you didn’t setApplicationDataOverride).
In effect, when you use the build tool and the castle-data:/xxx on Android, you seamlessly read data from your packaged "assets".
4. Saving user preferences and savegames
Simply use the global UserConfig to load/save your settings. Follow Persistent data (user preferences, savegames) manual. The same mechanism works for saving preferences on other platforms.
Note that (just like on other platforms) you have to explicitly call UserConfig.Load and UserConfig.Save to load and save the preferences to disk.
-
You will usually call
UserConfig.Loadin yourApplication.OnInitializehandler, to load user preferences at the beginning of your application. -
You will usually call
UserConfig.Savewhen user confirms the preferences change, or even immediately when user changes a preference. Don’t wait too long before saving the user preferences — on Android, your application may be killed at any moment.
To write more files, just write data to URLs with castle-config:/ protocol, like castle-config:/my_config.json. You can write to it using all engine routines, like StringToFile, UrlWriteXML, TTextWriter, UrlSaveStream. See Saving resources to URLs.
5. Creating AAB (Android App Bundle)
Traditionally, Android applications are distributed as APK (Android Package) files. This package format remains the default in CGE, as it can be easily installed on any Android device (so it is convenient for development purposes). Also, it is the required distribution format on most stores except the Google Play. For example you can upload APK to itch.io (see our platformer for Android on itch.io).
However, Google Play requires the new applications to be uploaded using a new AAB (Android App Bundle) format, not an APK. To generate the AAB file:
-
In CGE editor, change "Run → Package Format" to "Android App Bundle (AAB)".
-
Or, if using build tool from the command-line, add the
--package-format=android-app-bundleoption, resulting in call like this:
Android App Bundle (AAB) is a collection of prebuilt resources targeted for different user devices (such as Android version, CPU architecture, Screen resolution). Play Store then automatically generates an APK based on user configuration. Note that it also means that AAB package cannot be directly installed on a mobile device/emulator and therefore for debugging and internal testing APK is still a necessary format.
6. Signing a release APK / AAB
To create a "release" APK / AAB (one that you can distribute, e.g. through WWW or by uploading it to Google Play) you need to create your key store, and use it to sign your packages.
See Android signing documentation from Google for a description how to create and manage your key store.
|
Note
|
There is also a way to create a key store without using Android Studio or Play Store or interacting with Google, if you don’t want to follow Google instructions. You can do it using Java keytool. Call this on the command-line: keytool -genkey -v -keystore my_keystore_name.keystore -alias my_alias -keyalg RSA -keysize 2048 -validity 10000 and fill an interactive questionnaire to provide the passwords and certificate details. Be sure to save the generated keystore file and passwords secure. |
Once you have your keystore, create AndroidSigningProperties.txt file at the top of your project (along the CastleEngineManifest.xml file). Add there these lines:
key.store=<path-to-your-keystore>
key.alias=<key-alias-in-your-keystore>
key.store.password=<my-password>
key.alias.password=<my-password>
This will allow you to create release APK / AAB files. Our build tool will automatically use it when making a "package" in "release" mode.
Note that for new applications uploaded to the Google Play store, you have to use AAB format (not APK). And in this case, you have to let Google Play handle signing for you (internally, Google Play will unpack your AAB and create APK from it). You still need to sign the file you upload using the upload key, so you still need the key store.
There are more options (see Google docs), but for us it seems it’s simplest to use "App signing preferences → Export and upload a key from Java keystore" and upload to Google your (encrypted) keystore following recommendations there.
7. Logging
Simply call WritelnLog or WritelnWarning at any point of your application. They are defined in CastleLog unit.
See logging in our manual for more information.
On Android, these logs are send to the standard Android logging API ("logcat").
It is most comfortable to observe them by running your APK using castle-engine run --target=android. It will automatically display the logs from your application.
Alternatively, you can use any other Android tool, e.g. command-line adb logcat. It’s usually comfortable to filter by your program name, e.g. adb logcat | grep androiddemo (although, in case of mysterious crashes at startup, take a look at the full log, not filtered; some important startup info may not be marked with application name).
8. Using Android emulator (virtual devices)
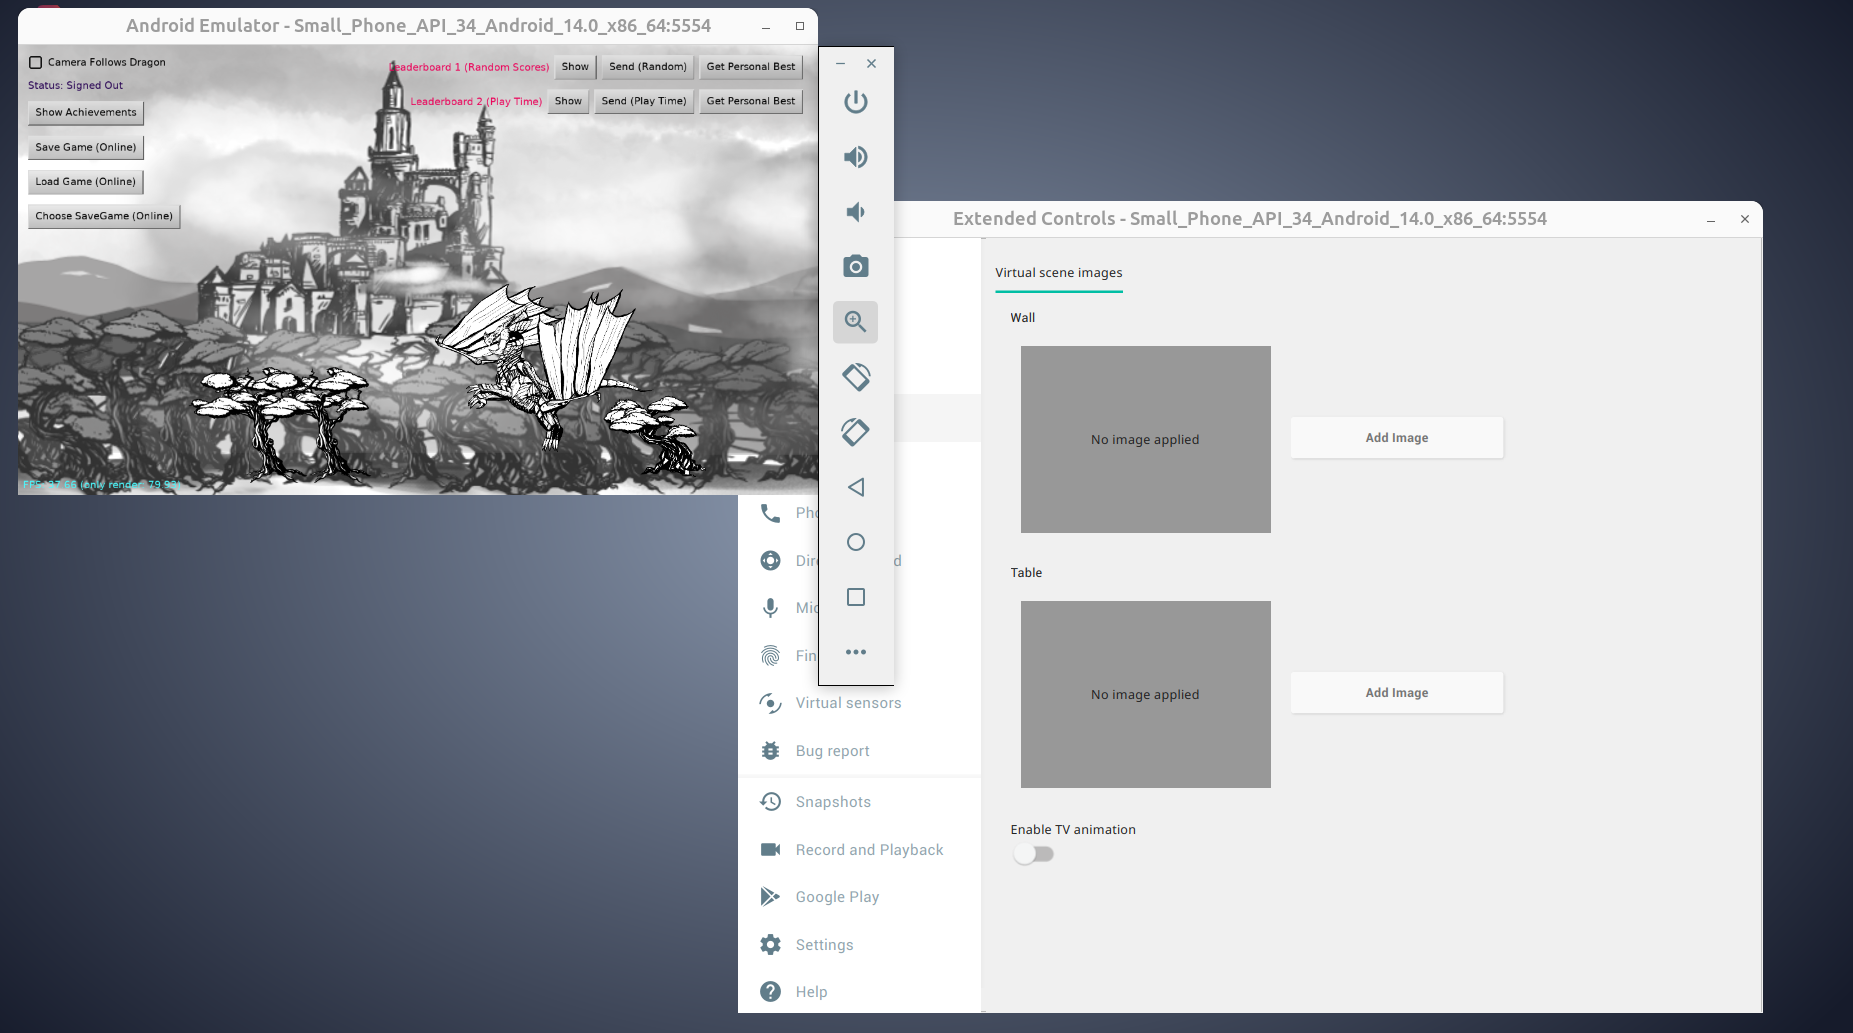
Using the Android emulator works smoothly for Castle Game Engine applications.
-
It is easiest to use the emulator provided by the Android SDK (installed also by the Android Studio). You can easily configure "virtual devices" using Android Studio, to choose any Android version, screen size, etc.
-
You can also use virtual machines made from images on https://www.android-x86.org/ . You can use them to create an Android virtual machine on your computer using various virtualization solutions.
Note about CPU architecture:
-
Your Android virtual machine may use an
x86orx86_64CPU architecture. This is actually advised, because they can be emulated on regular PCs much faster thanarmoraarch64. -
In this case you have to also build CGE application for the given CPU. (Because by default, we build Android applications only for
armandaarch64CPUs.) -
First, make sure you have cross-compilers for Android / i386 or Android / x86_64 combinations. You can install them using fpcupdeluxe.
-
Then build application from engine editor by selecting the "Android (emulator …)" from the editor "Run → Platform → …" menu. After selecting this, use "Run → Package" to create an APK (or just hit F9, "Run → Compile And Run", to package + install + run in one go).
Alternatively, from the command-line, build like this:
# Emulator with x86_64 CPU
castle-engine package --os=android --cpu=x86_64

# Or, emulator with i386 (also known as x86) CPU
castle-engine package --os=android --cpu=i386
Everything else is the same as for the normal Android applications. The resulting APK can be installed and run on the emulator.
Additional notes for emulator usage:
-
You may need to check "Use Host GPU" in emulator options. Without it, the app may stop and in the log show a message "Emulator without GPU emulation detected.".
-
Make sure your device is created with sufficient space (on Internal storage or SD Card).
9. Testing mobile (OpenGL ES) rendering without an Android
You can compile a standalone program, for your normal OS, using OpenGLES instead of the traditional desktop OpenGL. This way you can test how your application looks like before actually compiling it for Android. In general, there should be no differences between desktop (OpenGL) and mobile (OpenGLES) rendering, except temporarily we don’t support wireframe rendering on OpenGLES.
Just define OpenGLES symbol in src/castleconf.inc inside the engine sources. Or add -dOpenGLES to your fpc.cfg file, or to the <compiler_options> in your CastleEngineManifest.xml. Then recompile (the engine and your game).
Be sure to also install an OpenGL ES library (with EGL). Unlike normal OpenGL, it is not something automatically installed on your OS.
-
On Linux, you can install OpenGL ES + EGL by installing packages libgles2-mesa-dev and libegl1-mesa-dev (these are Debian names, other distros probably have something similar).
-
On Windows, you can install:
-
Angle. Official usage and download instructions are here, but it may be easiest to just copy
libEGL.dllandlibGLESv2.dllfrom your Google Chrome installation, likeC:\Program Files (x86)\Google\Chrome\Application\64.0.3282.119. Just copy these two DLL files to the directory of your game .exe.NoteIf you use this approach, make sure to compile your application for the same architecture as Google Chrome, which is most probably 64-bit Windows, not 32-bit. Whe using Castle Game Engine on Windows, we also recommend 64-bit architecture, so most likely everything already matches. But if necessary, check it and adjust the target architecture (in editor using "Run → Platform → …") to x86_64. -
Also this post has useful links: http://www.g-truc.net/post-0457.html .
10. Debugging running application (on an Android device) using ndk-gdb
|
Note
|
You can also use Android Studio to open and run your Android project (stored in <your-project>/castle-engine-output/android/project/). This is a straightforward way to debug your application in many cases.
|
If you use our build tool for compilation, the debug apk is already prepared such that you can debug it with "ndk-gdb". You must run ndk-gdb within the output Android project, like this:
-
Create a debug Android package:
castle-engine package --target=android --mode=debug
Install the apk and run it using any way you like, for example by
 castle-engine install --target=android
 castle-engine run --target=android
-
Run ndk-gdb by
 cd <my-project-directory>/castle-engine-output/android/project/app/src/main/
 ndk-gdb
Then debug, using ndk-gdb console just like a usual GDB.
You can set breakpoints (and the tab key will auto-complete symbols, including Pascal symbols (uppercased)). Below is a sample ndk-gdb session. As you can see, breakpoints on Pascal symbols work (like internal fpc_raiseexception, or function WindowRender defined in game.pas). Line numbers, printing values of variables, and everything else works fine as well :)
 (gdb) break fpc_raiseexception
 Breakpoint 1 at 0xa1d29bdc
 (gdb) break WINDOWRENDER
 Breakpoint 2 at 0xa1d39e58: file game.pas, line 328.
 (gdb) continue
 Continuing.
 [Switching to Thread 4909.4926]

 Thread 10 "ine.androiddemo" hit Breakpoint 2, WINDOWRENDER (CONTAINER=0xb3992a60) at game.pas:328
 328	begin
 (gdb) print YELLOW
 $1 = {1, 1, 0, 1}
 (gdb) delete breakpoints
 Delete all breakpoints? (y or n) y
 (gdb) continue
 Continuing.
It is probably possible to use Lazarus to even have a graphical debugger. TODO: if you have working instructions how to use ndk-gdb with Lazarus, please improve this wiki page!
Random hints:
-
Setting a breakpoint on
fpc_raiseexceptionis very useful — this way you can catch all FPC exceptions. -
You can run
ndk-gdb --launchto set up breakpoints before the application launches. Whenndk-gdb --launchstarts, you set up breakpoints in the GDB command-line, and when ready you executecontinuein GDB. -
If you get an error around the
[ .. readlink /system/bin/ps ..]failing, a workaround is to edit<ndk>/python-packages/gdbrunner/init.pyand setps_script = "ps".
11. Getting useful backtrace of a crash (on an Android device) using ndk-stack
|
Note
|
You can also use Android Studio to open and run your Android project (stored in <your-project>/castle-engine-output/android/project/). This is a straightforward way to debug your application in many cases.
|
Similar to the above instructions for ndk-gdb, you should compile your application in the debug mode, and enter the directory of resulting Android project:
-
Create a debug Android package:
castle-engine package --target=android --mode=debug
Install the apk and run it using any way you like, for example by
 castle-engine install --target=android
 castle-engine run --target=android
-
Run the live logs from your device, and filter them through
ndk-stacklike this:cd <my-project-directory>/castle-engine-output/android/project/app/src/main/ # if your applications runs using 32-bit Android CPU (Arm) adb logcat | ndk-stack -sym ./obj/local/armeabi-v7a # if your applications runs using 64-bit Android CPU (Aarch64) adb logcat | ndk-stack -sym ./obj/local/arm64-v8a
This assumes that the Android tools, including Android NDK tools, are available on your environment variable $PATH. See http://developer.android.com/ndk/guides/ndk-stack.html for more information about the
ndk-stack.
Now when the application crashes, you will see a nice backtrace, with a filename and line number indicating where the crash occured.
12. WideString manager
In short, don’t worry about it: WideString manager is automatically handled for you. This means that strings with international characters just work.
Note that WideString manager may not be installed when units "initialization" section is run. (This is a limitation of some Android versions.) But it will for sure be installed when Application.OnInitialize is called.
Background: Having a WideString manager is important if you use WideStrings (e.g. with standard FPC units to handle XML, like DOM) with non-ASCII characters (e.g. regional characters specific to some language). Our engine uses UTF-8 for displaying strings with TCastleFont, and VRML/X3D use UTF-8 encoding by default. So we need to be able to convert between WideStrings and AnsiStrings with UTF-8. This is what the "WideString manager" is for.
Our engine includes and correctly initializes manager from CastleAndroidCWString, which is a slightly modified version of FPC CWString for Android (to initialize with delay, required by some Android versions).
13. Notes about compiling with hard floats (-CfVFPV3)
The compiler flag -CfVFPV3 is necessary to enable hardware floats, this way the engine works much faster. Our build tool automatically uses it when compiling your project. You should also have FPC standard units compiled with this option (following our Android wiki page).
|
Note
|
In theory it is possible to compile and use our engine without -CfVFPV3 (in which case make sure you use FPC standard units also compiled without -CfVFPV3), things will work, but they will be much slower. E.g. in Darkest Before the Dawn loading time drops from 6 (hard floats) to 36 (no hard floats) seconds, and frames per second during game drop from 40 (hard floats) to 10 (no hard floats).
|
Note that every unit has to be compiled with -CfVFPV3 (hard floats). It is especially important to remember it when compiling packages from Lazarus, since they also depend on standard Lazarus "fcllaz" package, which does not by default get compiled with -CfVFPV3.
It’s then easiest to just add
#ifdef ANDROID
-CfVFPV3
#endif
to your fpc.cfg. This will automatically make everything compiled for Android (from Lazarus or from command-line) use -CfVFPV3. Otherwise, you will have to modify packages like "fcllaz" to add -CfVFPV3 to compilation options on Android.
14. How to speedup Gradle building
You can put org.gradle.jvmargs=-Xmx2048M in your ~/.gradle/gradle.properties. (We don’t do it in every project, because it may unfortunately fail to work on some Windows machines, even when they have a lot of RAM…)
To improve this documentation just edit this page and create a pull request to cge-www repository.