Bump Mapping (Normal Maps)
1. Introduction
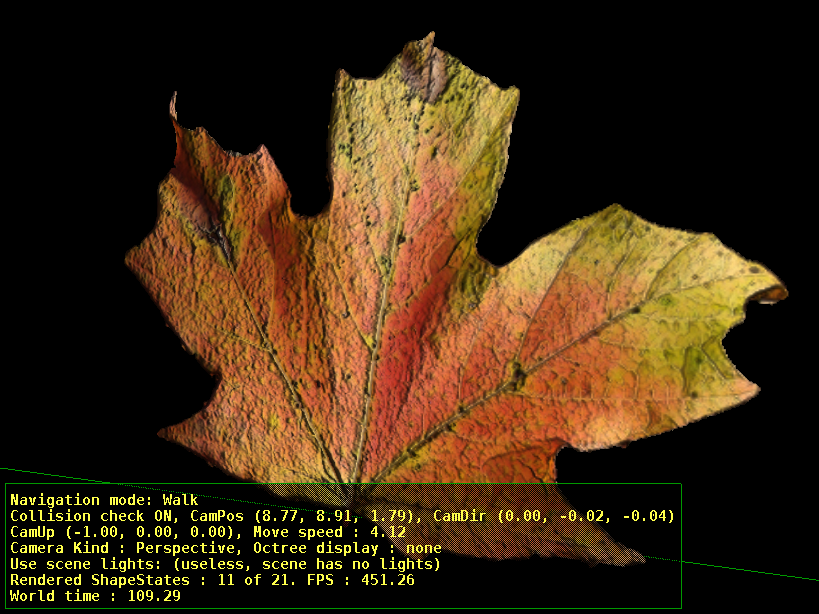
Bump mapping means that you provide a special texture called normal map that describes a small features on the surface (like scratches, bumps etc.). The normal map texture is used when calculating lighting. In effect you have a real-time realistic surface that looks a bit rough, just like most real objects are.
|
Note
|
The simplest demo to test bump mapping in Castle Game Engine is examples/viewport_and_scenes/bump_mapping. Though many other demos use bump mapping too. |
2. Basic usage
Simply export your model to the glTF or X3D format making sure that they indicate the normal map usage correctly. Both glTF and X3D (since X3D 4.0) allow to define the normal map and we support it fully.
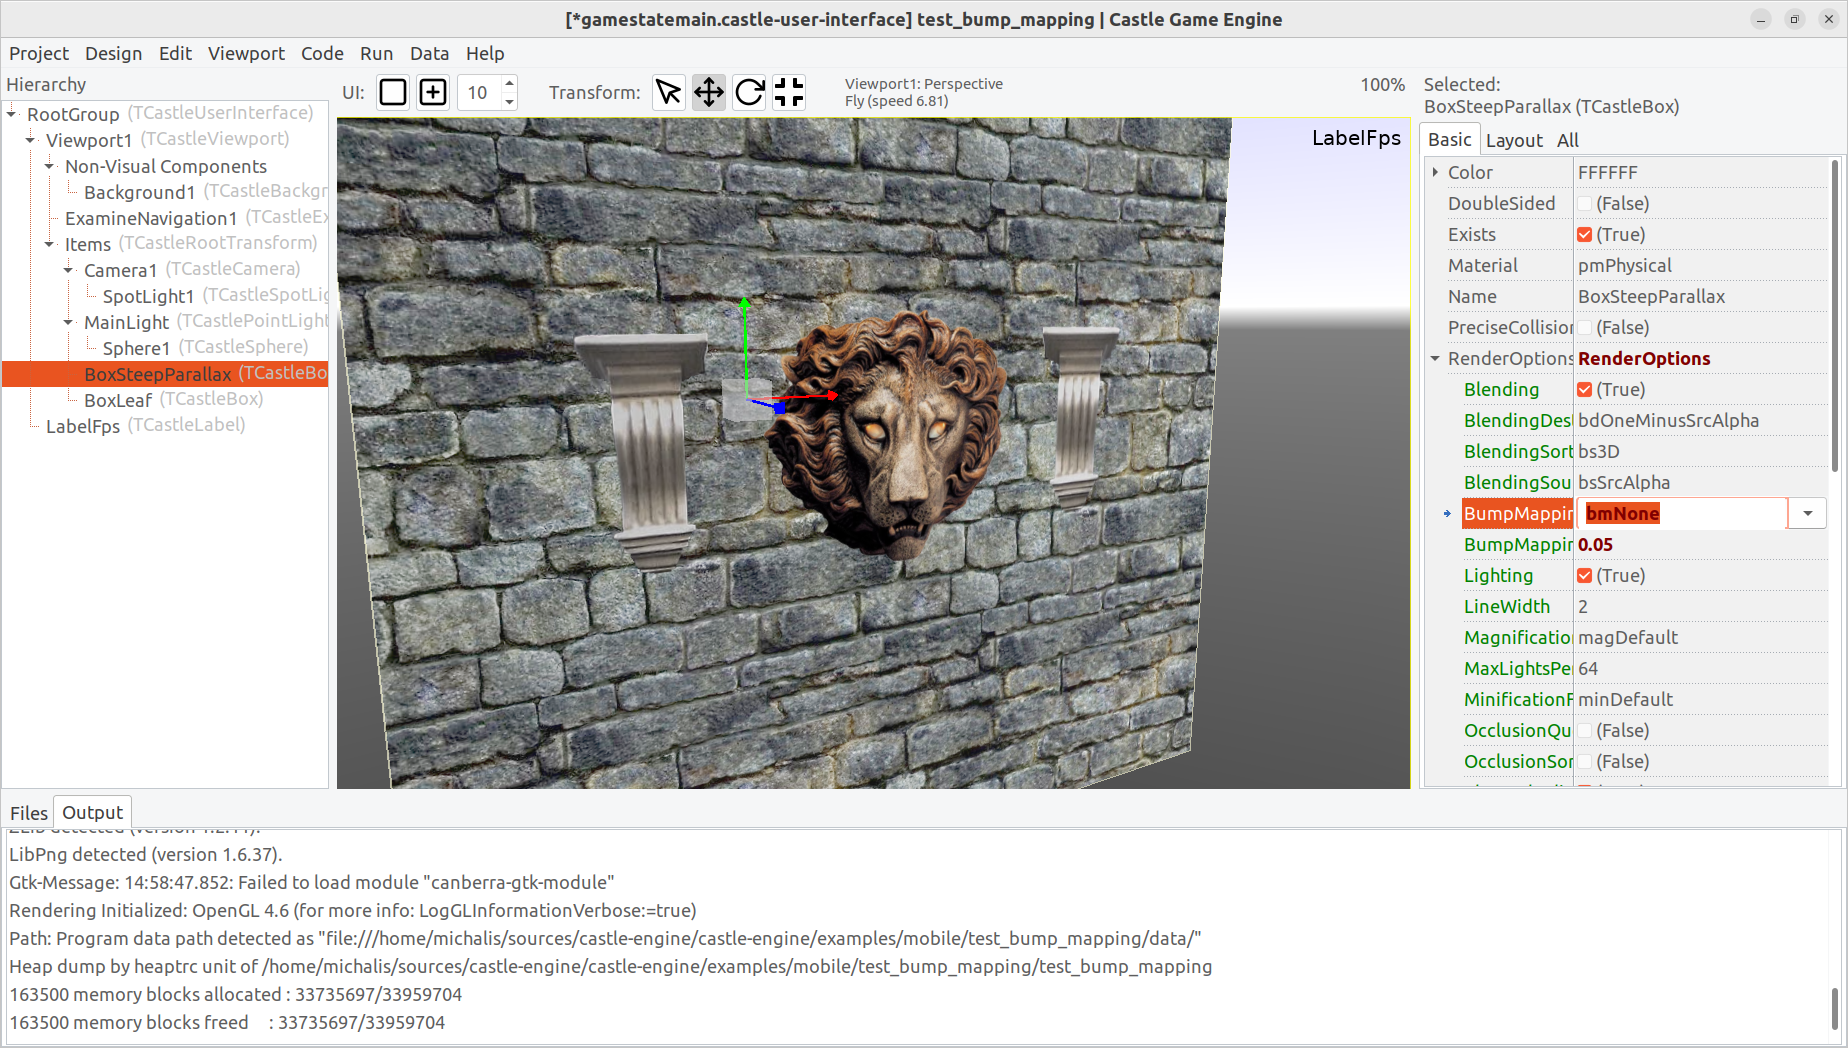
To toggle on/off bump mapping (and optionally control the specific algorithm) you can use the Scene.RenderOptions.BumpMapping property.
-
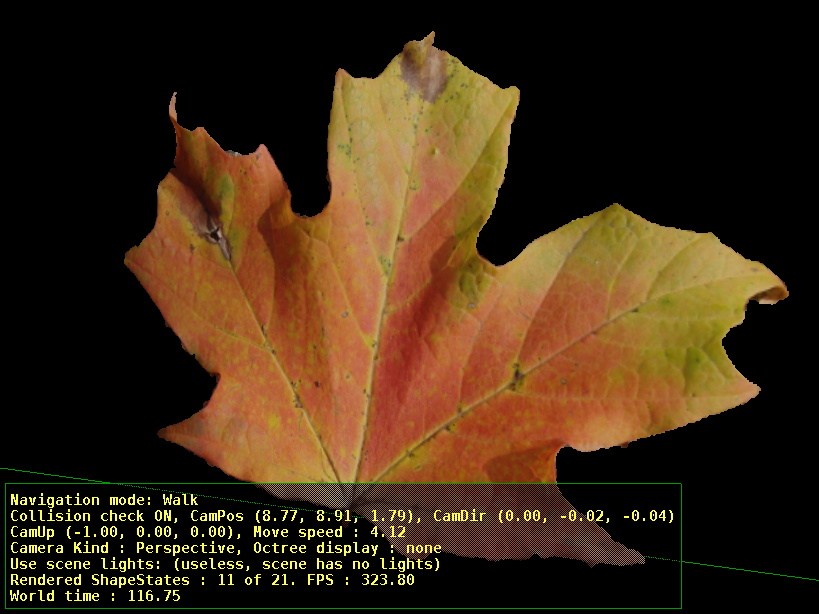
bmNonemeans that bump mapping is off. -
bmBasic(default) means to use the basic bump mapping algorithm: normal vectors at each pixel are adjusted, according to the normal map information, and the resulting normal vectors are used to calculate lighting as usual.Note that this is ignored (behaves like
bmNone) if the normal map is not provided for a particular material. -
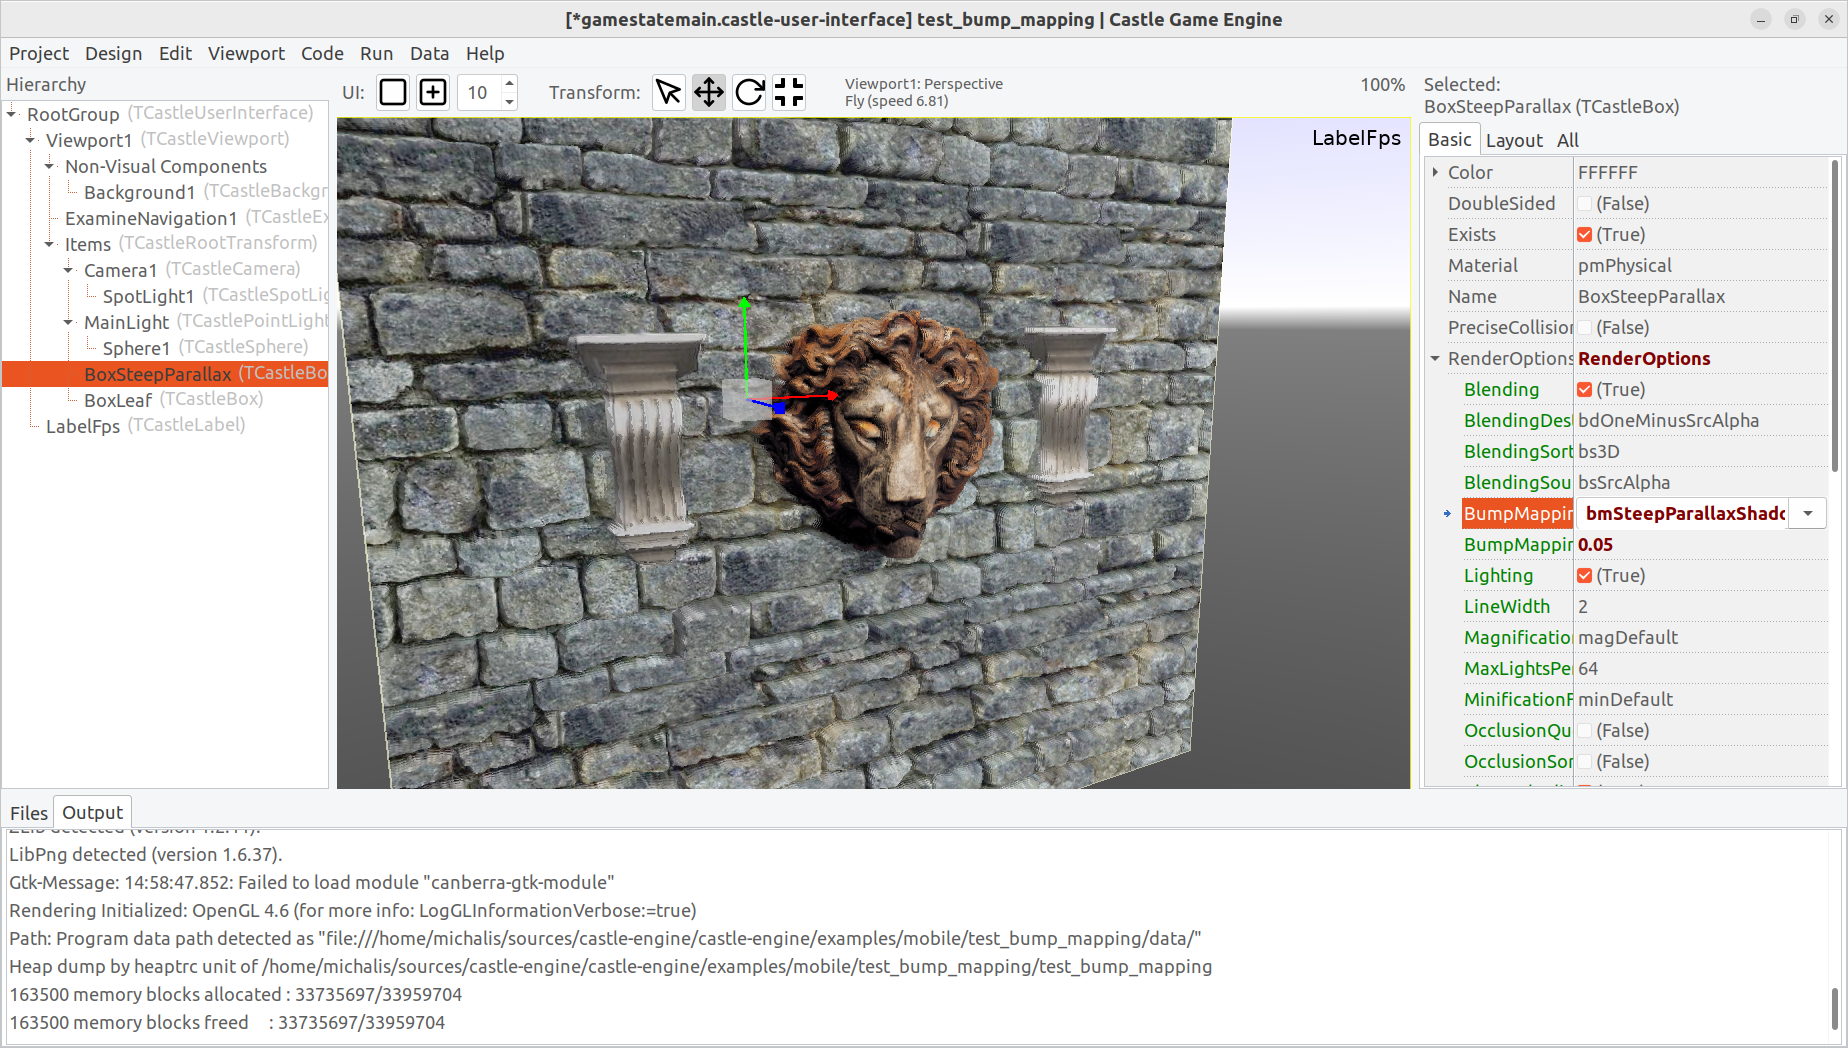
Optionally you can activate one of the "parallax" options, like
bmSteepParallaxShadowing, to use a more expensive but also prettier algorithms for bump mapping. See section below Provide a height map and use parallax bump mapping algorithms.
2.1. Exporting normalmaps from Blender to glTF (and Castle Game Engine)
If you use Blender then, once you setup your normalmap in Blender, it will be automatically exported correctly to glTF (and correctly used by Castle Game Engine).
The video below demonstrates the process of using normal maps in Blender and also baking (to create normalmaps in Blender).
3. Creating normal maps
The typical approach to create normal maps for 3D models is:
-
Create both low-poly (with polygon count that can be rendered by real-time game engine) and high-poly version of your 3D model.
-
Bake the details from the high-poly version to a normal map texture.
The idea is that rendering a low-poly version, with normalmaps, can achieve a similar effect as rendering the high-poly model.
There a number of 3D software that can do this. The movie above shows how can do it completely in Blender.
Alternative: You can sometimes use 2D image processing to get a reasonable-looking normal map from your base (diffuse) color texture. You can do this e.g. using
-
Command-line normalmap utility.
This approach is not perfect — you’re essentially guessing the normal map from something (theoretically) unrelated. I.e. the color texture intensities do not necessarily determine sensible 3D details that should be described by the normal map. That said, in practice, it is often useful (and makes better effect than flat look without any normal maps).
|
Note
|
In GIMP normalmap plugin check "invert y" when generating normal maps, we want the Y (as interpreted by normals) coordinate to grow up, just like texture T coordinate. |
|
Note
|
The normal map textures are usually blueish, this is expected. The typical normal vector is (0, 0, 1) in tangent space which corresponds to the (0.5, 0.5, 1) (light blue) RGB color.
|
4. Provide a height map and use parallax bump mapping algorithms
You can optionally provide a height map in the alpha channel of the normal map.
For example you can do this by selecting "Alpha Channel: Height" in the GIMP normal map plugin configuration.
Thanks to this height map, you can activate a family of "parallax bump mapping" algorithms by setting Scene.RenderOptions.BumpMapping to a value like bmSteepParallaxShadowing. See the TBumpMapping documentation for possible values and their meaning.
Moreover, when using parallax bump mapping, you may want to adjust the Scene.RenderOptions.BumpMappingParallaxHeight that scales the heights provided in texture alpha channel.
To improve this documentation just edit this page and create a pull request to cge-www repository.