 |
 |
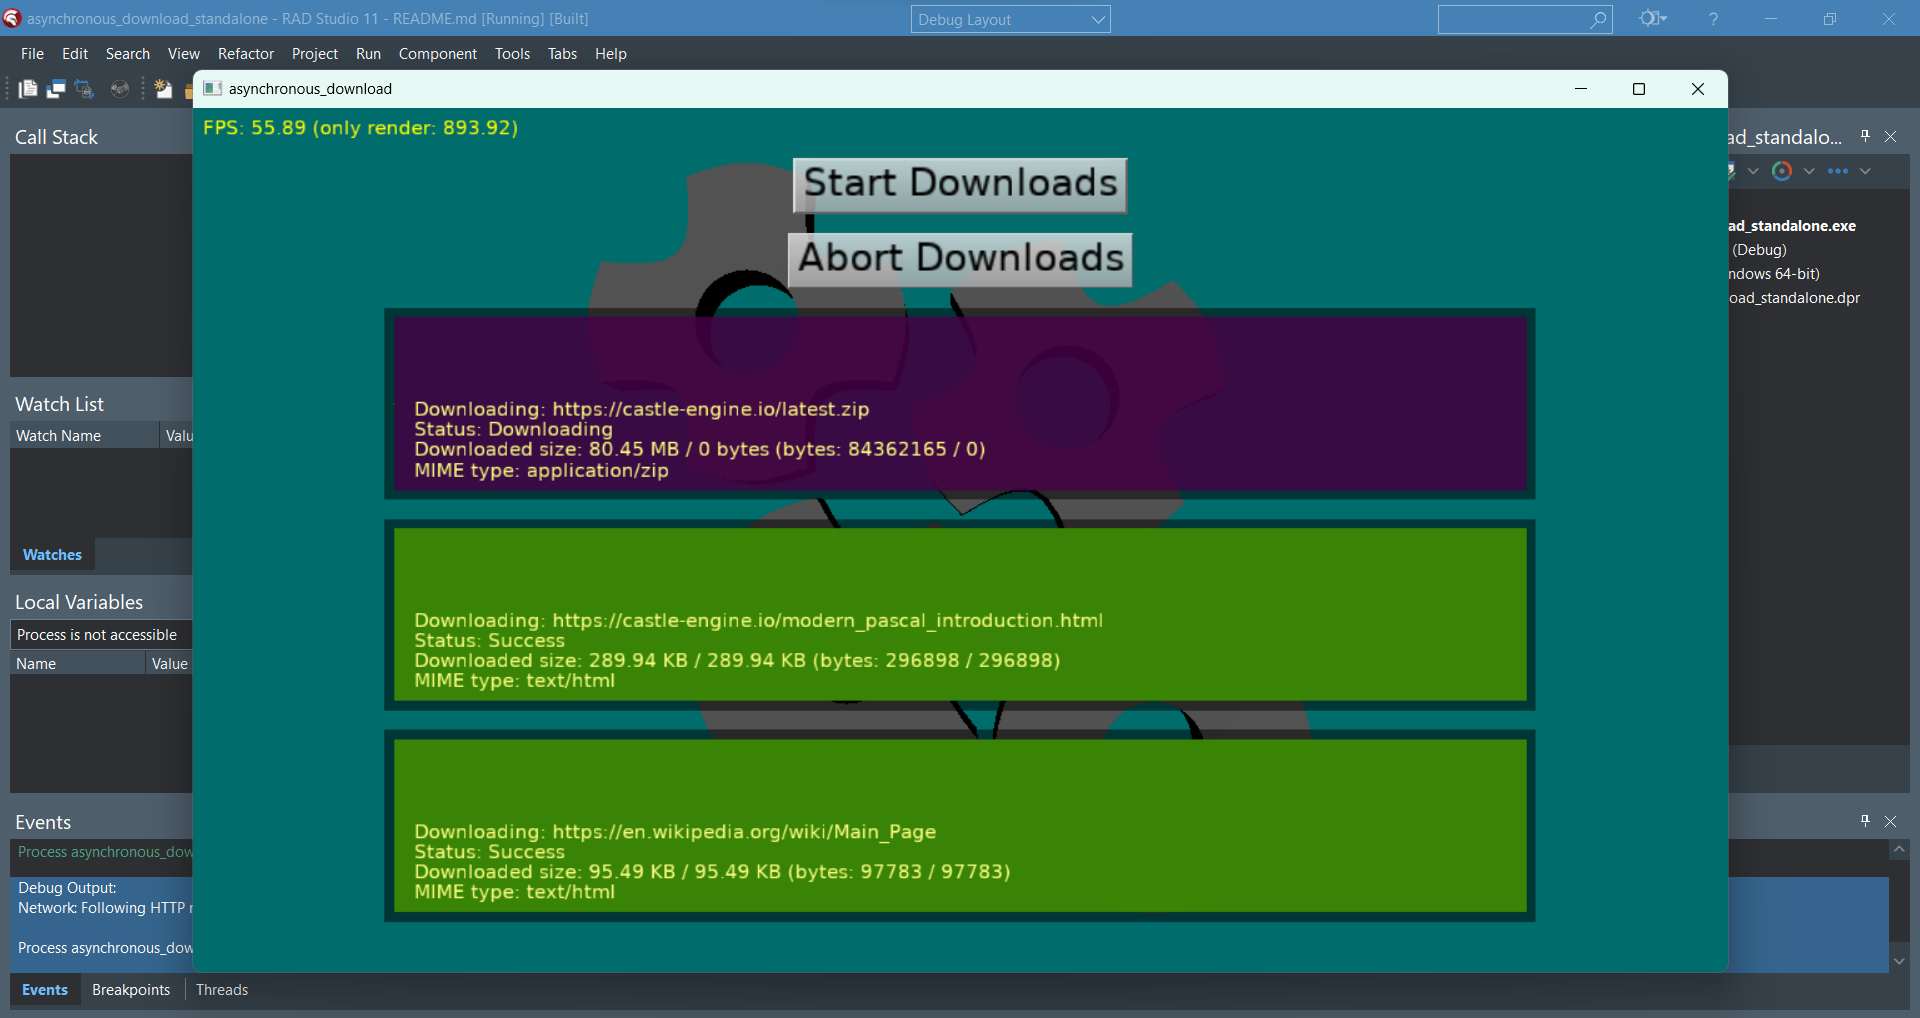
Our TCastleDownload component, that supports asynchronous downloading of resources, now rocks with Delphi too. It supports downloading from http and https (and other URL protocols supported by Castle Game Engine).
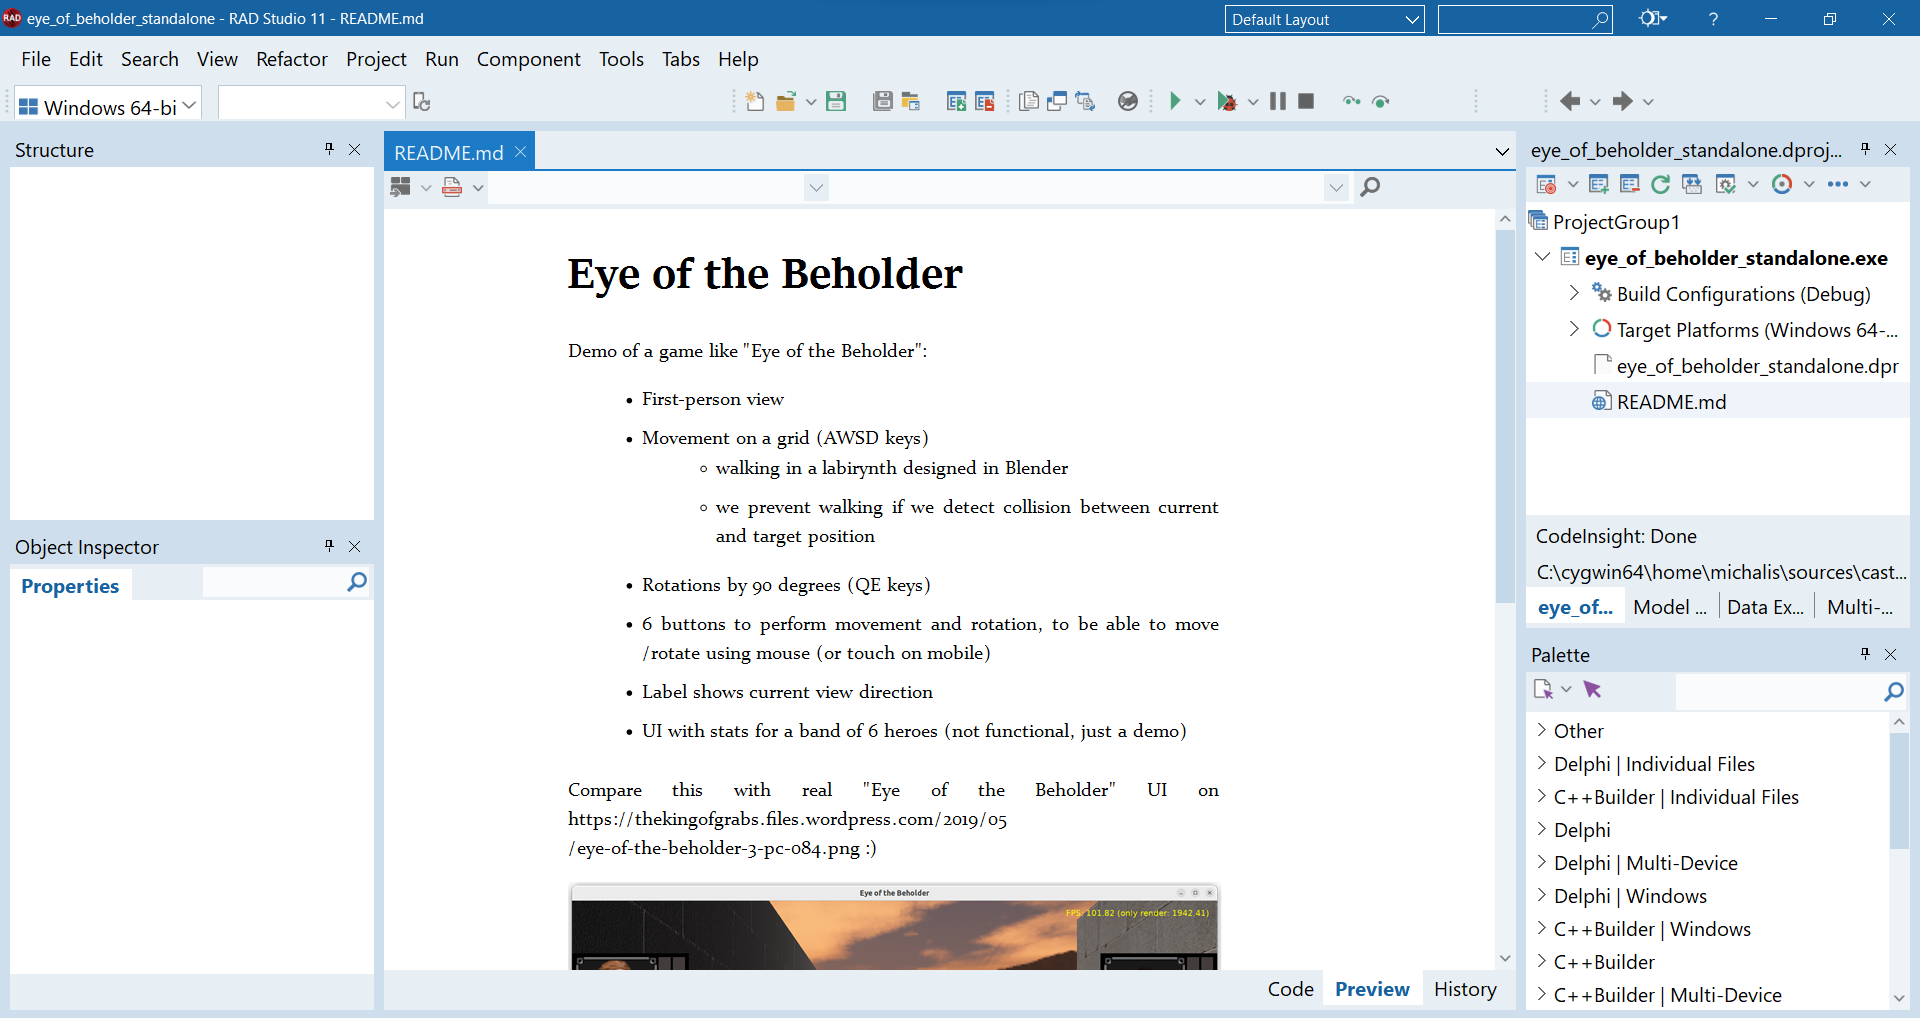
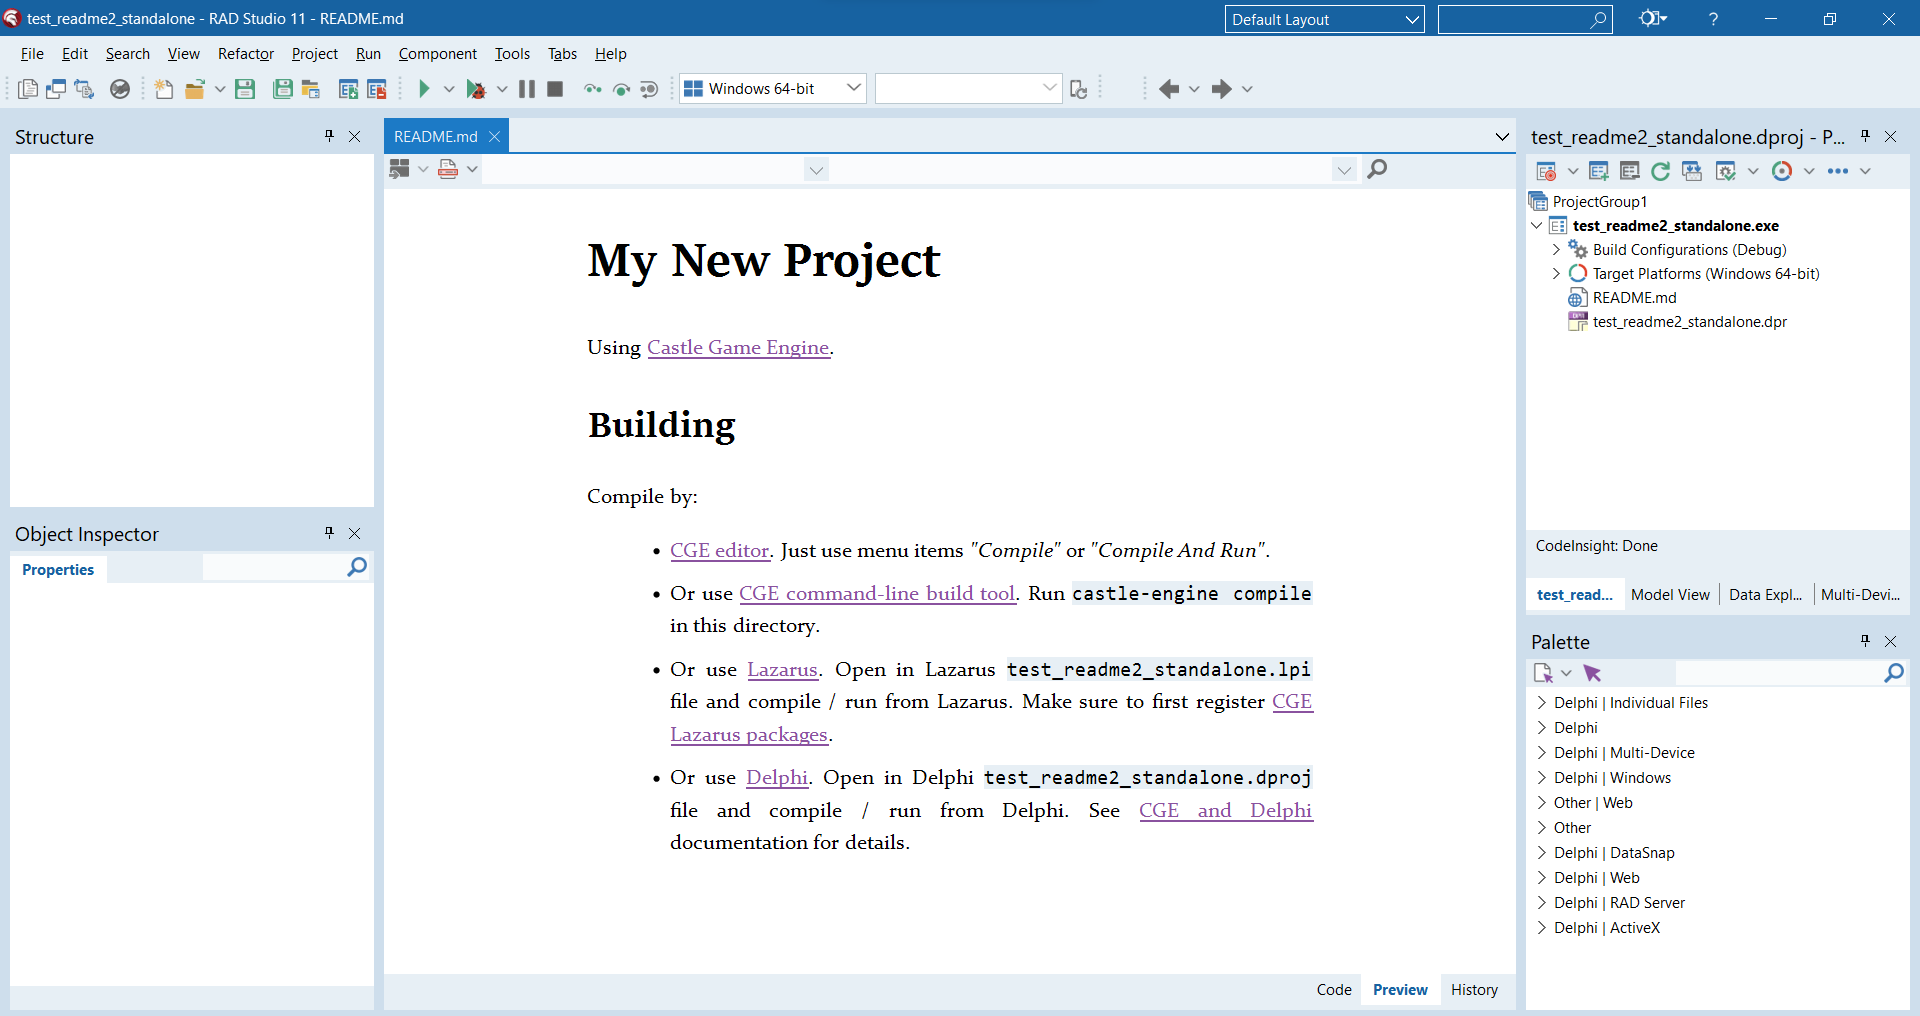
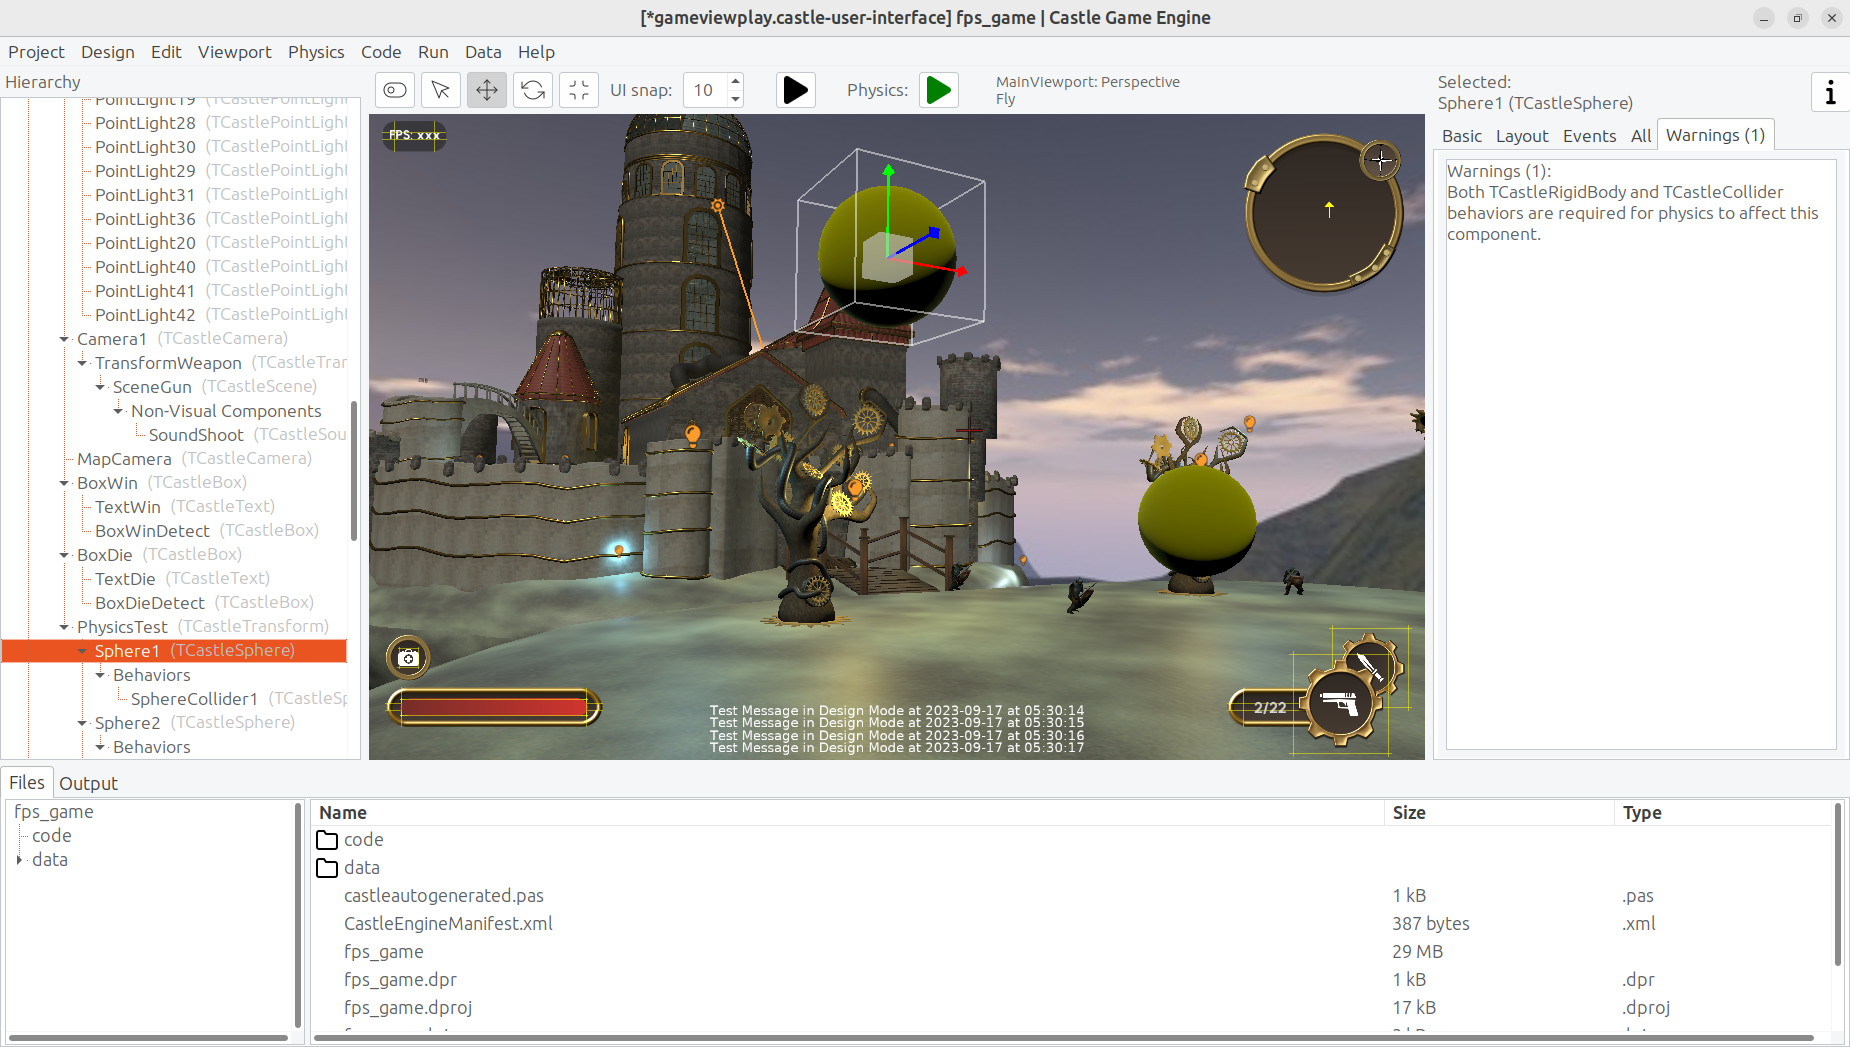
You can test with Delphi e.g. these examples:
Most features you expect are supported:
-
Asynchronous operation (
TCastleDownloadconnecting and downloading doesn’t block the main thread), -
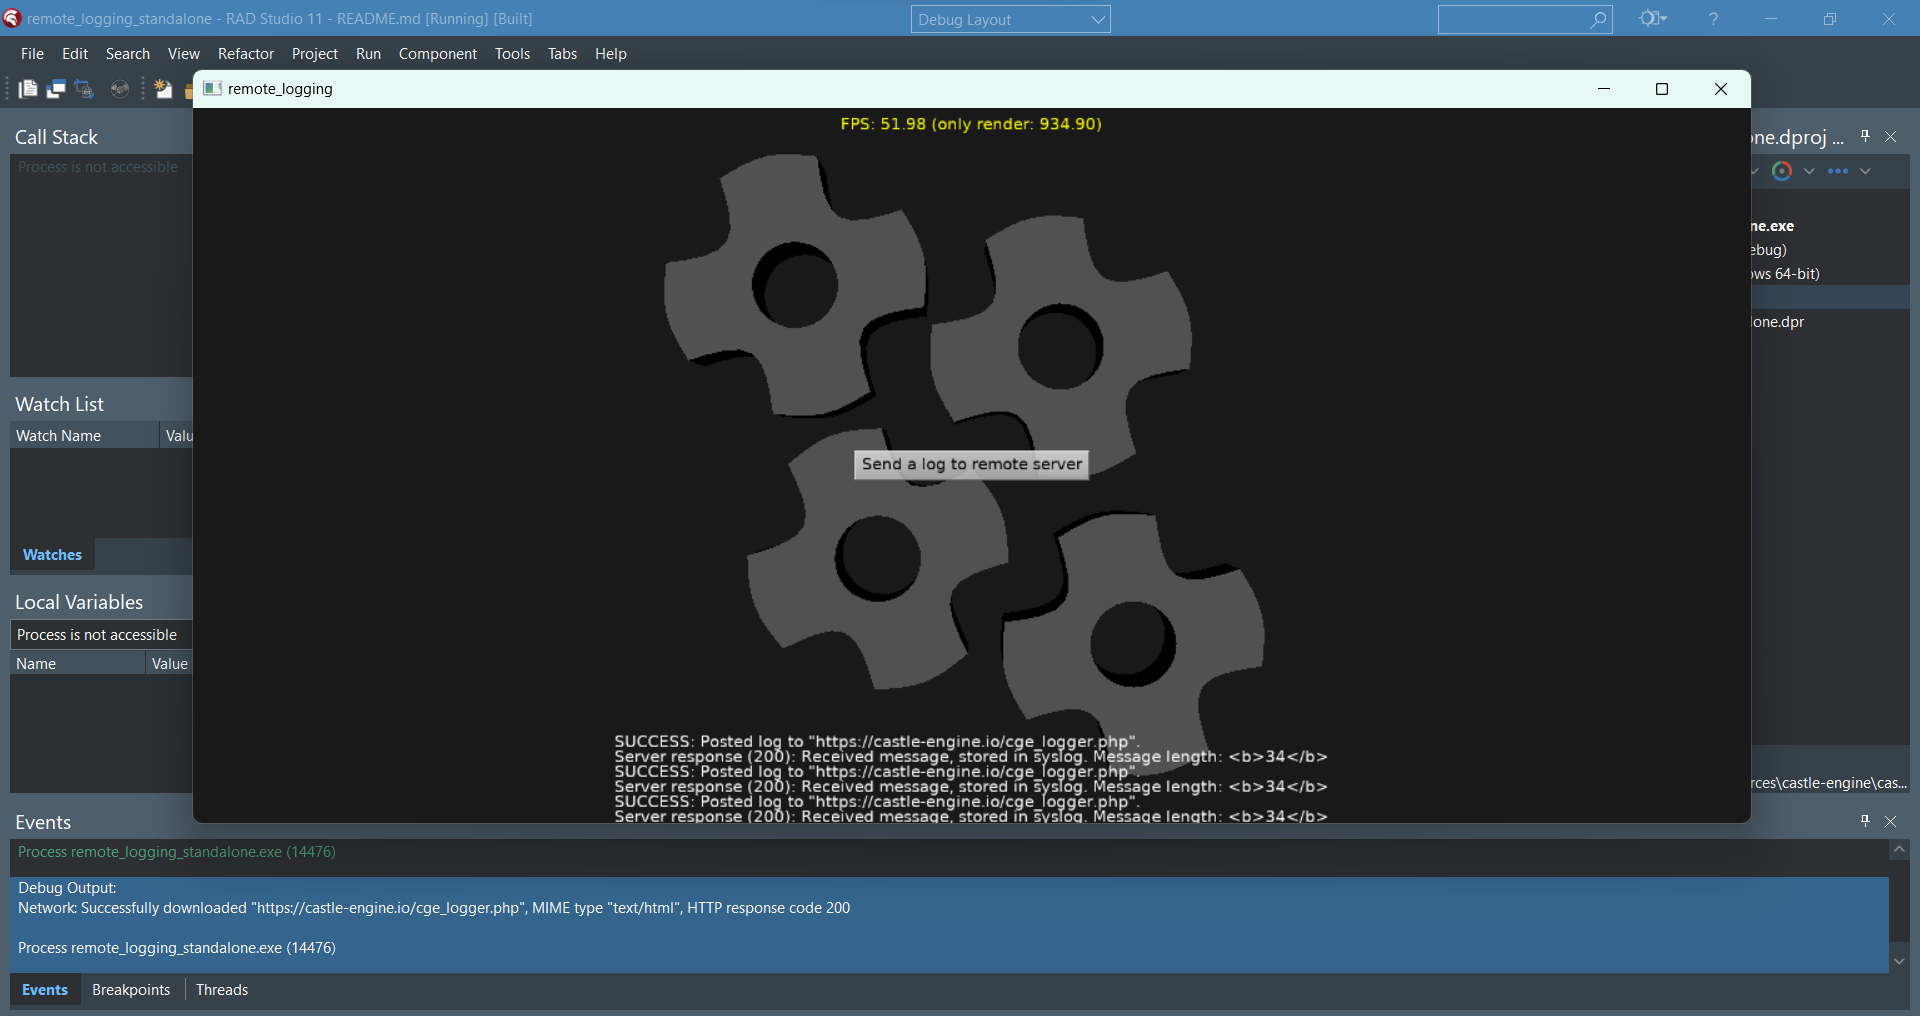
various HTTP methods (GET, POST with post data…),
-
getting MIME type from server response,
-
updating progress (total bytes, downloaded bytes),
-
aborting download in the middle is instant and doesn’t cause any further problems.
-
Both
httpandhttpswork smoothly on Windows.For
https, note that you have to use OpenSSL DLLs. You can get the 2 necessary DLLs from engine win64 openssl libraries or engine win32 openssl libraries.We advise to compile at least once using CGE editor that will place the DLLs automatically alongside your EXE. You only need to specify in
CastleEngineManifest.xmlthat your project depends onHttps, see dependencies in CastleEngineManifest.xml. -
The code also works on Delphi/Linux. Tested with not-yet-merged delphi-linux branch.
httpdownloading works (test e.g. using http://neverssl.com/ — because it’s not so easy to find unencrypted http now).httpsunfortunately doesn’t work for now, i.e. it will likely answer “SSL library not found” if you run it on a modern Linux system. It seems Indy requires really old OpenSSL library version (1.0 ?), not available in e.g. latest Ubuntu. And it’s not even OpenSSL 1.1, which is already old but known to be required by some applications (so installing OpenSSL 1.1 will not help). There is a PR to support newer OpenSSL in Indy, but seems it was never finalized.
The underlying implementation uses Indy (TIdHttp component). It is built-in in Delphi, so you don’t need to do anything. We have an alternative implementation using TNetHttpClient, though testing showed it has really bad speed, so we don’t recommend it. For more internal comments see the source code:
If you’re interested in http and https downloading using Delphi, without Castle Game Engine too, then you may be interested in my test of TNetHttpClient and TIdHttp.