 |
 |
 |
 |
 |
 |
This post somewhat retracts yesterday’s post, because I had a busy sleepless night and fixed some issues with loading Tiled in TCastleScene that I mentioned yesterday 🙂 I did a significant refactor of how it works.
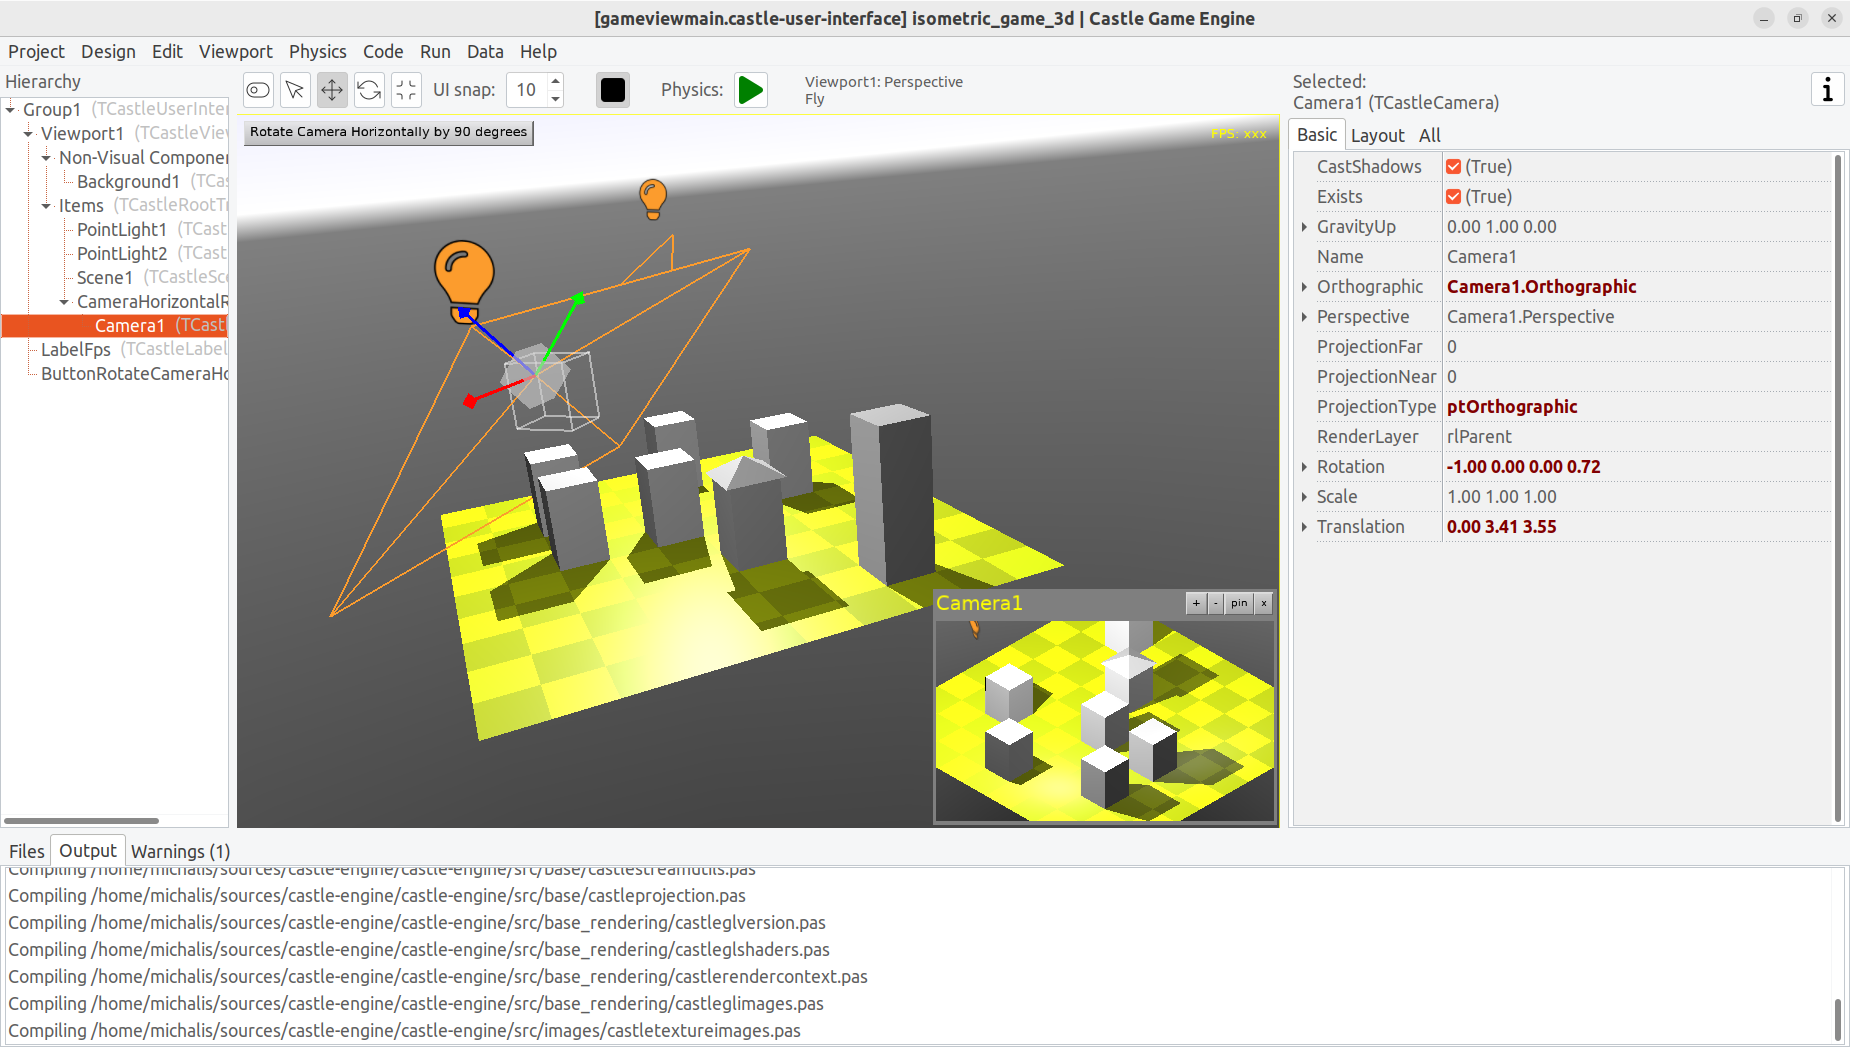
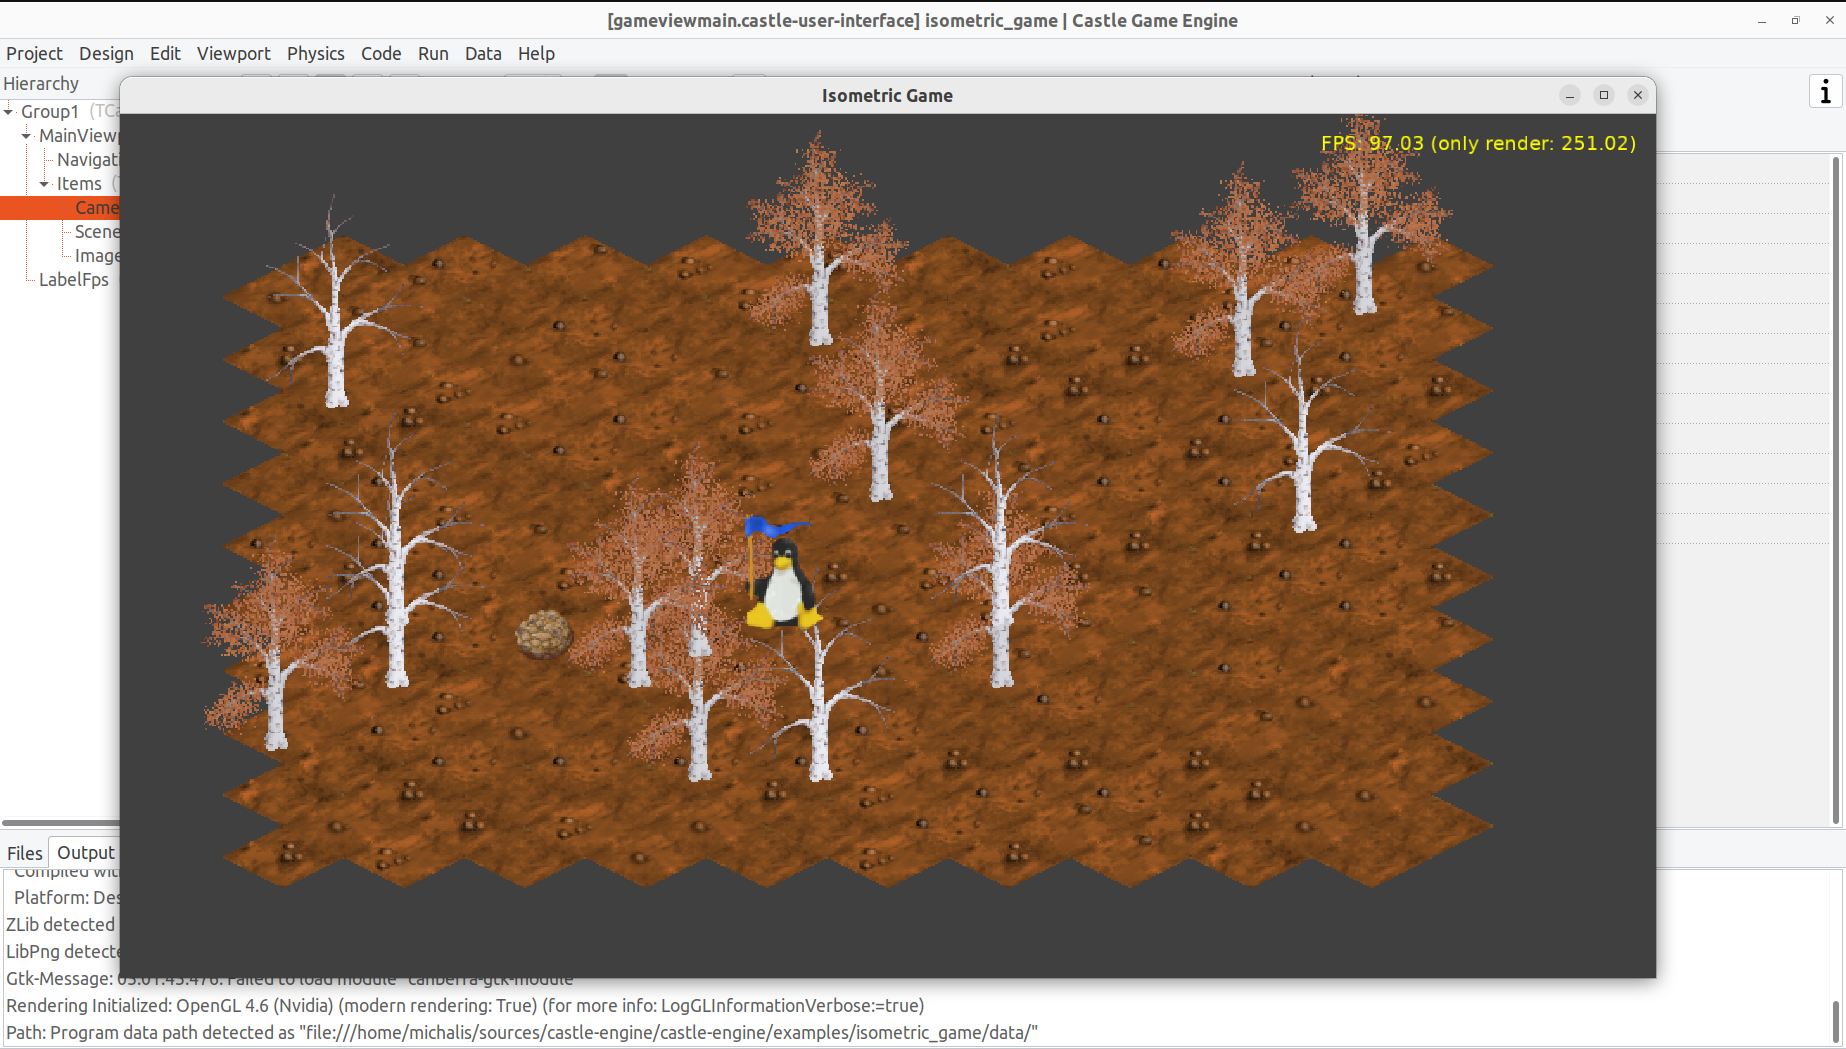
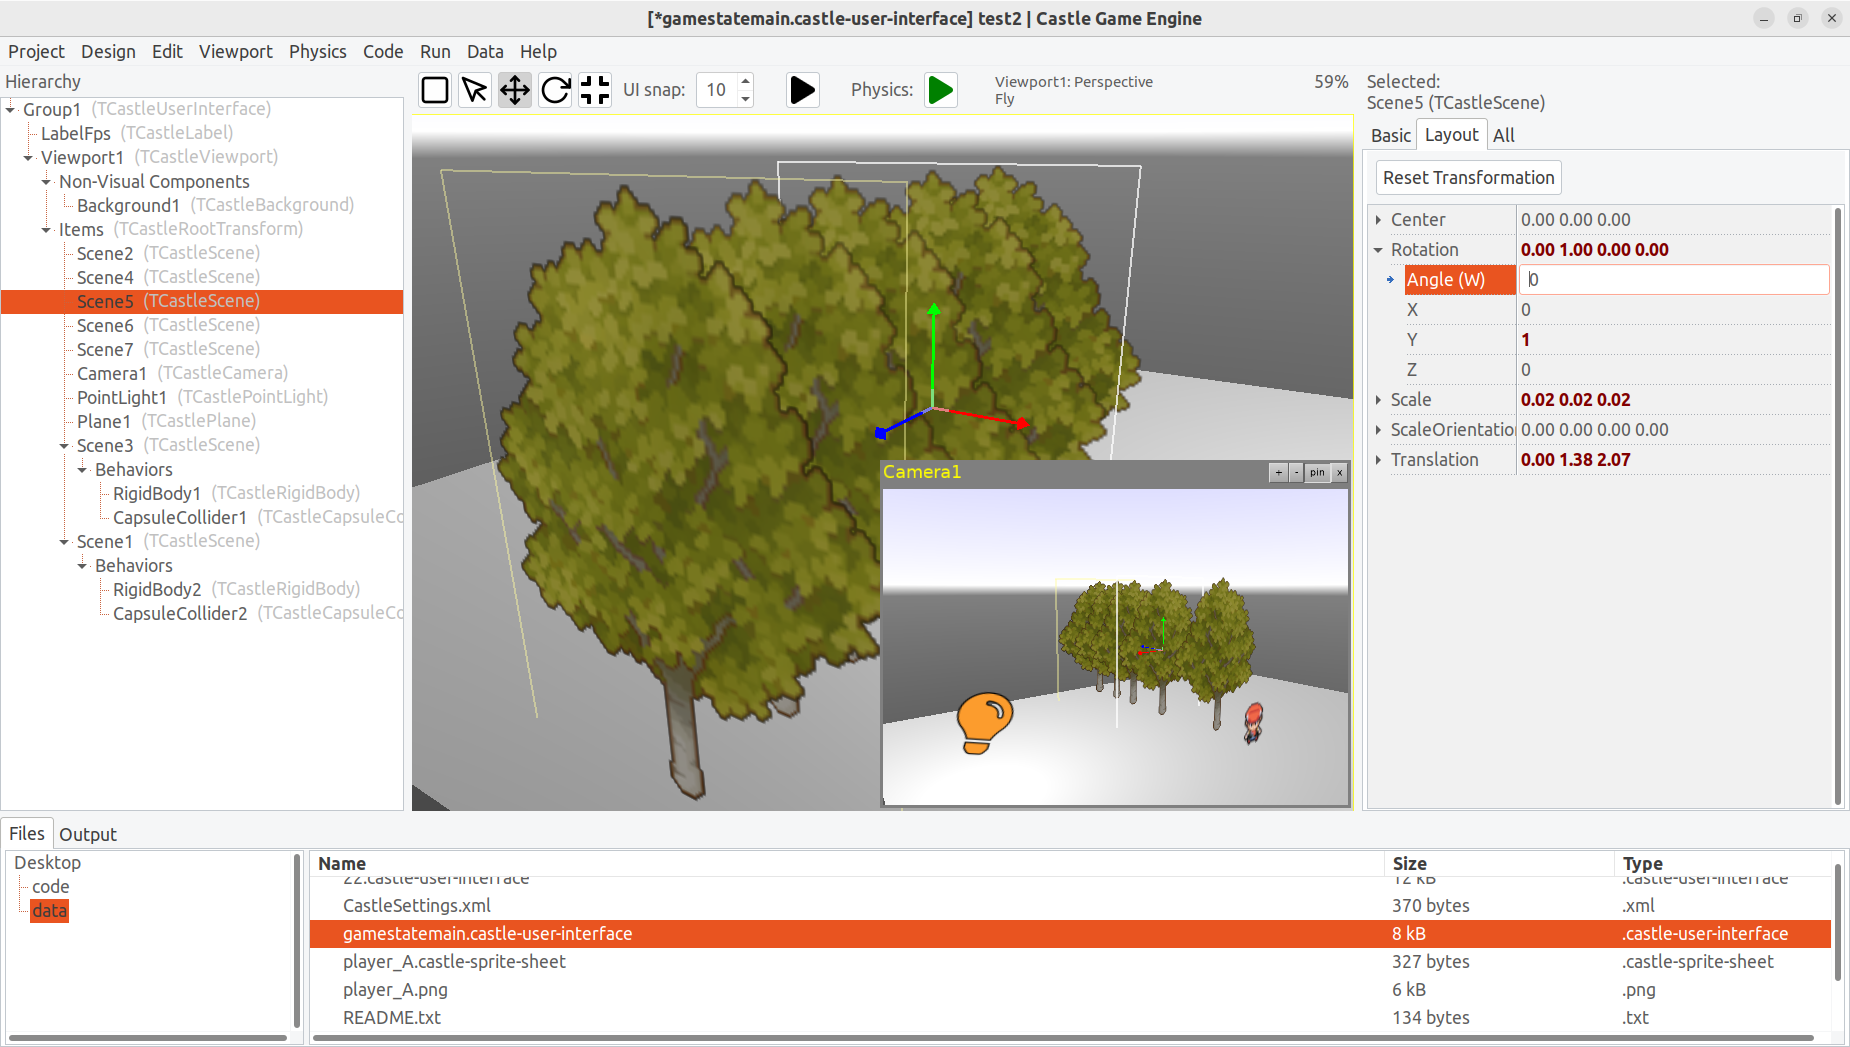
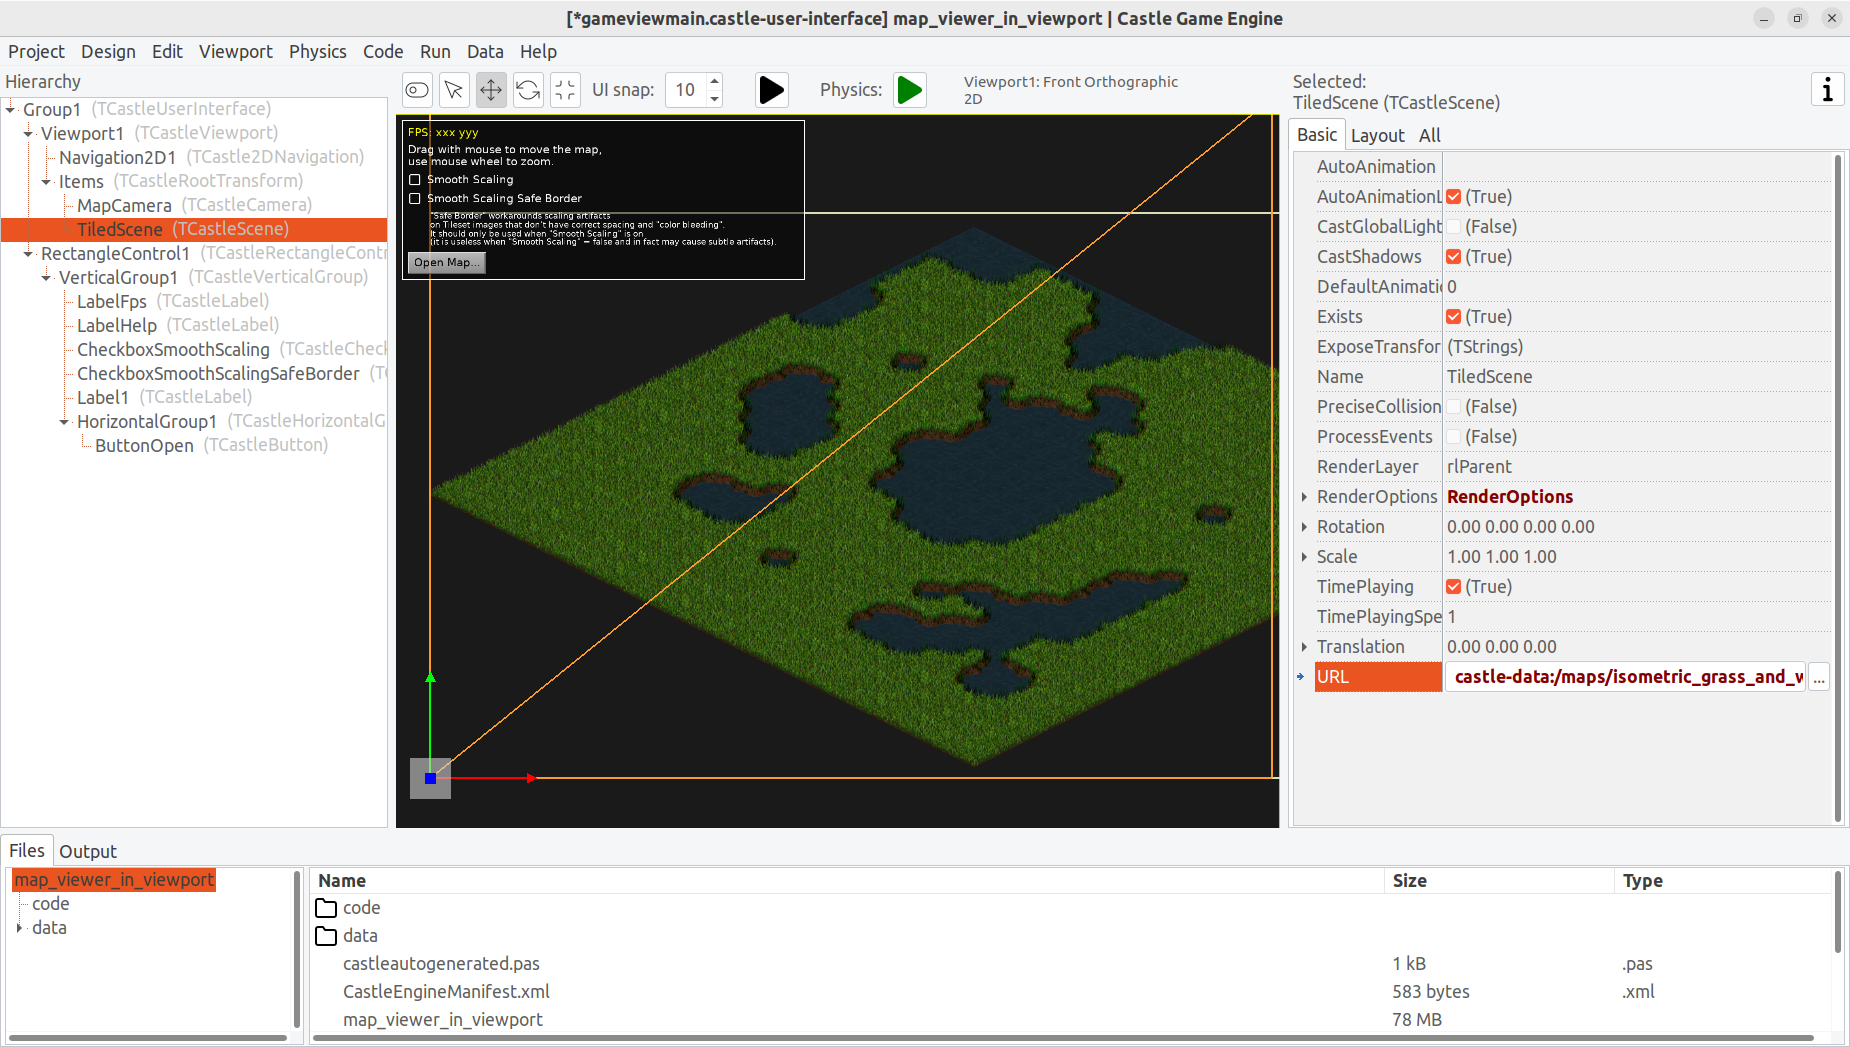
I’m proud to say that loading Tiled maps into TCastleScene is now our recommended approach to using Tiled maps. The big benefit of this approach is that you can place additional objects, like sprite sheets in TCastleScene, over the map easily (and specialized API to place/move units on map will appear soon too). TCastleTiledMapControl will soon be deprecated, in light of this.
The following improvements are done:
-
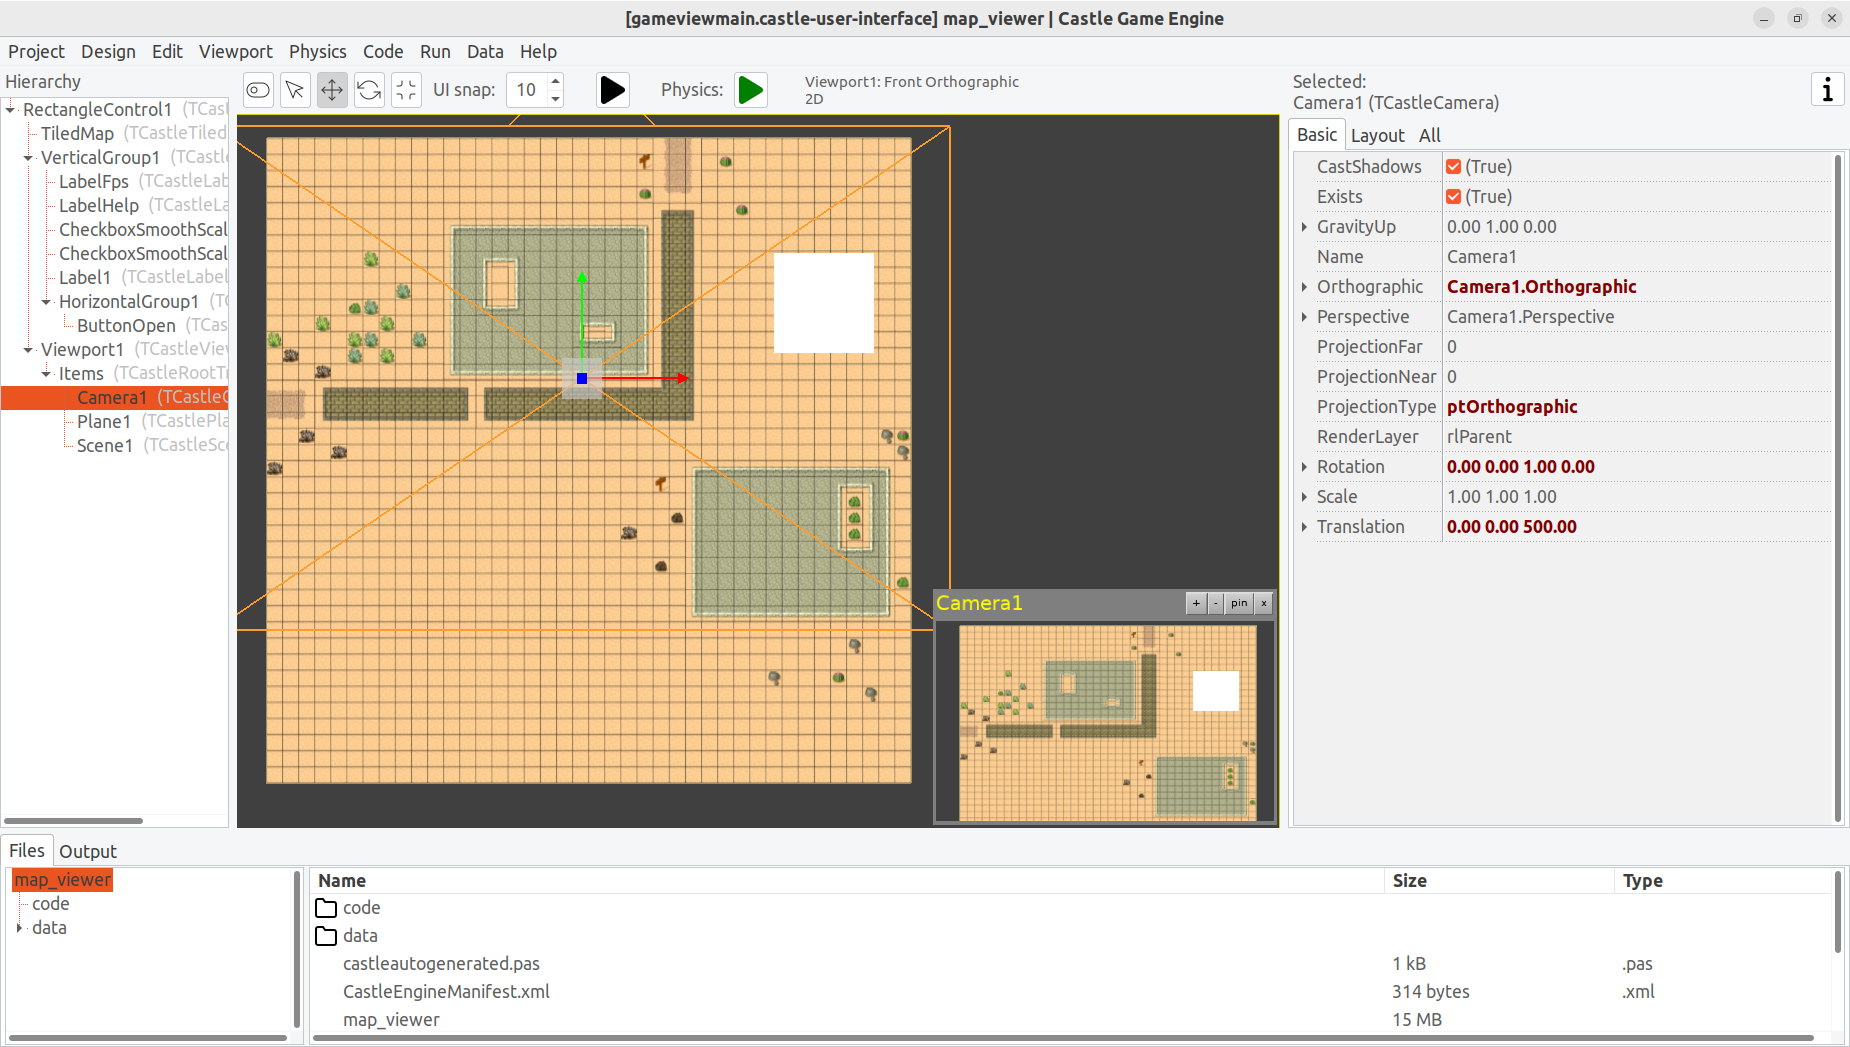
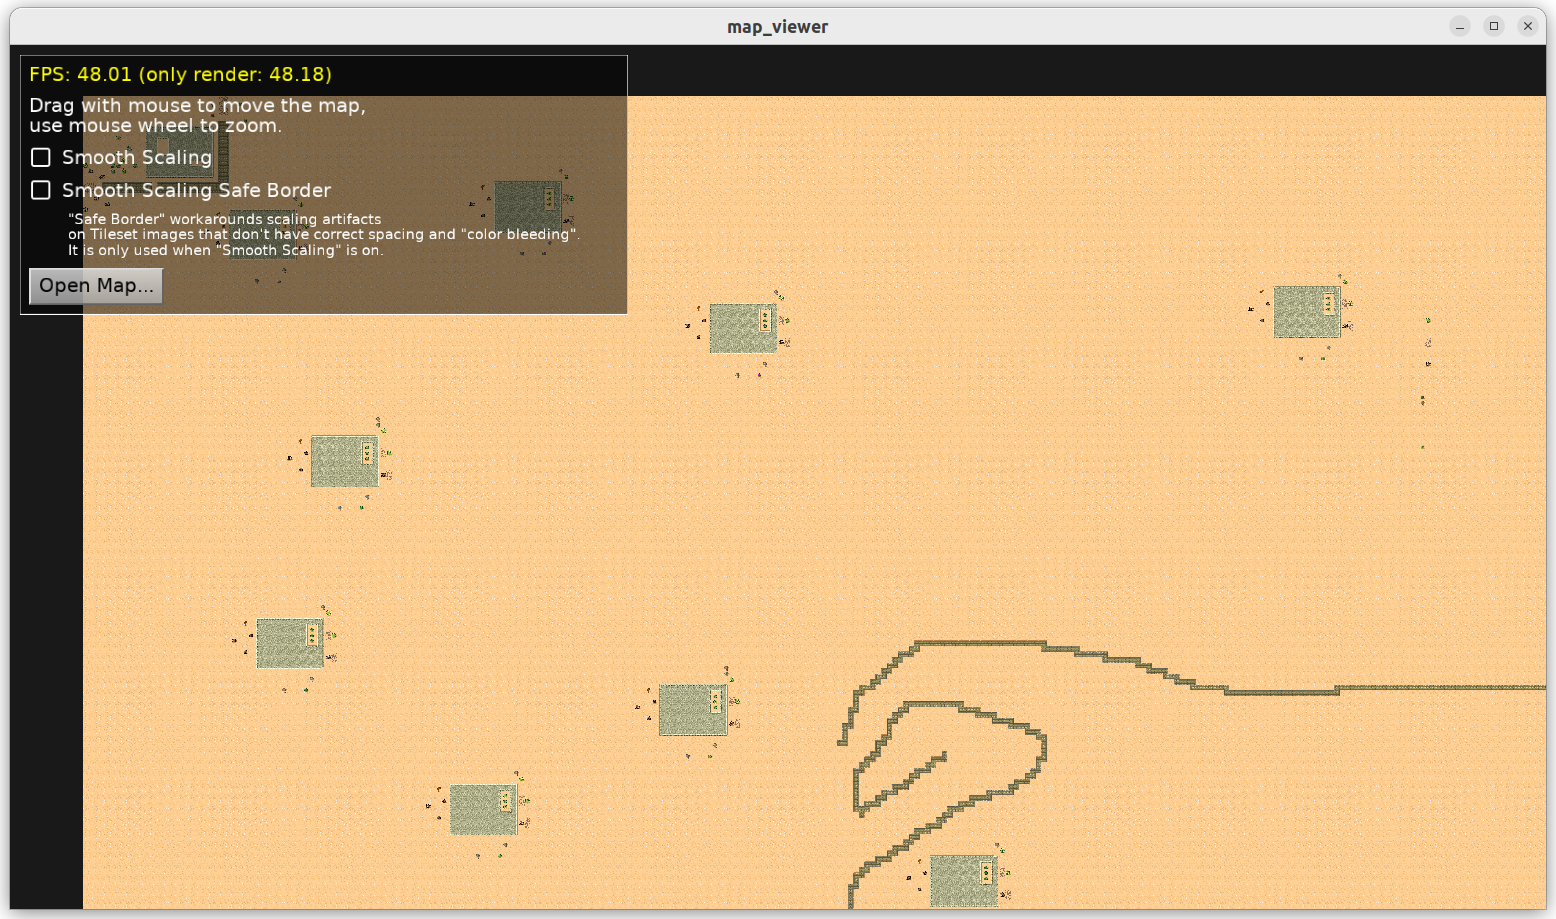
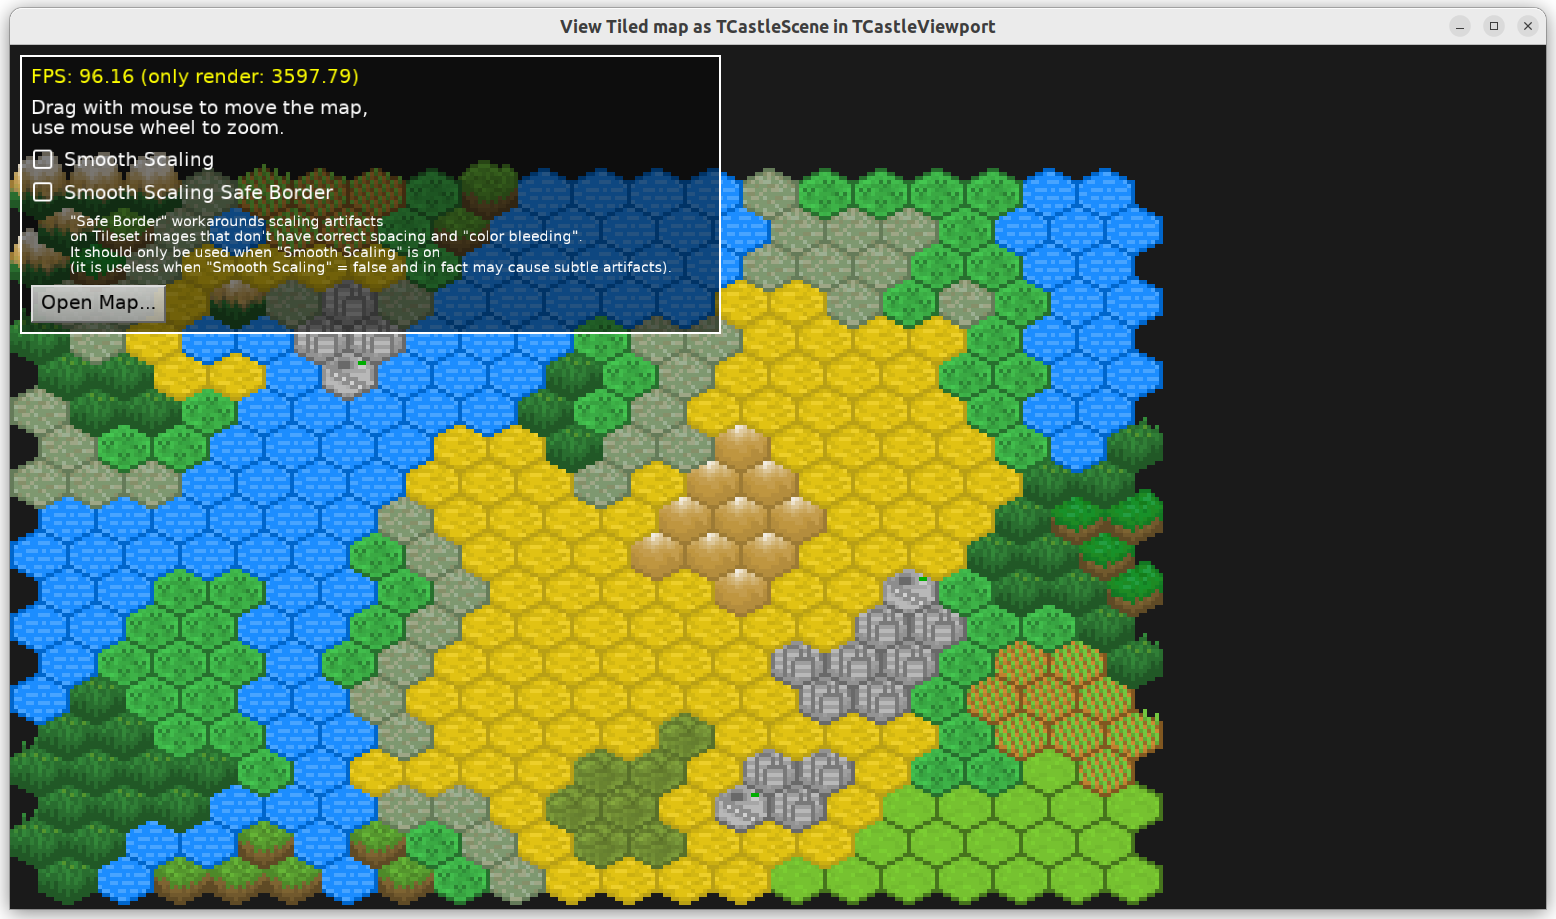
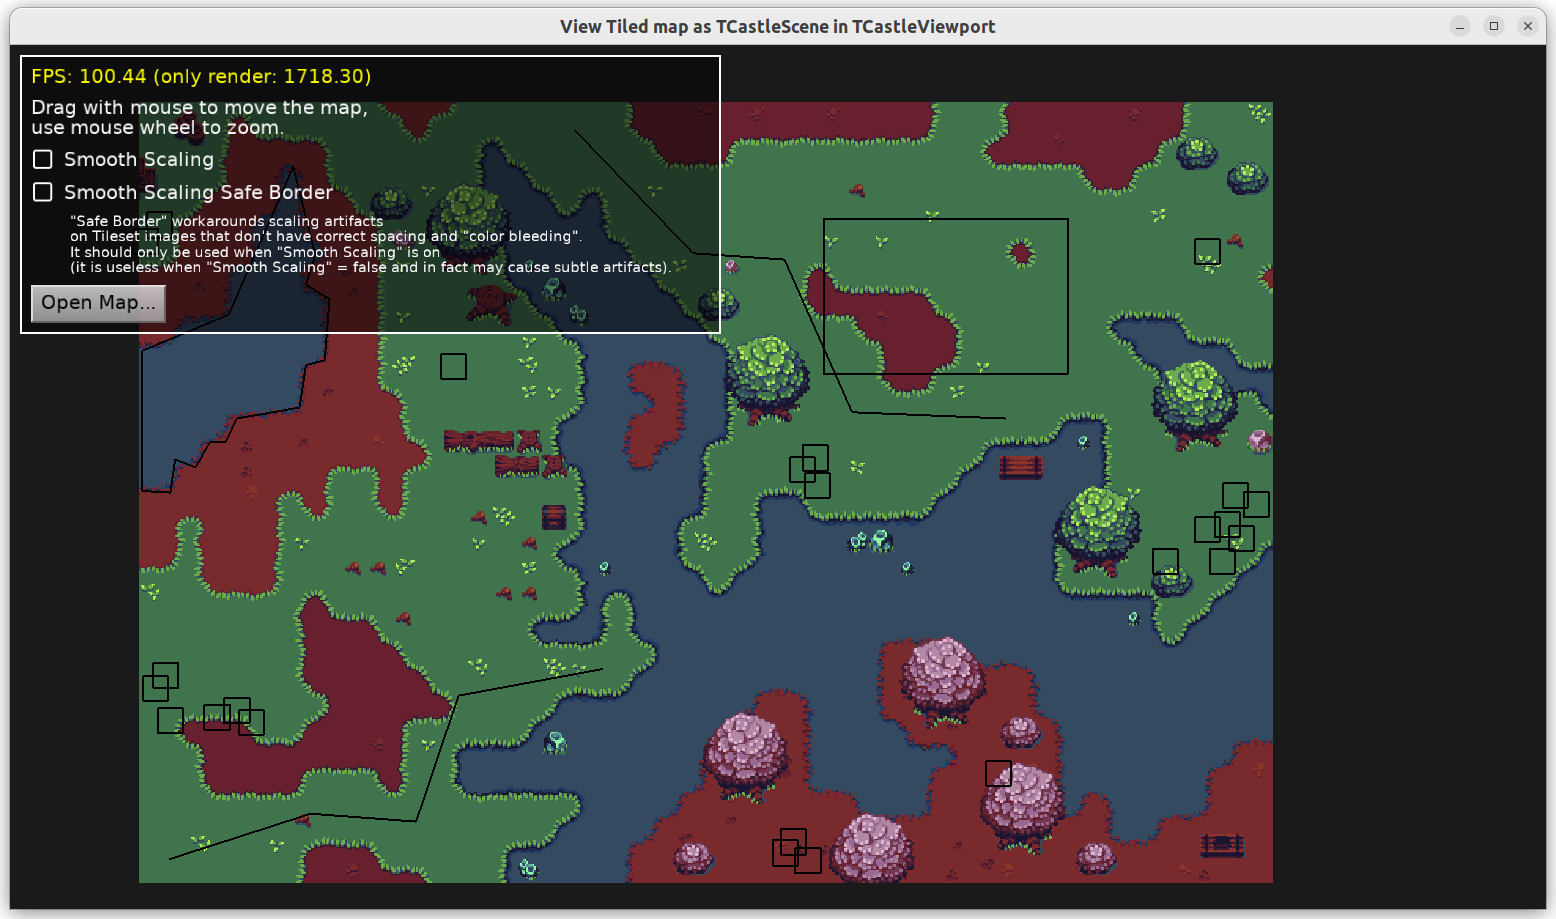
First of all, we have new example application examples/tiled/map_viewer_in_viewport where you can test everything I announce today. It is a simple Tiled map viewer, underneath loading Tiled map to
TCastleScene.You can test that it is functionally just as good, if not better, than examples/tiled/map_viewer approach.
-
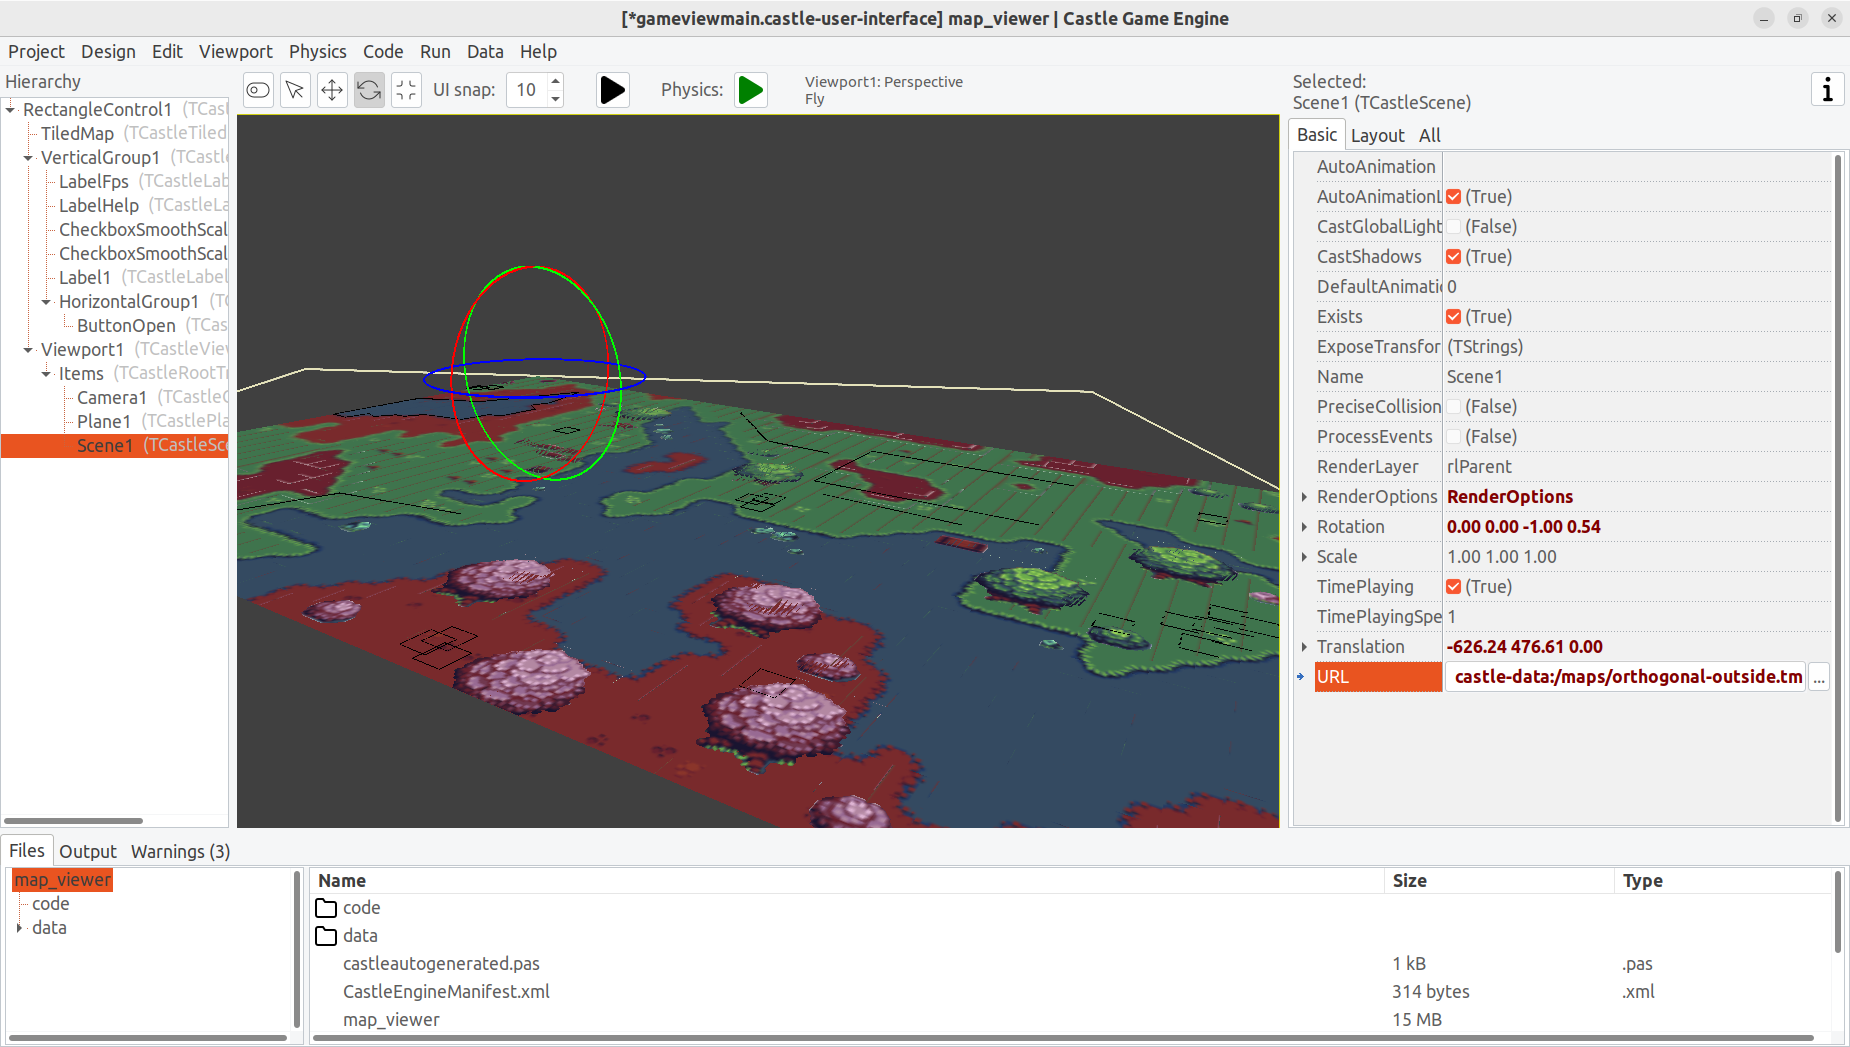
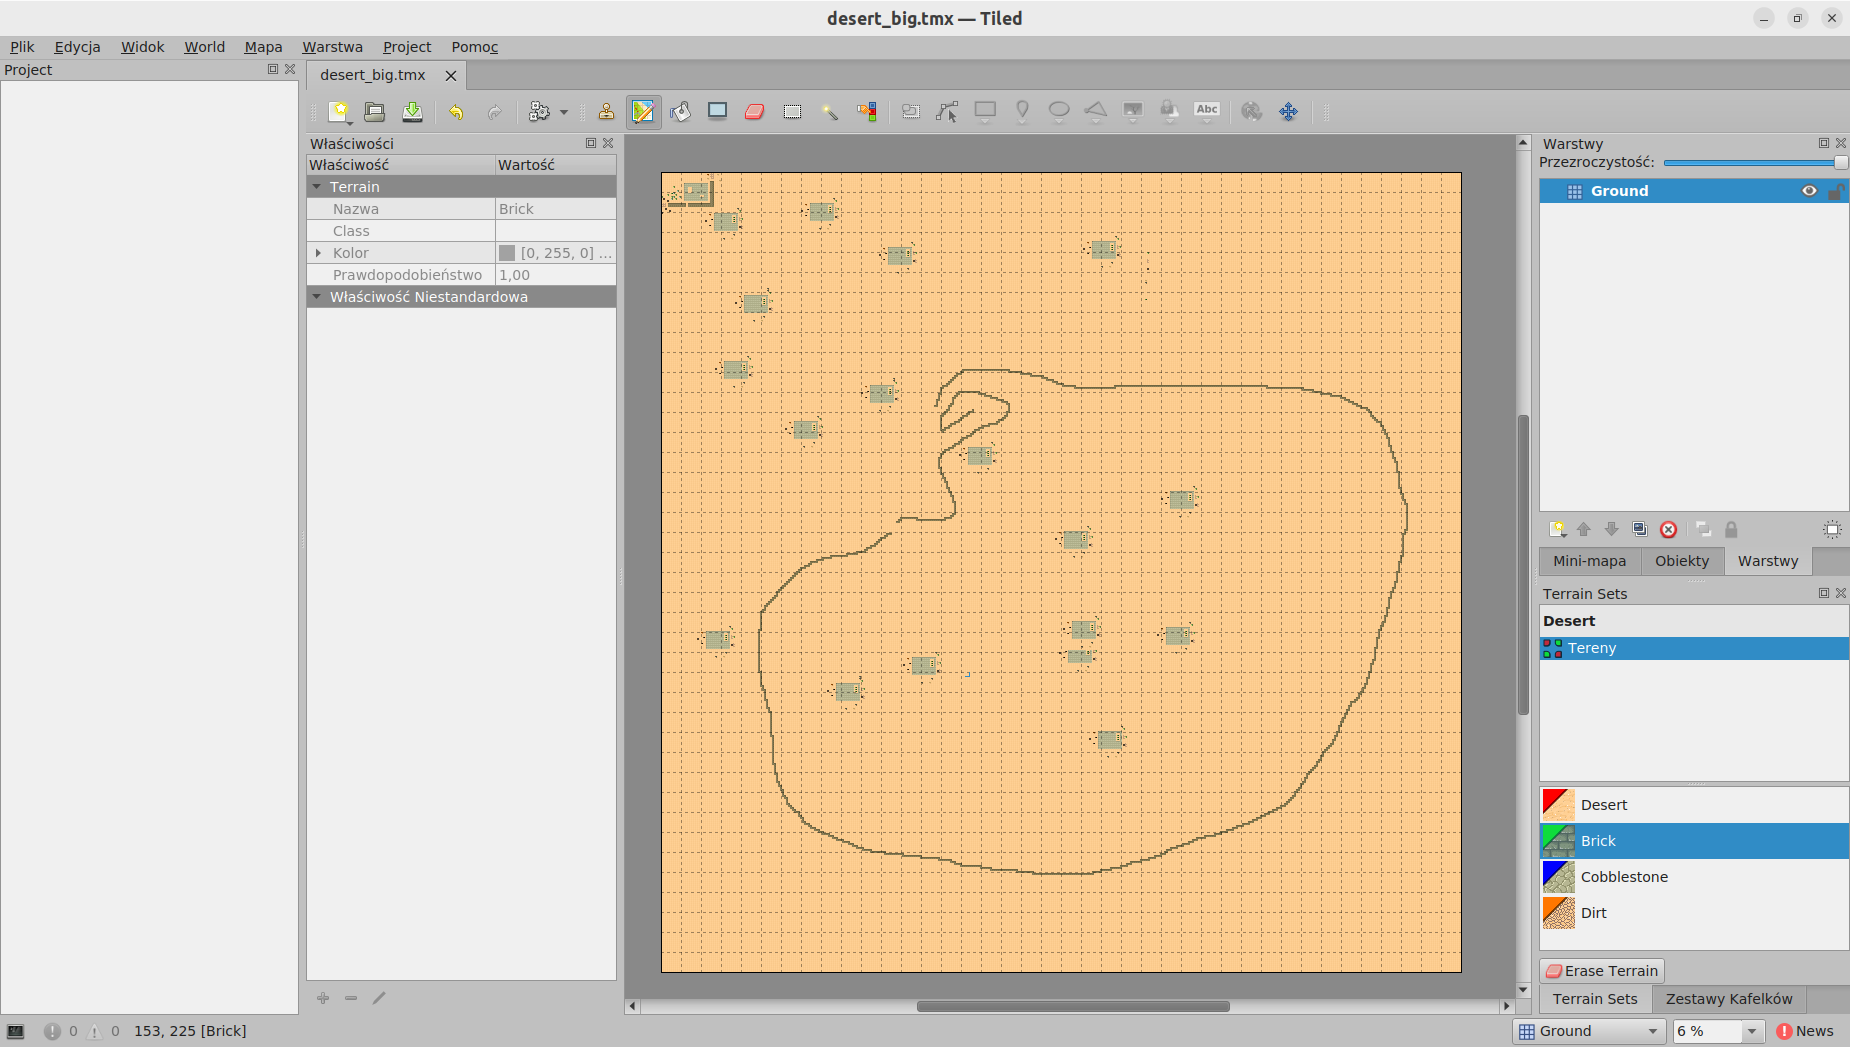
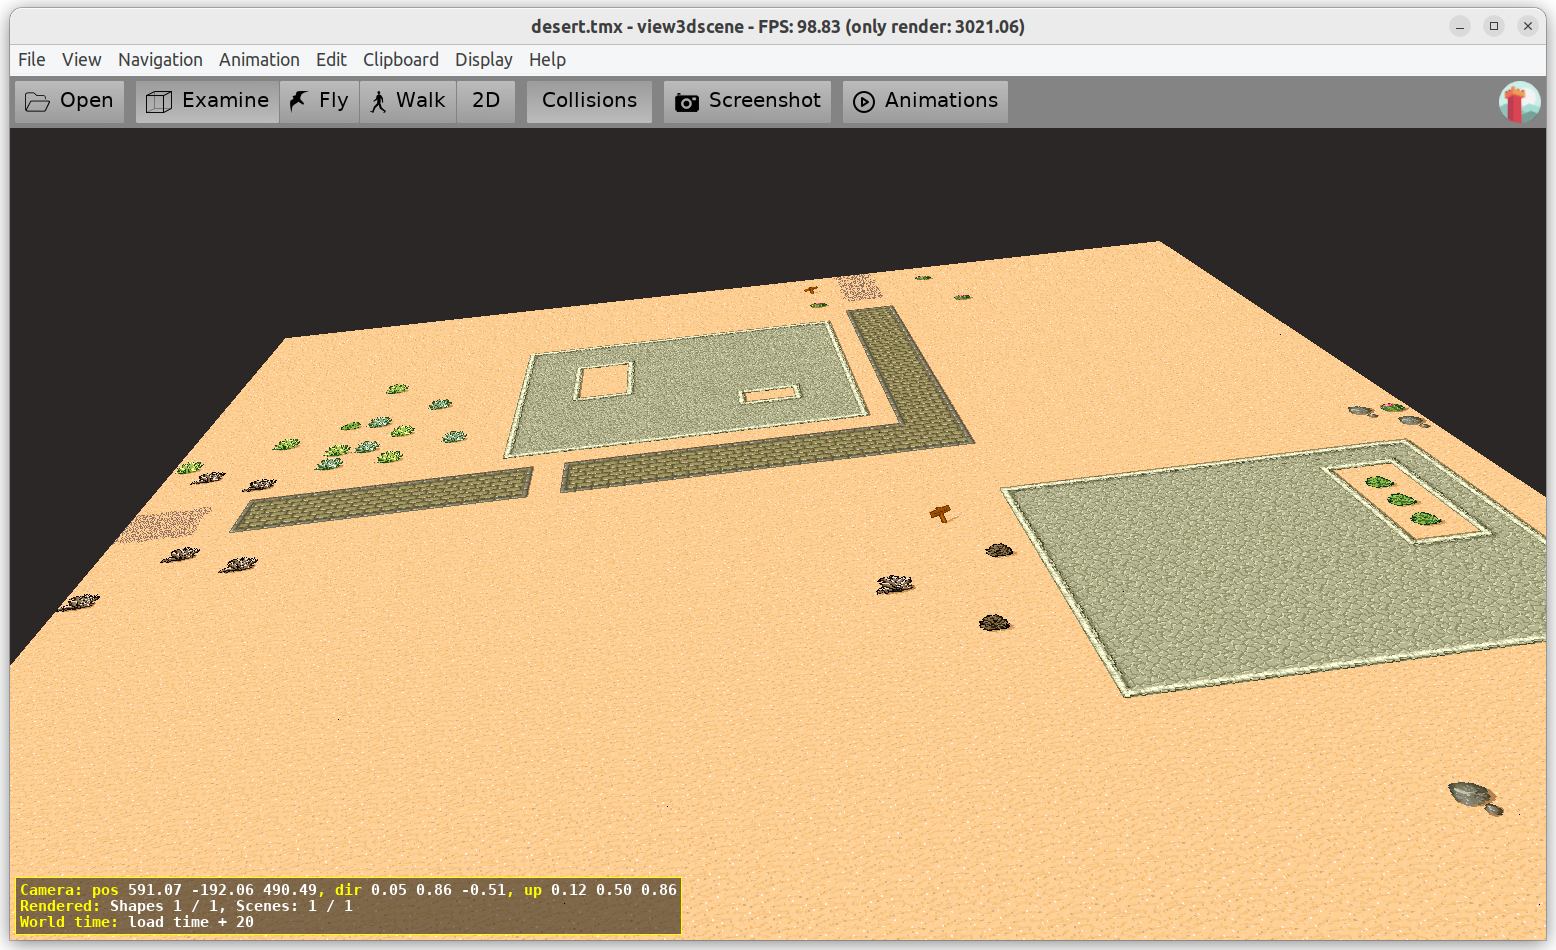
Huge optimization, by internally using a single draw call for all consecutive tiles using the same tileset. This allows to effortlessly support our test map 400×400 in
examples/tiled/map_viewer_in_viewport/data/maps/desert_big.tmxwith 100 FPS, at whatever zoom. -
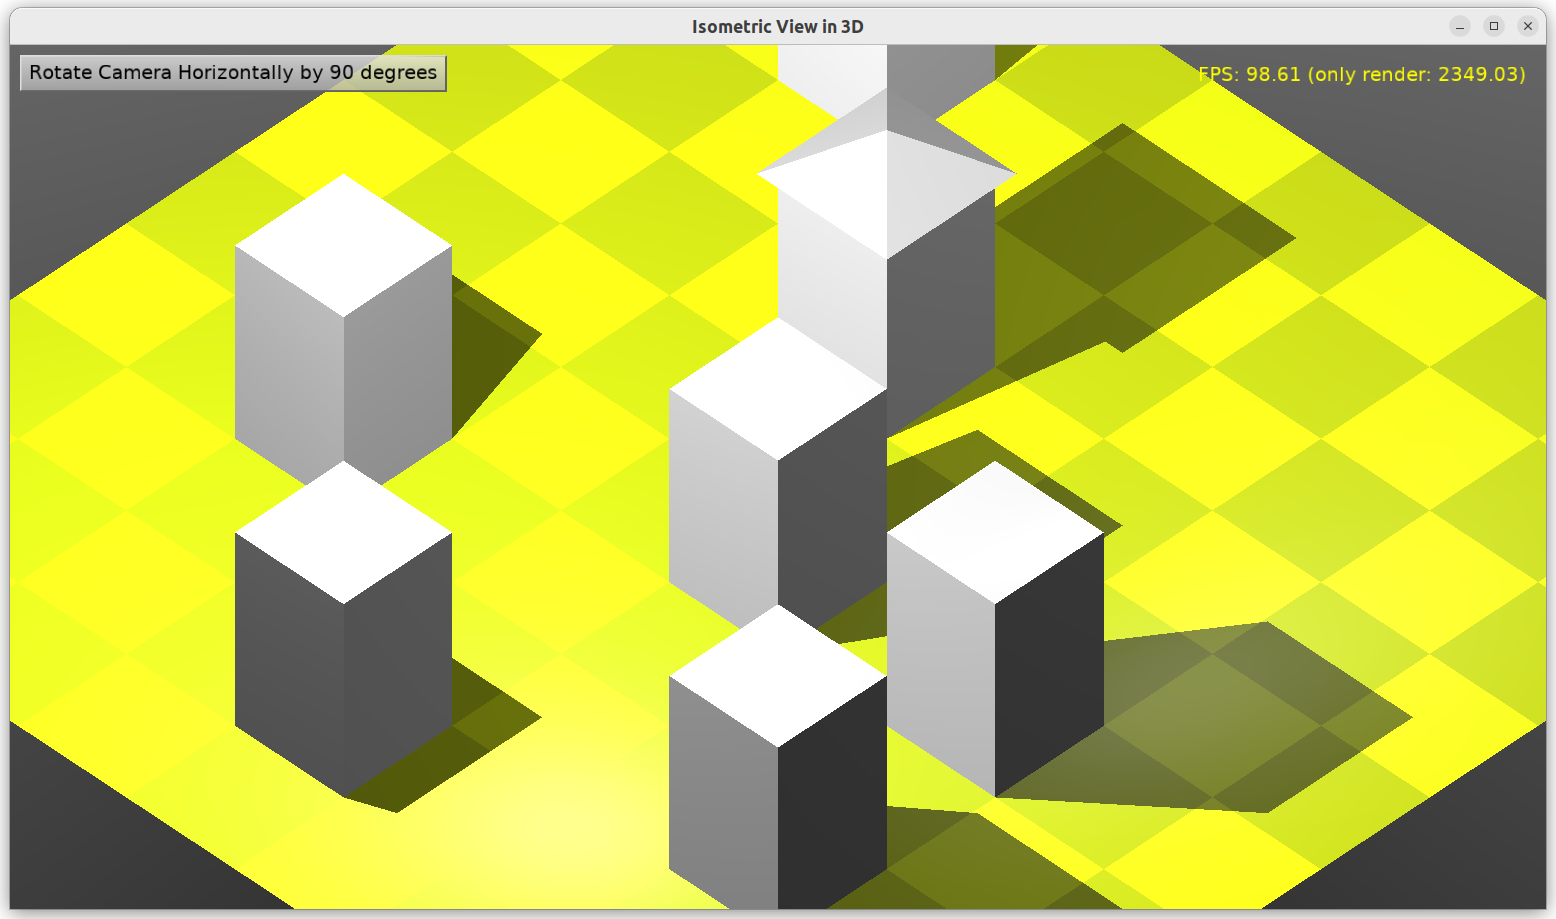
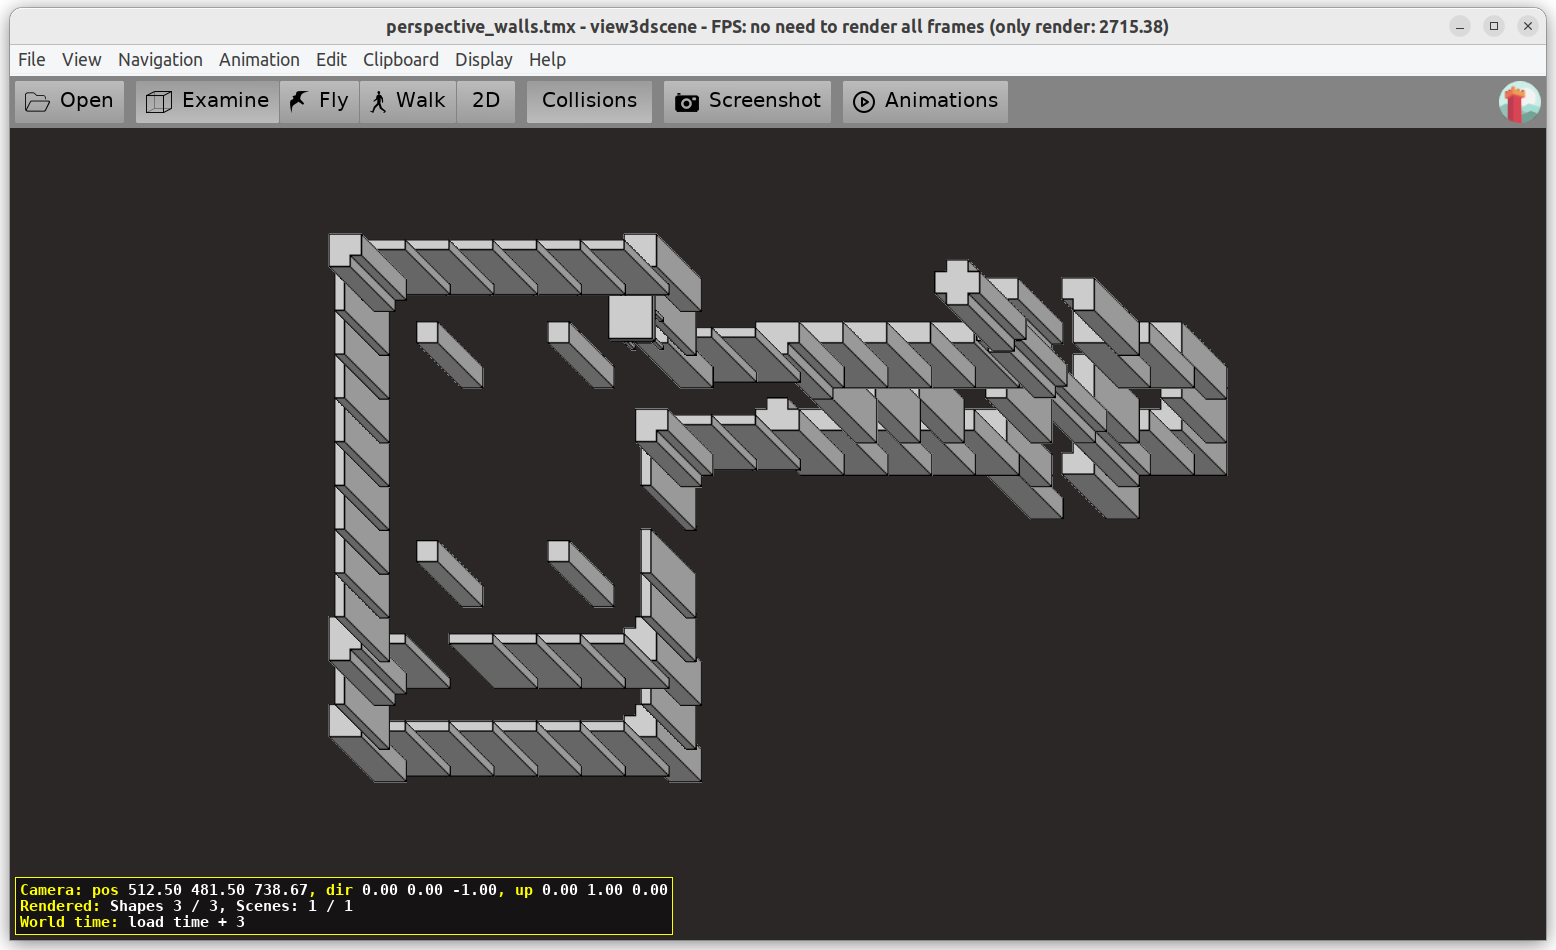
Support for all map types: Orthogonal, Isometric, IsometricStaggered, Hexagonal.
-
Correct support for all flip combinations (diagonal, horizontal, vertical).
-
Fixed layer Z ordering and offset application for all layer types.
-
Fixed origin (map left-bottom corner is now at 0,0).
-
Support for “Smooth Scaling Safe Border”, to fix rendering artifacts when using smooth scaling on tilesets without proper alpha bleeding.
-
I’m proud that my refactor actually made the code over 2x smaller and simpler 🙂 Line count dropped 1210 -> 510 for the
x3dloadinternaltiledmap.pasunit.
If you like my sleepless nights’ work, please support us on Patreon 🙂