-
Windows (x86_64)
-
Linux (x86_64)
-
Android (APK contains both 32-bit and 64-bit ARM code)
-
macOS (2 versions: for Aarch64 and x86_64)
Manual
GitHub Actions
Table of Contents
1. Introduction
 |
You can use GitHub Actions to have automatic builds for your projects, done by GitHub, after every commit.
2. Usage
-
Download this file: build.yml and place it at
.github/workflows/build.ymlpath in your project. That is, create a subdirectory.github, then subdirectoryworkflows, then put thebuild.ymlfile inside.See the sample project castle-game using it.
-
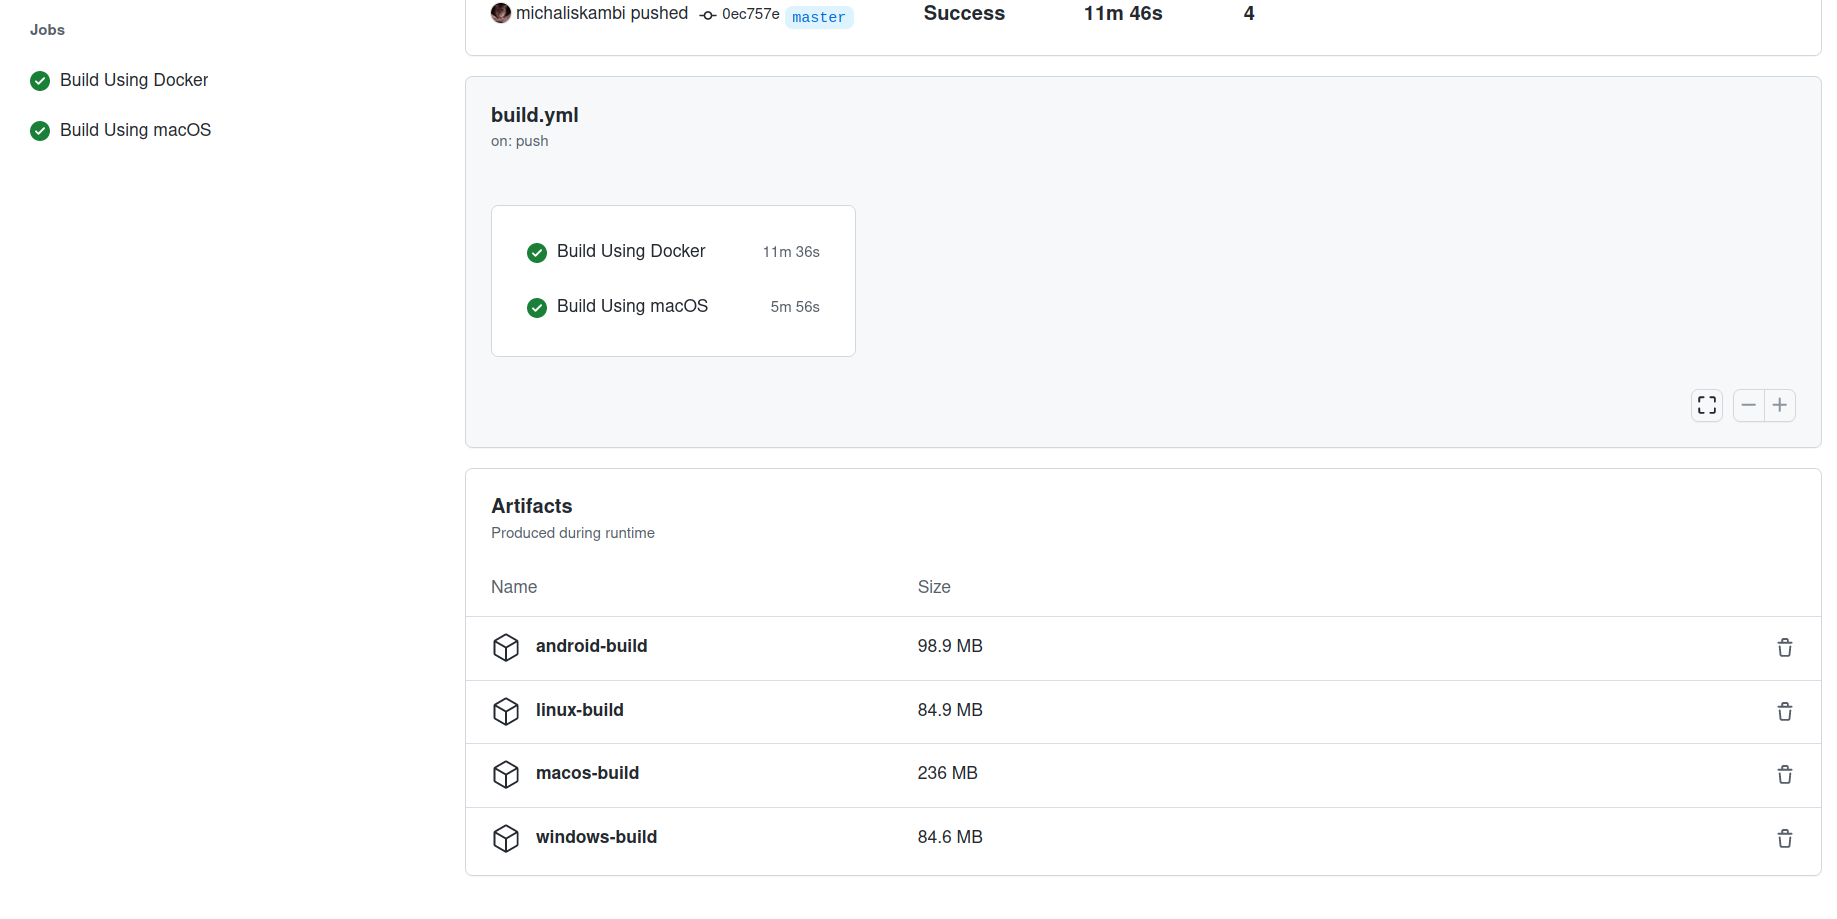
Then commit, push and just watch the GitHub "Actions" tab as it picks up the commit and automatically rebuilds the project for:
Once such action executes, you have a build of your application for all the above platforms. Download it from:
-
The "Artifacts" section of the particular GitHub Actions run. As a developer, you can download them.
-
And in the release tagged
snapshot. Regular users can download them from there.
Download them, unpack — this is a ready binary release of your game, for all systems above. You don’t need to build the application yourself.
3. Under the hood
The actions execute on GitHub-hosted servers, completely free for open-source projects.
They get FPC and Castle Game Engine in 2 ways:
-
Castle Game Engine Docker image (great for all platforms except macOS)
-
castle-build-ci scripts (for macOS)
In either case:
-
We have the latest stable FPC and the latest CGE "snapshot" version available during the build.
-
The build is done by executing CGE build tool with proper options.
Consider the build.yml we link above as a starting point. You can do anything in that script that you can do from the command-line. You can customize what it’s doing (what platforms to build, from what subdirectory), extend it (add auto-tests, docs generation) etc. See GitHub Actions docs.
4. More information about making a release from GitHub Actions
Uploading builds using upload-artifact is only a first step. Such uploaded artifact will disappear after some time (90 days by default) and you need to have access to the workflow (e.g. be the author of this project) to be able to download it. So this is not a complete final solution, yet.
If you want to distribute the builds to users, you should upload them e.g. as "release" on GitHub or anywhere else.
You can automate this too, using GitHub CLI. It is available both in CGE Docker images and in GitHub-hosted servers themselves.
For example, you can use it like this to replace files in snapshot release:
steps:
- ...
# Example GitHub Actions step that releases all *.zip, *tar.gz files
# as new files in the "snapshot" release.
- name: Release Artifacts
  if: ${{ github.ref == 'refs/heads/master' }}
  run: gh release --repo MY-ORGANIZATION/MY-PROJECT upload snapshot --clobber *.zip *.tar.gz
  env:
    GH_TOKEN: ${{ github.token }}
The Release Artifacts step in build.yml shows a working example of this.
|
Note
|
Above example step overwrites the snapshot release files every time it is done, while the release tag stays the same. It works and is useful for snapshot releases. But it is not a normal release setup: "normal" release should be done once, building binaries from the proper tag, and the released files should not change later. Tweak above example as you wish, e.g. to build on specific tag and/or to create a new release every time by gh release create ….
|
See GitHub Actions docs for details.
To improve this documentation just edit this page and create a pull request to cge-www repository.