Creating 2D games
- 1. Introduction
- 2. Examples
- 3. Steps to create a 2D game
- 4. How 2D works
1. Introduction
Let’s learn how to design 2D games using Castle Game Engine editor.
We assume you have already read the overview of the viewport and scenes. We advise to also read the 3D tutorial first, as it explains many concepts that are also relevant for 2D world design.
2. Examples
To see our 2D features in action, consult the examples, like:
-
The "2D Game" project template proposed when you run the editor and select "New Project". This was designed specifically to be a starting point for 2D games!
-
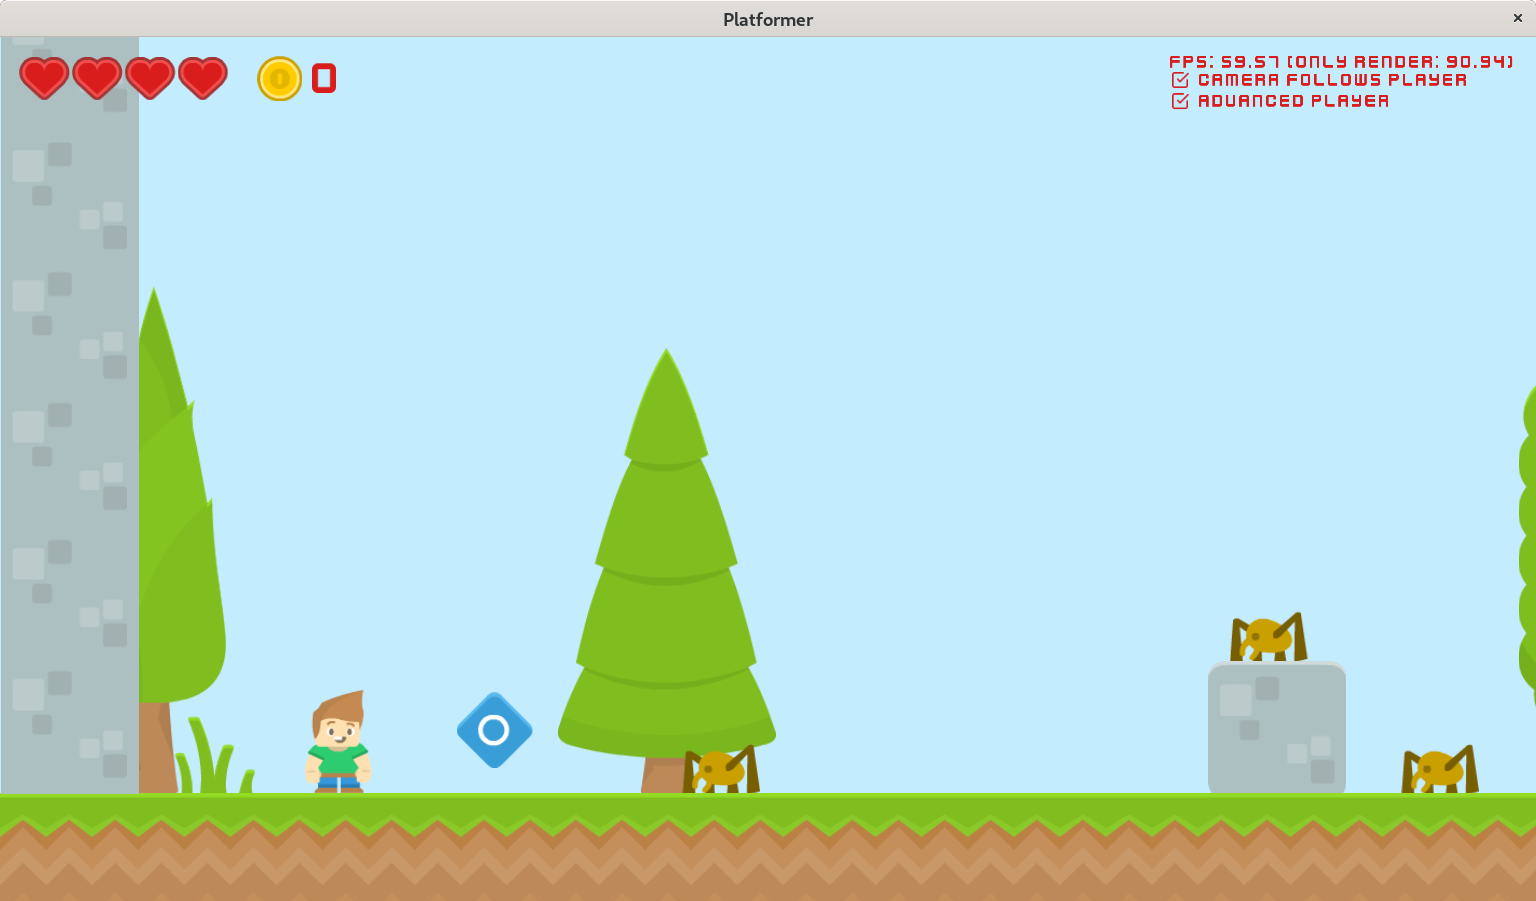
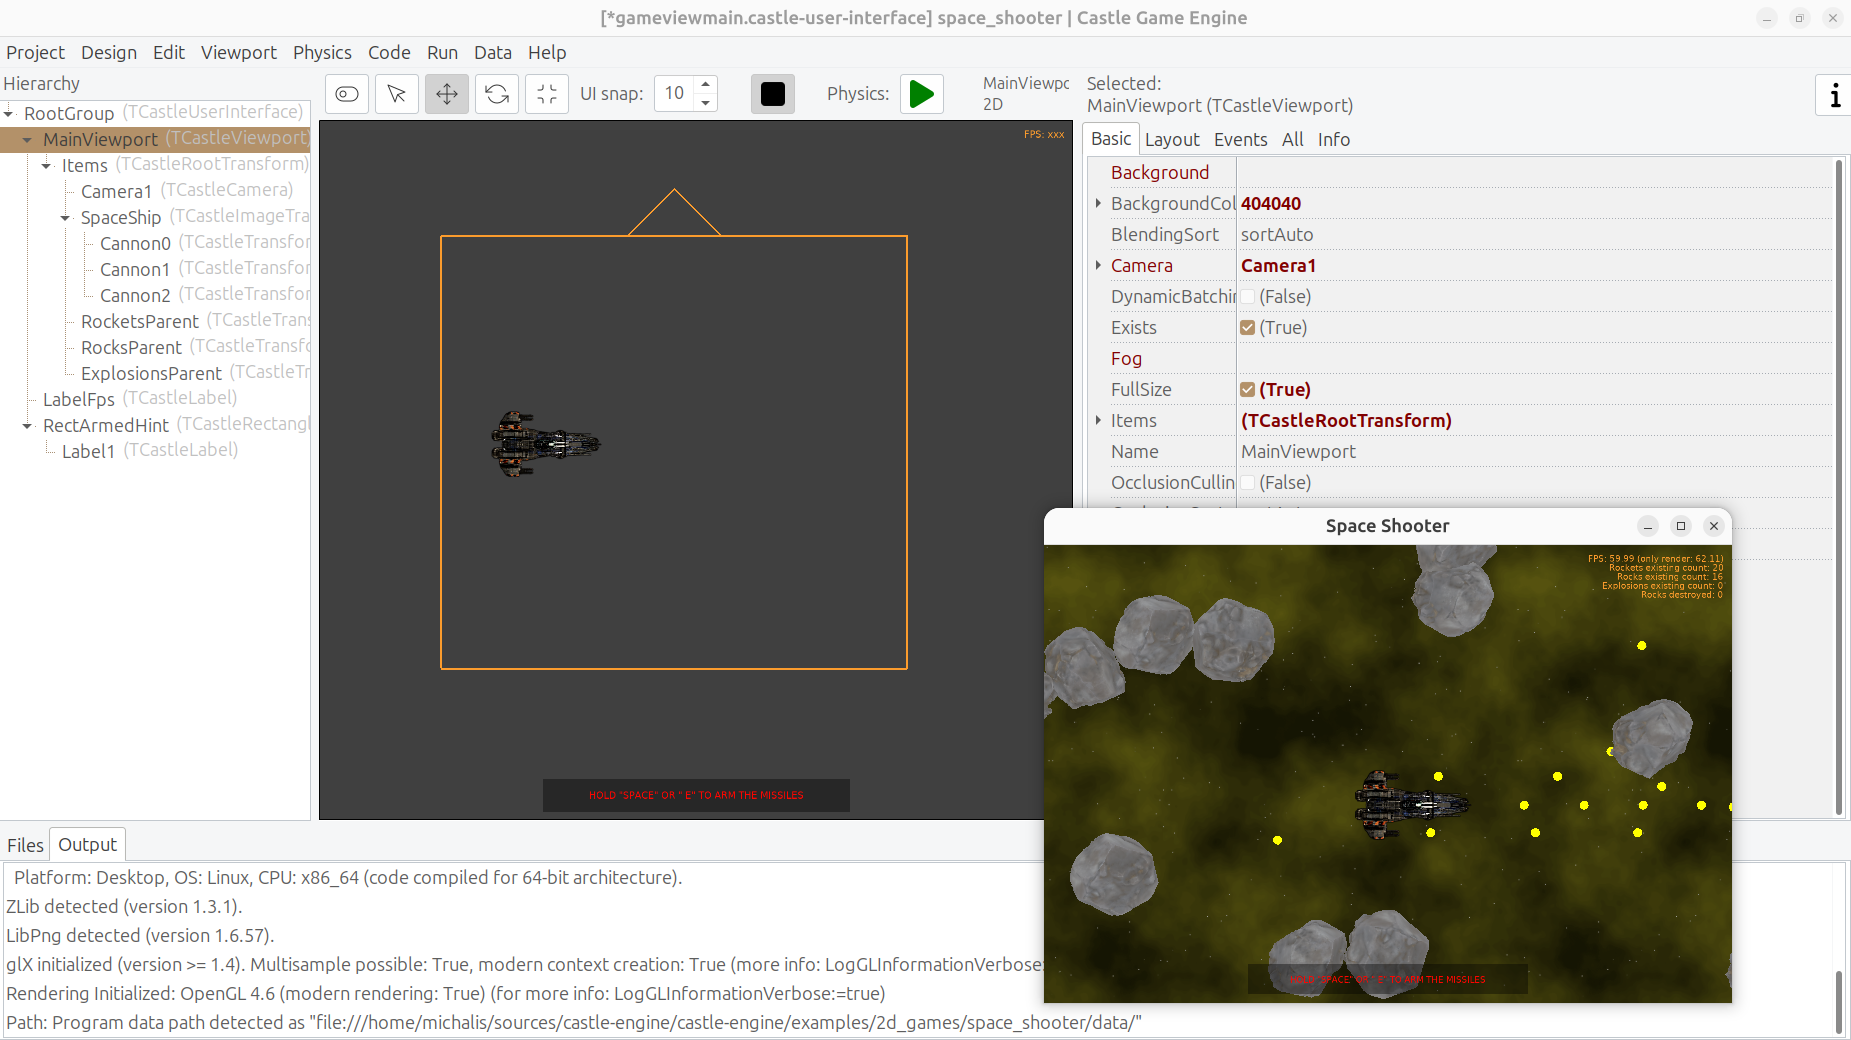
platformer game (examples/2d_games/platformer), this is a bigger example showing how to use 2D physics, sprite sheets, audio and more.
-
simple example showing physics working in a 2D setting (examples/physics/physics_2d_game_sopwith)
3. Steps to create a 2D game
3.1. Create a viewport (TCastleViewport)
In a new project, create a viewport in the editor by right-clicking in the hierarchy and using "Add User Interface → Viewport (2D)" menu item.
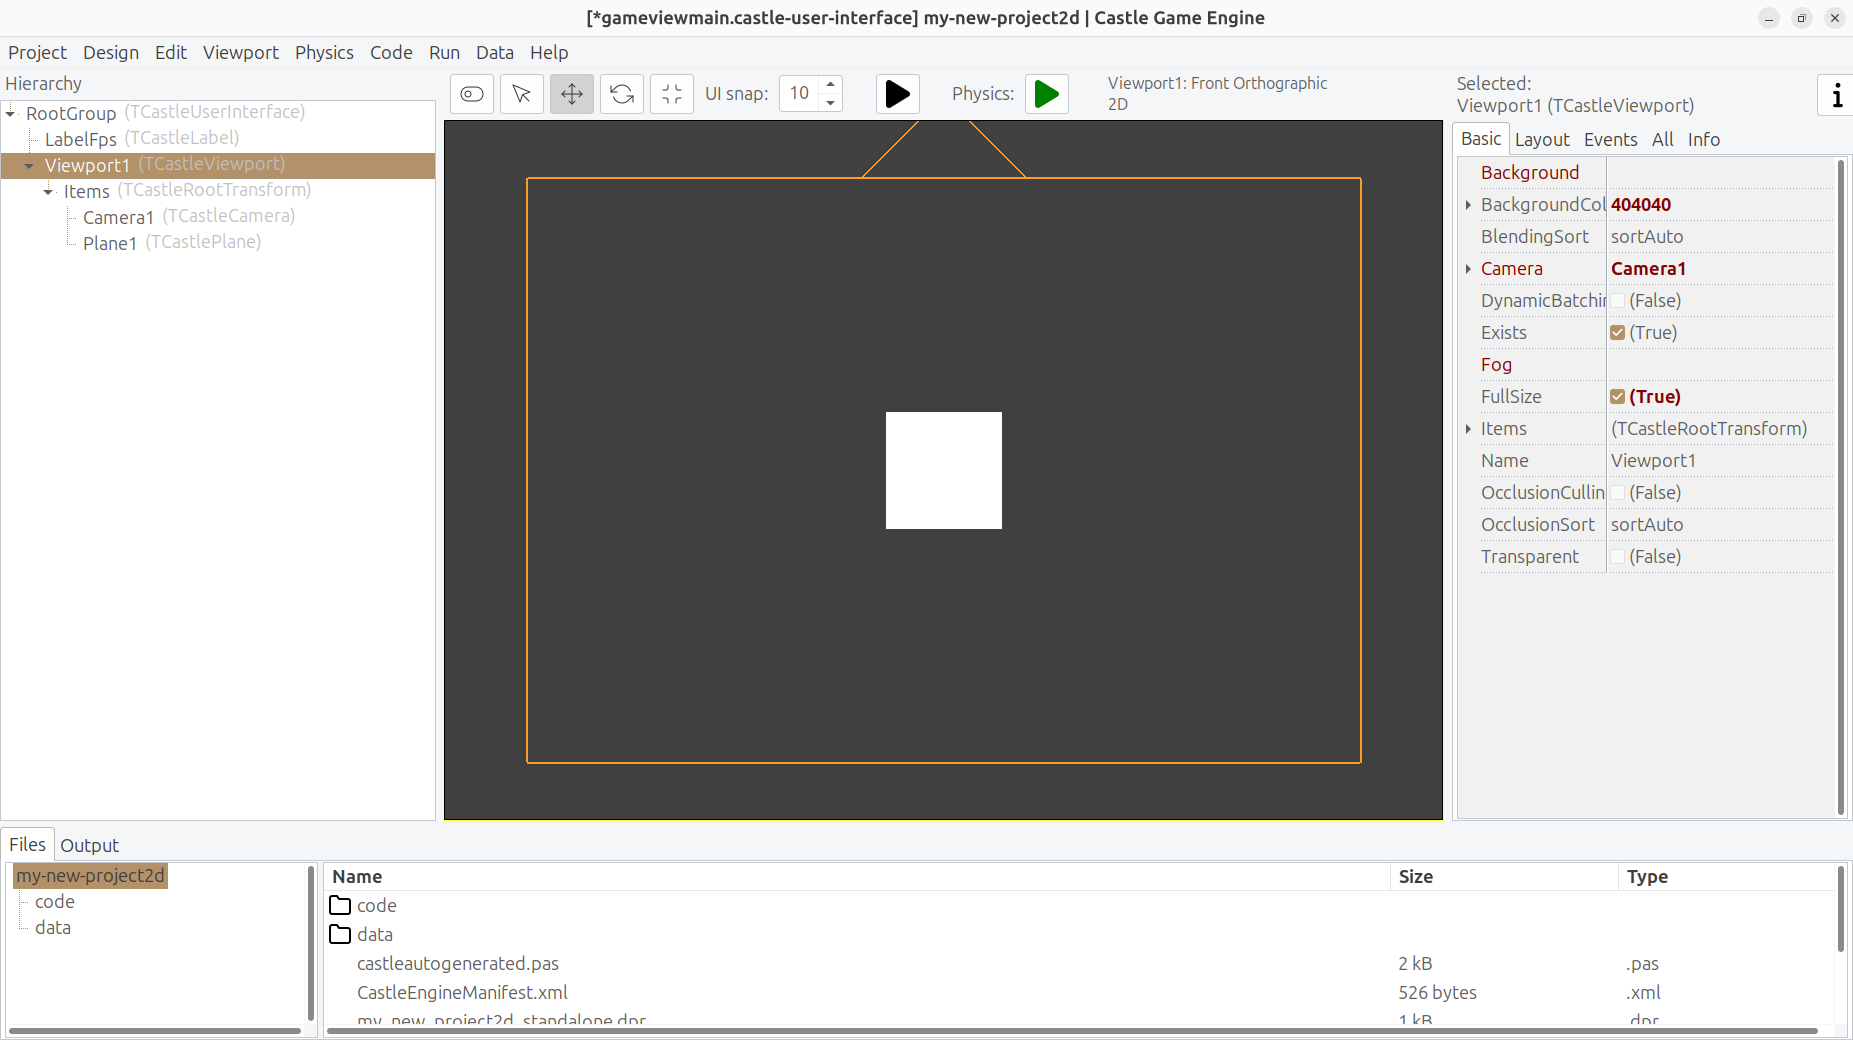
This creates a viewport with 2D navigation, 2D orthographic camera, and adds a default white plane in the middle.
3.2. Add assets (TCastleTransform descendants)
Right-click on the Items in the hierarchy and add components you need:
-
TCastleScenelets you load a 2D model, like a sprite sheet or a glTF model or a Spine animation. See supported model formats for all possibilities. -
To display a simple image, you can use
TCastleImageTransform. See Using images for details. -
To display a map designed in Tiled, you can use
TCastleTiledMap. See Tiled for details. -
TCastlePlanelets you create a trivial single-color rectangle. SetAxisto2to make it a flat rectangle in the XY plane. -
Other components descending from
TCastleTransformcan also be used in 2D, likeTCastleTextto show text.
3.3. Go wild!
Frankly, that’s everything :)
Follow the other manual chapters to learn how to access the above components using code, and what features they offer. For example,
-
You can play animations using the
TCastleSceneCore.PlayAnimationas documented on using scenes from Pascal. -
You can move the assets and cameras by changing their
TCastleTransform.Translationproperty.
4. How 2D works
4.1. 2D coordinate system
By default in 2D:
-
X axis goes to the right,
-
Y goes up,
-
Z axis is "depth". Camera looks in the -Z direction. Larger Z means that object is closer to the camera (in front of other objects), smaller Z means that it is further from the camera (behind other objects). It is OK to use negative Z values.
4.2. Adjust size of components to make sense in 2D
Some components, like TCastlePlane or TCastleText, start by having a very small size for 2D. That’s because they start with a typical size useful for 3D, where 1 unit is 1 meter. In 2D, you typically want to see things much larger, as the default viewport sees 1000 units in height. So make the things larger:
-
Set
TCastlePlane.Sizeto something large, like100 100. -
Set
TCastleText.Sizeto something large, like100.To make the font look crisp, define a
TCastleFontresource with a largeTCastleFont.OptimalSize. See the Text and Fonts for details. -
For other components, that don’t have a dedicated way to enlarge them, scale them using
TCastleTransform.Scaleproperty. For example, setScaleto100 100 1.NoteWhy 100 100 1and not100 100 100? Because usually, you don’t need to scale in the Z direction. And it could change the visibility from the perspective of looking along the Z axis. That’s why we propose to set Z scale to1. But if you know what you are doing, you can scale in Z too.
4.3. Navigation in 2D
Let’s distinguish two concepts:
-
Camera is a component that determines what is visible in the viewport.
-
Navigation lets you transform (move, zoom) the camera in the viewport.
To navigate in 2D viewport when you design your game (in the editor):
-
simply drag with right mouse button to pan the view,
-
and use mouse scroll wheel to zoom in / out.
This is how you navigate at design-time.
If you want to allow user to easily pan/zoom the view (in other words, make this navigation also possible at run-time), then add the TCastle2DNavigation component as a child of the TCastleViewport.
|
Note
|
You can use any navigation, like 3D Fly navigation. Use the "Viewport" menu item commands to toggle between different navigation methods. But it’s not always intuitive to use 3D navigation in a 2D world. |
4.4. Camera position
You can set the initial camera position, so that when you run the game, the camera is in a good place. To do this, move the camera to a good position, and use "Viewport → Align Camera To View" menu item.
You can also just directly set properties of the camera, like Camera.Translation. As usual, everything is possible both
-
at design-time. Find the
Translationproperty in the Object Inspector, which is the right sidebar of the editor. -
and at run-time. Modify the
Camera.Translationfrom Pascal code whenever you want. Typically you will override the view methods to change camera position when the user presses some keys to move.
4.5. Camera and the orthographic projection
A viewport created using the "Add User Interface → Viewport (2D)" menu item will have a camera component with an orthographic projection by default.
In such projection, the distance to the object doesn’t change its perceived size. Contrast this with the perspective projection, default in 3D, in which the objects further away are perceived as smaller.
|
Note
|
For special games, that bend the strict distinction between 2D and 3D, you can use a perspective projection to see a 2D world. At design-time, you can also change the projection in the editor using the "Viewport → Toggle Perspective / Orthogonal" menu item. To change it at run-time, you can change the camera projection using the |
4.5.1. Field of view (in orthographic projection)
"Field of view" is a term meaning "how much of the world do you see at a given moment". The concept makes sense for both orthographic and perspective projections, but it is set using different properties in each case. For orthographic projection, this is determined by Viewport.Camera.Orthographic.Width and Viewport.Camera.Orthographic.Height.
A viewport created using the "Add User Interface → Viewport (2D)" menu item has, by default,
This means that, regardless of the window size, and even regardless of the simulated (for UI scaling) window size, in your viewport you will always see exactly an object that has height (Y) equal to 1000. For example, if you add a TCastleScene, TCastleImageTransform or TCastlePlane with height (Y) equal to 1000, then their height will match perfectly the vertical field of view of the viewport. The horizontal field of view follows the aspect ratio of the viewport control.
There are other ways to control the field of view, see the Viewport.Camera.Orthographic.Width and Viewport.Camera.Orthographic.Height docs.
For example: You can set Viewport.Camera.Orthographic.Width and Viewport.Camera.Orthographic.Height to both be zero. In this case, the viewport control size (after UI scaling) determines this field of view. With the default UI scaling to 1600 x 900, this likely means that you will see an area 1600 x 900 in your viewport (it may be a bit taller or wider, if user resizes the window).
4.5.2. Origin (in orthographic projection)
A viewport created using the "Add User Interface → Viewport (2D)" menu item has, by default, Viewport.Camera.Orthographic.Origin set as (0.5,0.5). This means that the camera position determines what is visible in the middle of the viewport. In effect, when Camera.Translation is (0, 0, 0), the middle of the viewport will show the things at position (0, 0, 0) in your world. This is most comfortable if you place your assets around the (0, 0, 0) point.
As an example, you can add a TCastleScene with an image or a sprite sheet. By default their pivot is in the middle of the asset. So if Viewport.Camera.Orthographic.Origin is (0.5,0.5) you will see them in the middle of the viewport.
You can change Viewport.Camera.Orthographic.Origin to whatever makes sense for your game. For example, Viewport.Camera.Orthographic.Origin equal to (0, 0) means that the camera position determines what is visible at the left-bottom viewport corner. So when camera position is (0, 0, 0) the left-bottom viewport corner will show the things at position (0, 0, 0) in your world.
4.6. Physics in 2D
Our physics works in 2D games.
Be sure to use 2D colliders and 2D rigid bodies, following the physics: 2D section. In the editor, just add the "Physics → Collider 2D → …" components. This will make the physics engine work in 2D in a most natural way, ignoring the Z coordinates of your objects and not making them rotate in the third dimension.
Remember to also adjust the Viewport.Items.PhysicsProperties.GravityStrength to a larger value to make objects fall down in a reasonable time.
4.7. Blending and alpha bleeding
Blending (partial transparency) should automatically work in 2D viewports, see blending for details. In short, you can use partial transparency in your images, and it will work correctly in 2D viewports.
See also alpha bleeding for details about how to prepare your images to behave correctly with blending.
4.8. Advanced: Turning any viewport (like 3D) into 2D
There is really no strict distinction between 3D and 2D viewports in Castle Game Engine. In both cases you have TCastleViewport, just some sensible defaults are different. In "Viewport (2D)" the camera projection is orthographic and design-time navigation method is 2D.
You can always turn a "regular" viewport (with defaults for 3D) into 2D.
-
Use the "Viewport → 2D Camera And Projection At Runtime". See the
TCastleViewport.Setup2Dmethod reference for details what it does. You can also manually changeViewport.Camera.ProjectionTypeand adjust otherViewport.Camera.Orthographicproperties. -
Use the "Viewport → Toggle Perspective / Orthogonal" to change design-time camera to orthographic
-
Use the "Viewport → Front" and then zoom out with mouse wheel to view a useful piece of 2D world
-
Use the "Viewport → 2D" to activate 2D-specific navigation
You can also just place 2D (flat) items in a 3D viewport. It is really your choice
-
whether you use flat or not objects,
-
whether you use orthographic or perspective projection,
-
what design-time navigation you use (2D, Fly…) etc.
And all these choices are in fact independent of each other. You can mix 2D and 3D stuff freely in CGE.
To improve this documentation just edit this page and create a pull request to cge-www repository.